My Corner Online
3. Printing Digital Bible Journaling Pages (Link to Comment)
In this video you will learn how to take two 8 x 8 Digital Bible Journaling pages and place them into one file in preparation for printing, cutting, and inserting in your journaling Bible.
- Download the Bible Journaling Print Template as shown in this video.
In this video you will learn how to take two 8 x 8 Digital Bible Journaling pages and place them into one file in preparation for printing, cutting, and inserting in your journaling Bible.
Please allow me to explain more below.

Can you believe I did my first Digital Bible Journaling page on August 31, 2014! Wow! Time sure does fly! When I did that page, I was seeking an alternative to the brand new Illustrated Faith movement. In fact, they had not even created the website yet. I did not want to do the paper Bible journaling, although I loved what I saw, so I created my own method. I've had only a few others follow my method that I've seen, but I'm excited to have more join me.
analyzing the various types of Bible Journaling, we came to the conclusion that there were three types.
1) digital only
2) physical only and
3) hybrid.
Hybrid Bible Journaling is combining digital and physical for those that want the physical, but feel they do not have drawing skills. This would be my category, as I do not want to do the physical because I do not have the art skills, so I think I could relate and work in this area. Using a digital item on a physical page would be a great kick start. The digital world calls it "hybrid" when you mix digital and physical by printing a digital and finishing it physically.
So if I am going to start on Hybrid Bible Journaling, I need a journaling Bible, right? So I headed right out, being excited, last night and got one. Then I went to Hobby Lobby and picked up some medium and some watercolor pencils.
As the above photo shows, there were two sizes of journaling Bibles. The smaller one has two columns and the larger one has single columns. Both are 7.5 type which is extremely small and hard to get used to. My bad eyes is what made me choose to start DBJ to begin with. So either way, the font is difficult to read. The images online that are shared are zoomed in and make the Bibles look so much larger than they really are. It is rather deceiving.
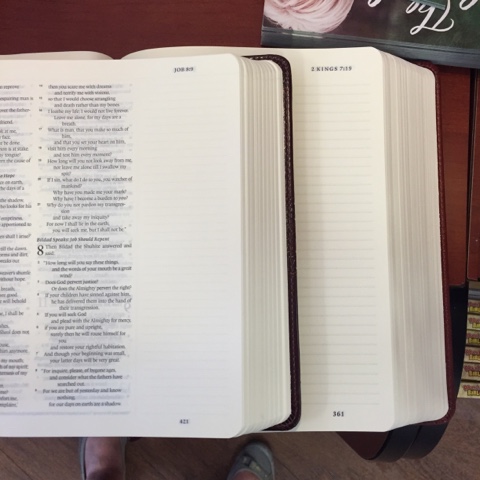
Next, I compared the margins. Both margins are 2 inches wide. One margin's length is about 1/4 of an inch longer, so they are really not that much different in size, although it feels very much so. For me, a single column meant spreading out the verses more so I could highlight more verses.
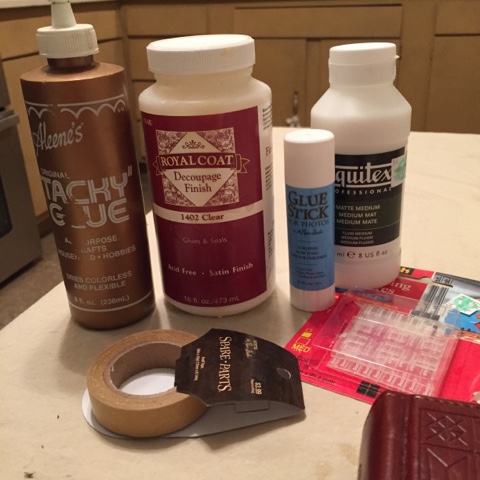
When I got home the first thing I thought of was trying to find ways to add my Digital Bible Journaling pages which I already created to my printed Bible. I went scrounging in the basement and found these options in the photo. I suppose there is no right or wrong way, but I want to eventually try them all just to see how well they work.
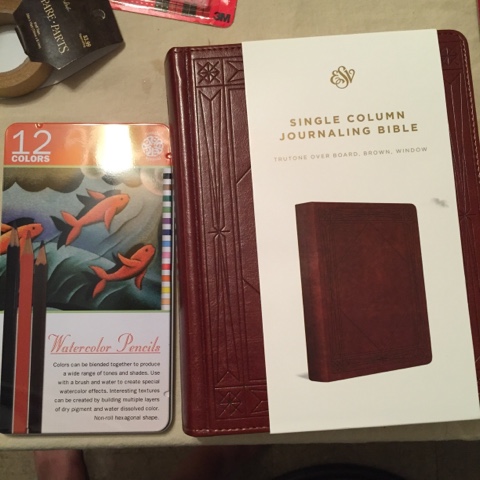
I read that there are certain types of watercolor pencils to buy that work better, but after my shopping trip, I had $6 in my purse left, so I bought these inexpensive ones. Hopefully, they will not be a waste of money.
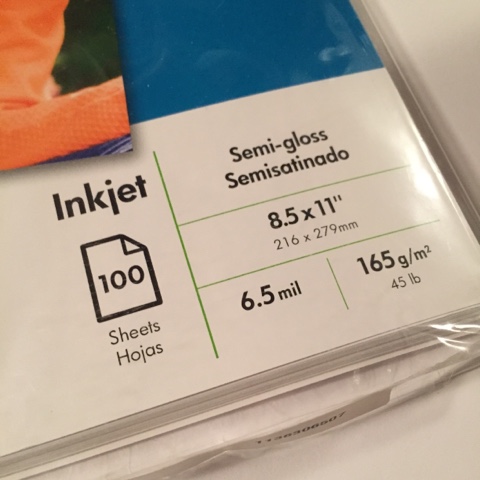
Next I needed to figure out how to bring my 8 x 8 pages which I already created into my new Bible. I remembered researching this years ago, so I found my Chipboard Hybrid Book post and realized I still had the paper from 2009! Wow! It's a great choice for this project too. Since I want the papers to be a little stiff, but not too thick, the 45 lb weight works well. Look for photo paper with similar weight and in the same brand as your printer when shopping for your book.
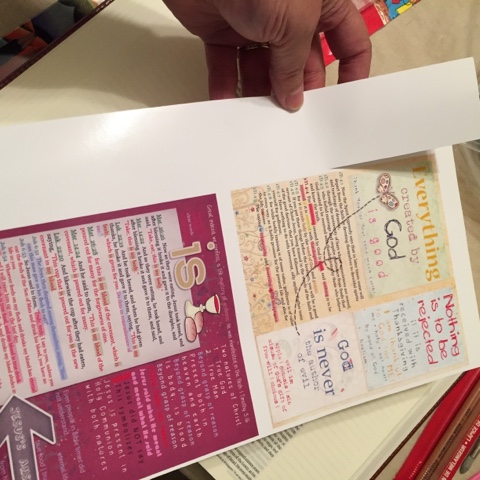
They printed very nicely and I began to cut them. I decided to leave a white edge around them. The video tutorial above shares how to make a template (or download mine) and use it to resize your layouts for printing. I printed them in 5 x 5 after I measured the size of my pages. I did not want them to go all the way to the edge, yet to be as large as possible for readability.
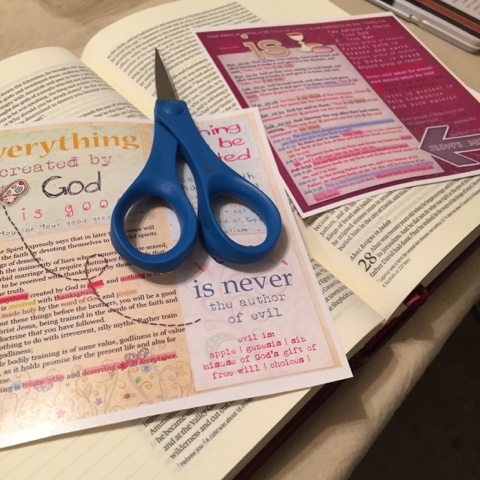
oooooh! This is fun! They look so nice!
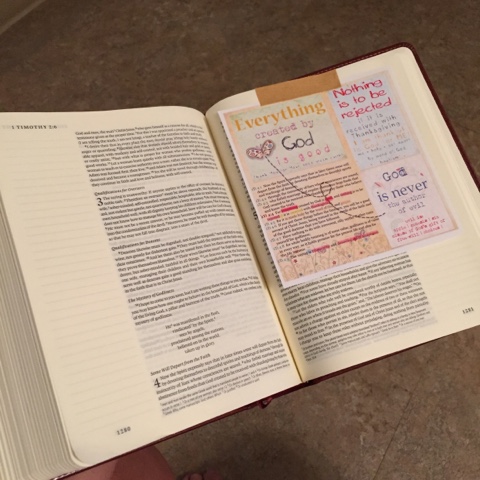
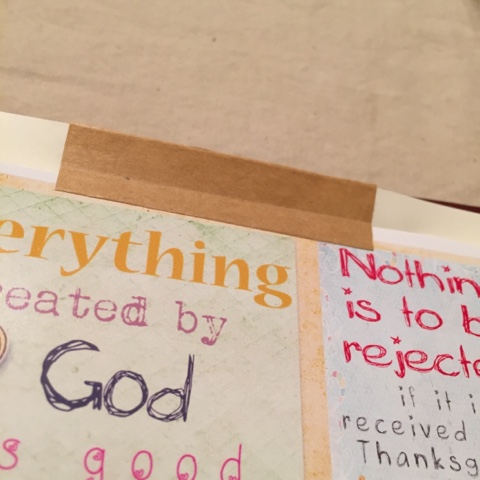
I used the washi tape I had purchased, just a paper bag color, to tape it down on the same page as the verse. Yeah! I got something in my Bible! It is not as intimidating to tape something as it is to draw something. It's a great way to kick start the process.
I like that I can lift up the insert and if I have more than one for the page, I can stack another one underneath this one.
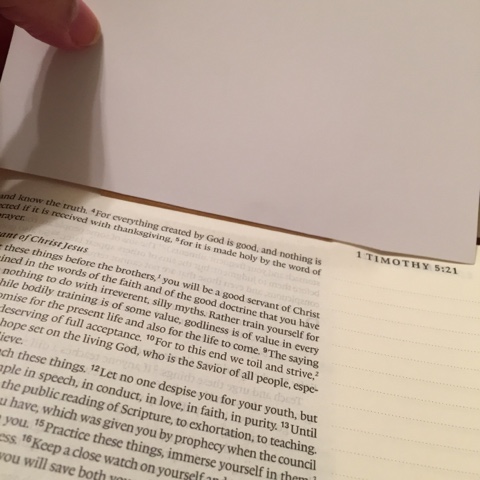
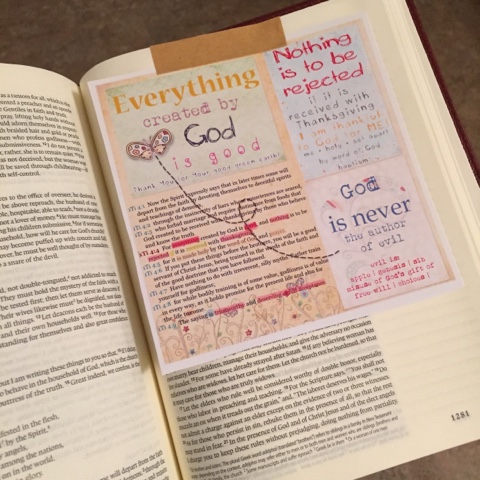
I bent it up and creased it from the back. The text here is actually where the verse is and I did play later with my watercolor pencils to highlight it.
See the crease? I think it is necessary to make it easier to use in the future. The paper is so thin in the Bible I am afraid I am going to rip it.
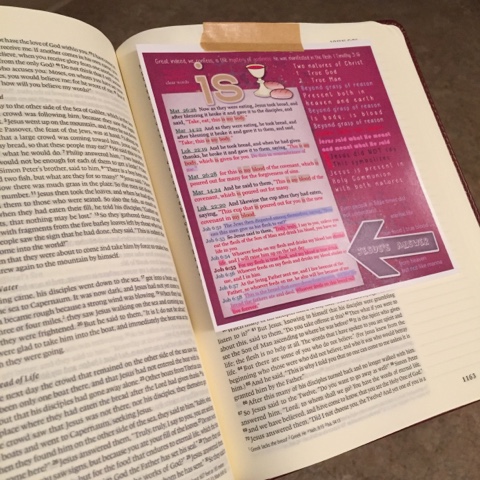
This is the second one taped down.
Well, that's a great start! Whooo hooo!
Now I'm already working on the next thing I want to play with!