My Corner Online
PHOTOGRAPHY COURSE
SET 1
INTRODUCTION
1. Introduction to Camera (link to comment) - In this lesson, I challenge you to become familiar with your camera. You will be creating a cheat sheet for your camera.
This challenge is to get familiar with all the buttons on your camera. Please post and share what buttons you have on your camera. A download is available for your use below.
Most cameras use standard icons that are seen on all cameras.
For instance, a macro icon looks like a little flower on all cameras. Getting a new camera? You will be happy to know that you do not have to rememorize all the icons!
TWO MAIN CONTROLS IN EVERY BUTTON SETTING
Aperture settings change the size of the hole as to how much light enters the camera. A common use is depth of field.
Shutter settings change the amount of time the shutter stays open.
CATEGORIES
There are 4 main categories
1. Program/Scene Mode – this is the setting for preset modes (the camera does all the work) of both aperture and shutter settings.
APERTURE SUB-CATEGORIES
A. Landscape – this preset mode sets the aperture for a greater depth of field (focus sharp in the distance).
B. Portrait/Self-Portrait – this preset mode sets the aperture for a shallow depth of field (focus sharper nearer to camera).
C. Macro – this preset mode sets the aperture for a shallow depth of field, which also includes the camera being very close to the object.
SHUTTER SUB-CATEGORIES
A. Night Shot – this preset mode slows the shutter speed down to allow more time for light to enter the camera. A tripod is necessary in order to keep the camera from shaking while the light is entered; otherwise, the photo will be blurred.
B. Night Portrait – this present mode slows the shutter speed down also, but also applies the red-eye reduction. This setting must be used with a flash to utilize the red-eye reduction. As in the above portrait setting, the aperture is also shallow.
C. Action Shot – this present mode quickens the shutter speed to capture the photo quickly to avoid blur of movement in action.
2. Manual – this is the setting to manually set (you do all the work) both the aperture and the shutter settings.
3. Aperture Priority – this is the setting in which you can choose the aperture (depth of field) manually (you do the work) and allow the camera to choose the shutter speed (and camera does the work).
4. Shutter Priority – this is the setting in which you can choose the shutter speed manually (you do the work) and allow the camera to choose the correct aperture setting (and camera does the work).
OTHER MODE SETTINGS
Cameras have other settings which are controlled in various preset modes. Each camera is different as the manufacturer attempts to produce the newest best thing to market the camera.
Flash Settings
Red-eye reduction. This setting must be used with the flash as it works by putting light into the eyes of the person (pre-flash) just before the second flash and shutter action to cause the iris of the eye to narrow, making it hard for the camera to pick up the red in the blood of the retina. This only works if the person is looking at the pre-flash.
Light metering settings
Surf/Beach & Snow (light metering)
Sunset (light metering or color settings for more vivid reds and yellows)
Soft (light metering)
Filter settings
Illustration (it’s like a cartoon!)
Color settings (some cameras have settings in the menu to change the saturation of colors, contrast, etc.)
Candle (warmer colors)
Cuisine/Still Life (colors)
Documents (increased contrast)
Other
Panorama Assistant (several photos to be stitched together)
Pet
Fireworks (slower shutter speed)
Pinhole
Fisheye
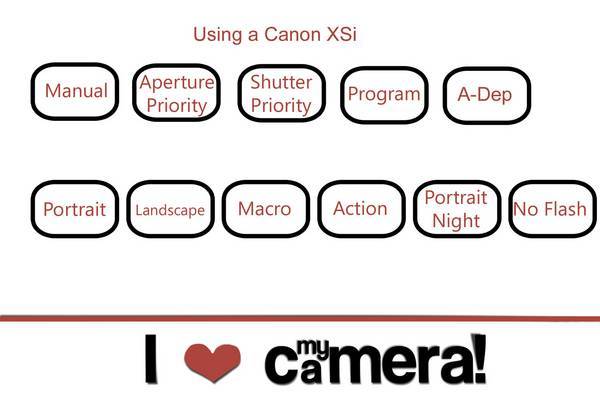
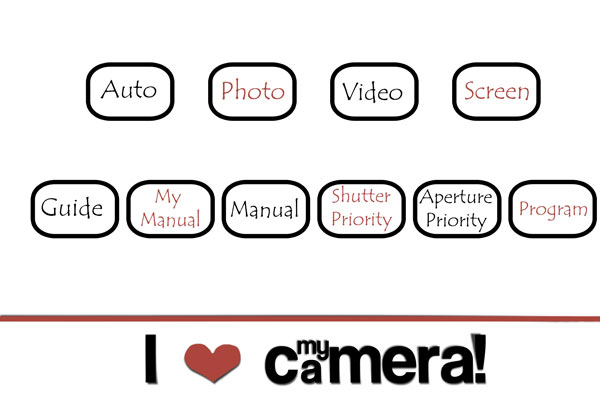
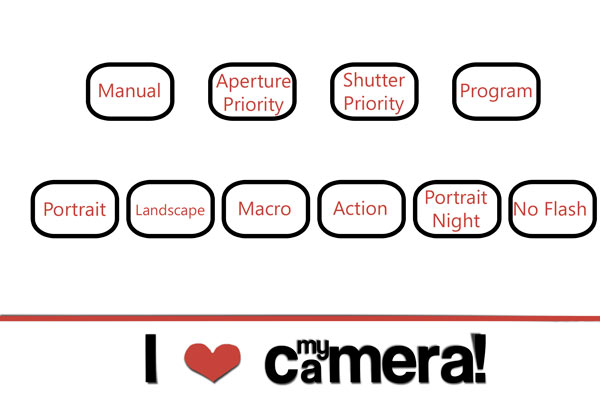
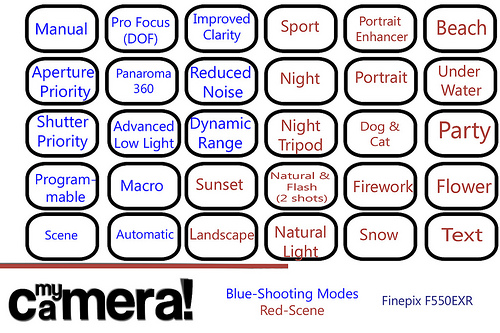
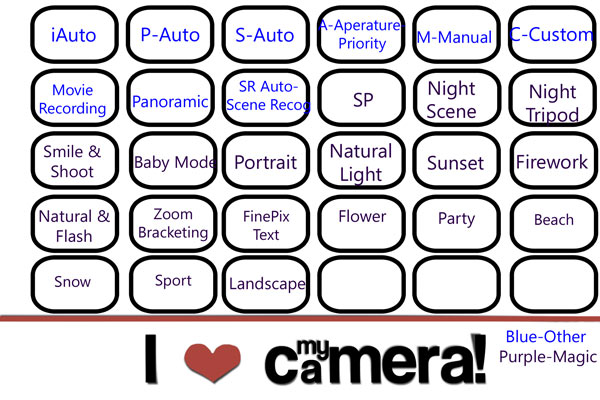
LESSON: For this lesson, you may utilize the download to create a cheat sheet for your camera mode settings. You may utilize the .psd file to create your own or use the .jpg to print and hand write your camera settings. This file is a 6 x 4, so it is easily printed on the most used photo size and is convenience for travel. We will be making a few more cheat sheets, so I have left a space on the left edge to bind the sheets together. Upload your camera cheat sheet to the gallery and come back to this thread to post for credit for this lesson. Feel free to chatter about each other's cameras.
Download the templates
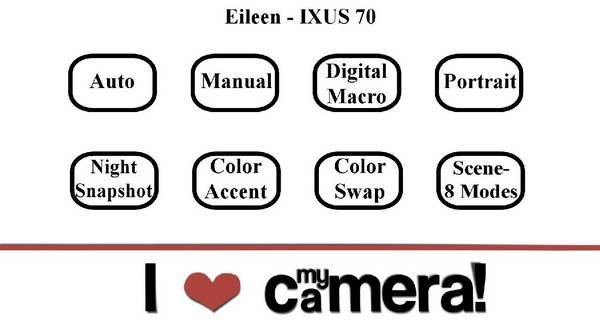
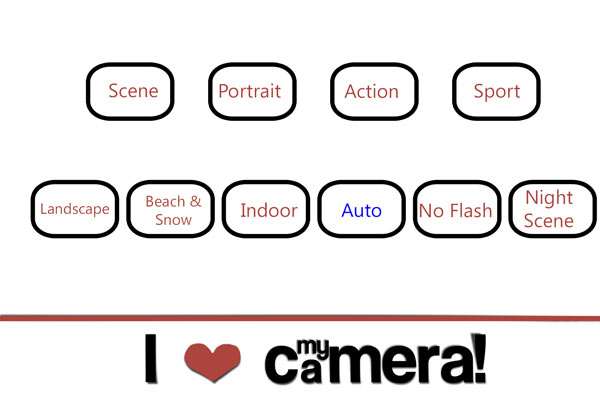
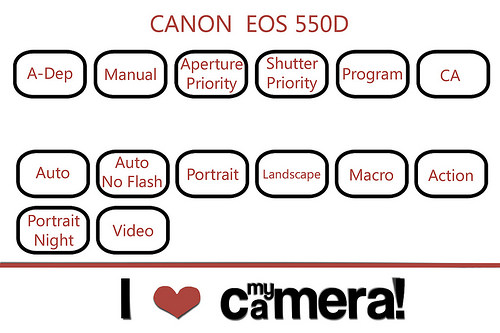
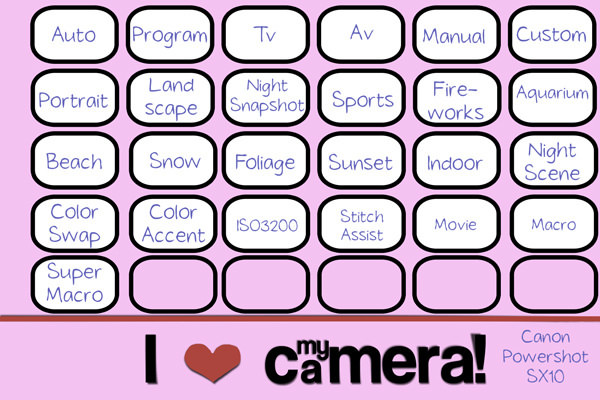
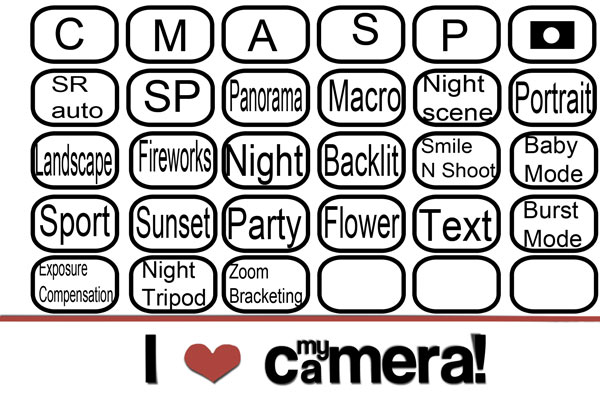
Here are my two cameras.
#1
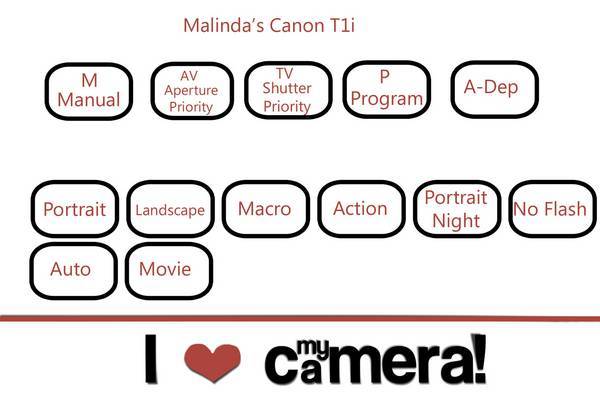
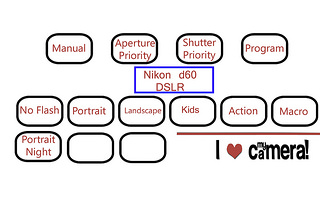
#2
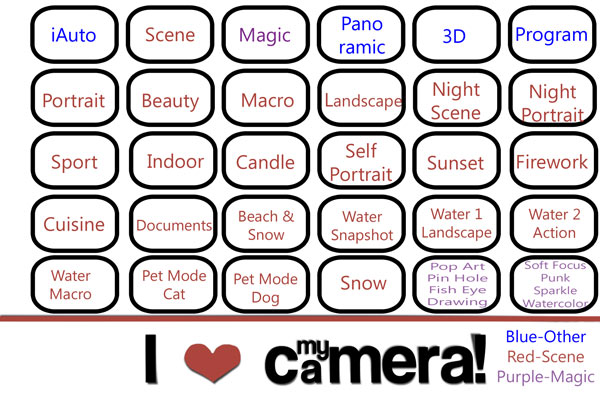
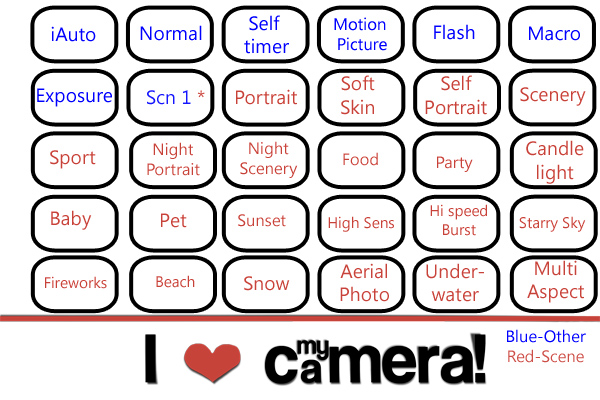
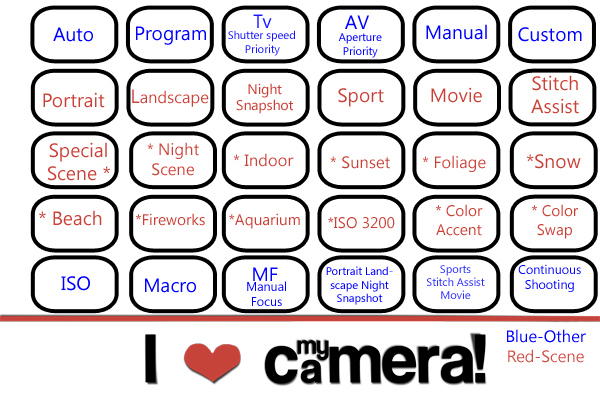
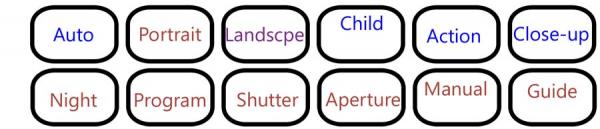
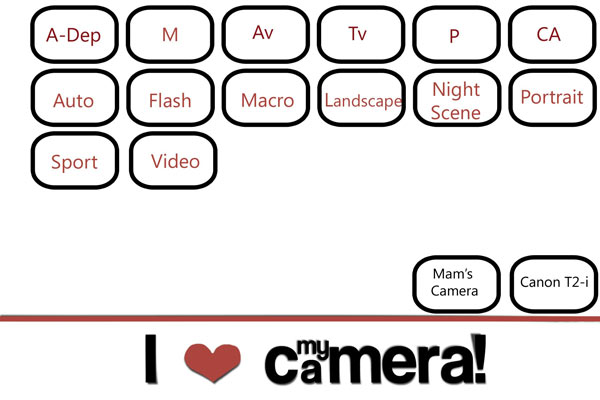
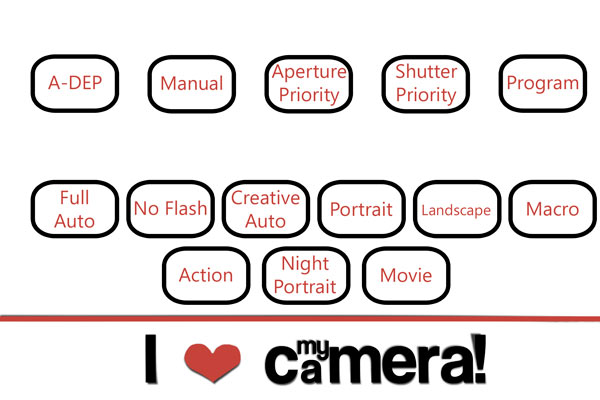
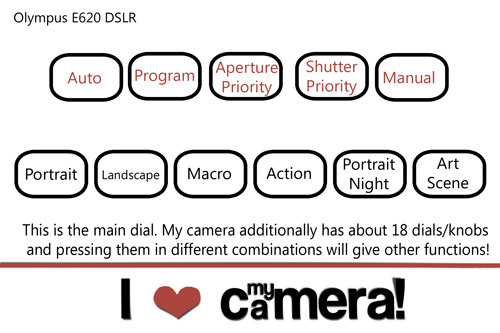
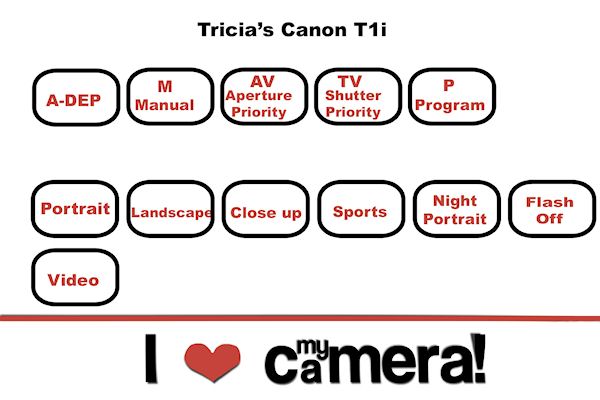
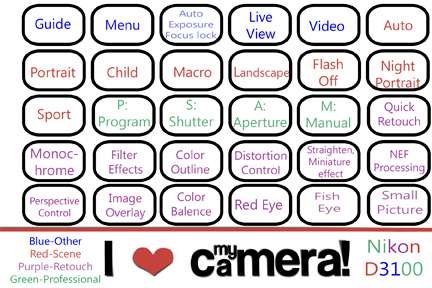
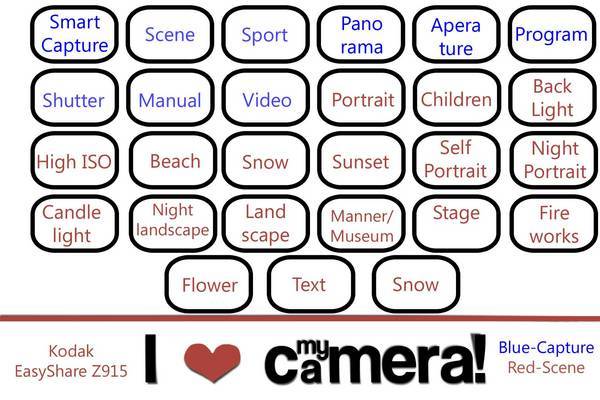
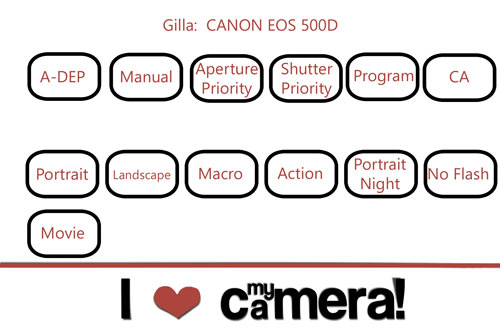
Here are your cameras!

 \
\