My Corner Online
Maple Leaf Sugar Cookies
1 cup butter
1/2 cup powdered sugar
1/2 cup light brown sugar
1 egg (or 1 egg yolk)
1/2 cup pure maple syrup
1/2 tsp salt
1 cup wheat flour
2 cups all purpose flour
Instructions
Beat butter and sugars. Add egg and mix. Add maple syrup and mix. Add flours and salt and mix.
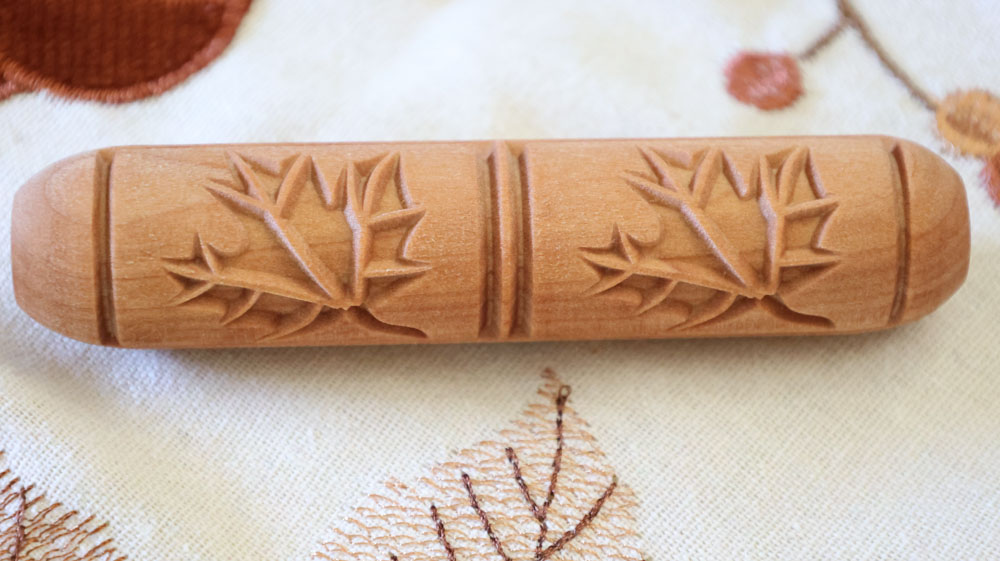
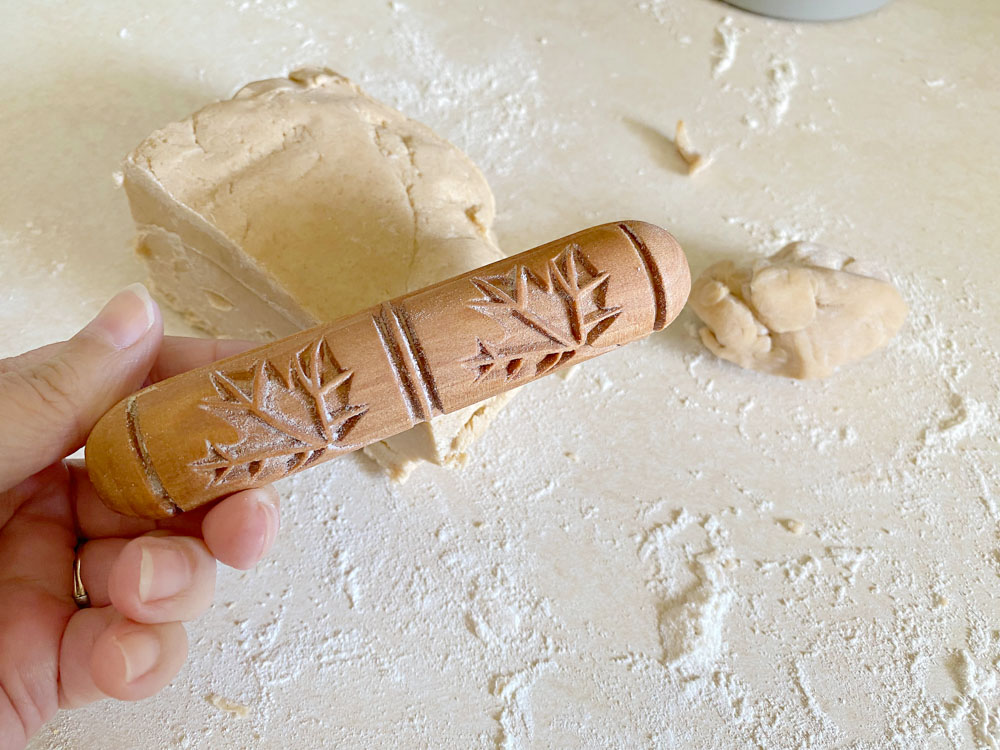
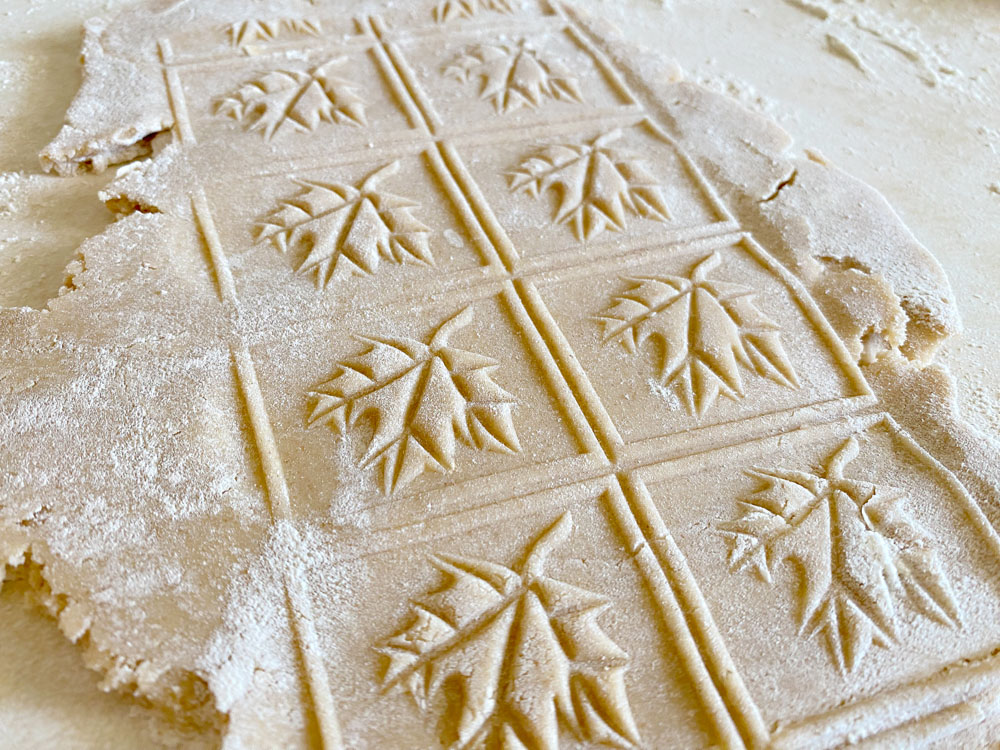
Chill dough for 2 hours. I put it in parchment paper to chill. Cut off a third of the dough and keep the rest chilled as it is important to keep the dough cold for the embossed rolling stamp. Sprinkle flour on the dough so the rolling pin does not stick. Roll out dough to 1/4" thickness (use regular roller). Roll the embossed rolling stamp over the dough. Cut into shapes (I used a knife since I did not have a rectangular cutter). [It might be a good idea to chill again on the cookie sheet, but I worked fast and did not do so.] Bake at 325 F for 15 minutes.
Tip: Spray oil on the embossing roller to allow it to soak in for a few hours. It works best when some oil has soaked into it. Be careful washing it. Do not scrub out the oil and if you do, reapply it for the next use.
Now I couldn't bring myself to waste an egg white and I put in the whole egg and it worked. However, I am going to try it with just the egg yolk next. I read that an egg yolk is a fat that makes the dough expand and puff up and that the egg white is a coagulant that makes the dough chewier. I might try it using one or the other to see which way is the better with an embossing roller.
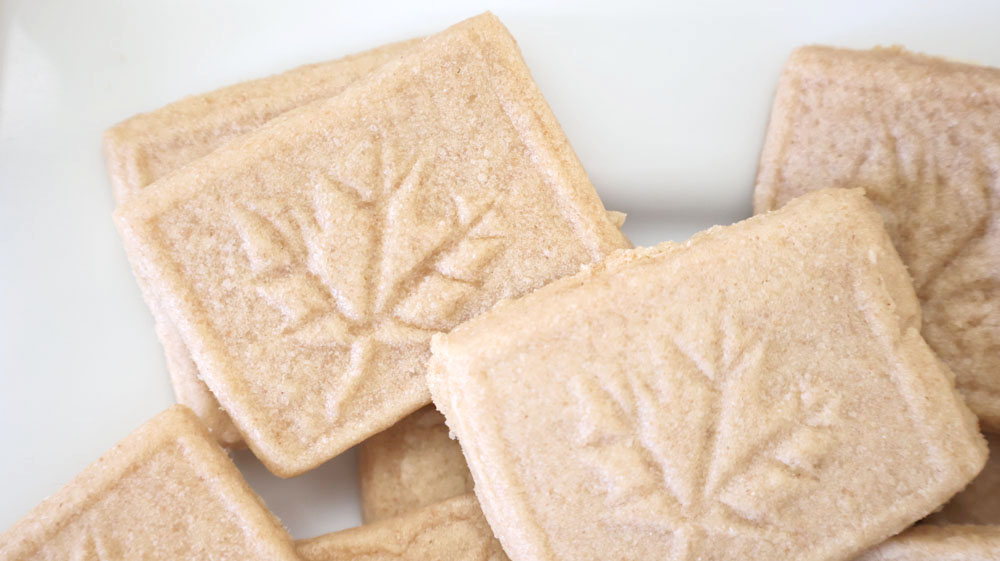
I course, these cookies would be great without any embossing, and easy too!
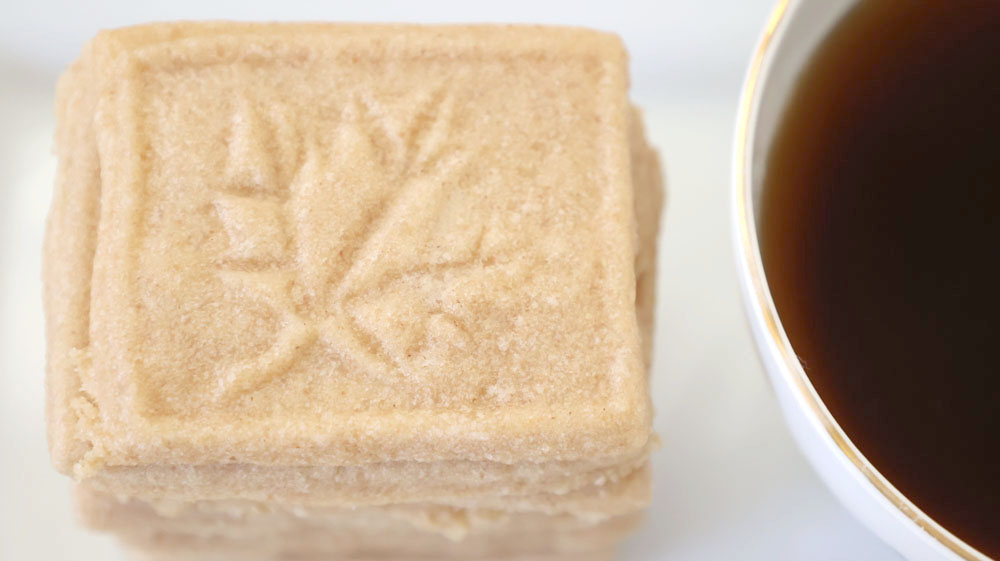
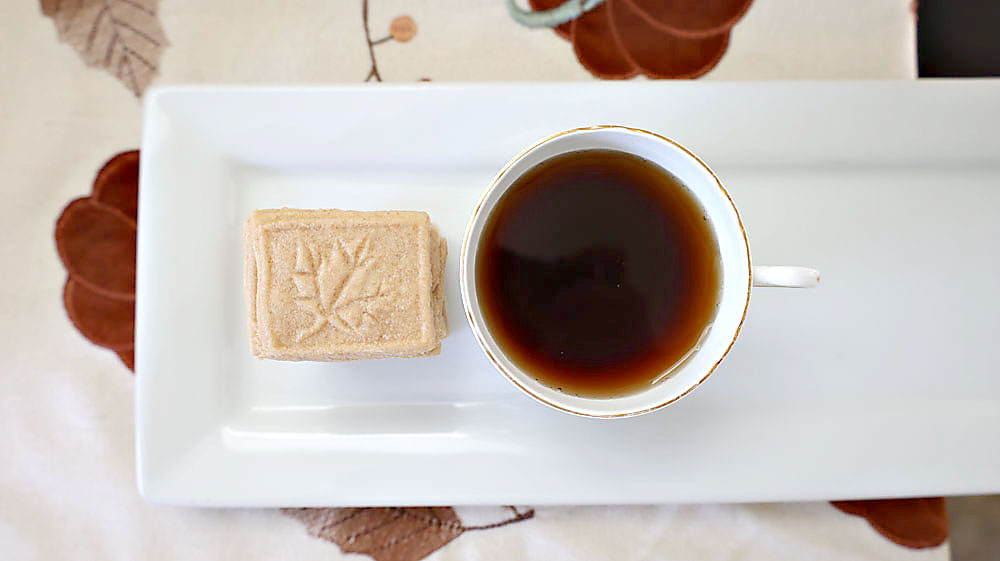
I love that these had a taste of Autumn, were small, and were perfect with a cup of tea (or coffee for those coffee lovers).
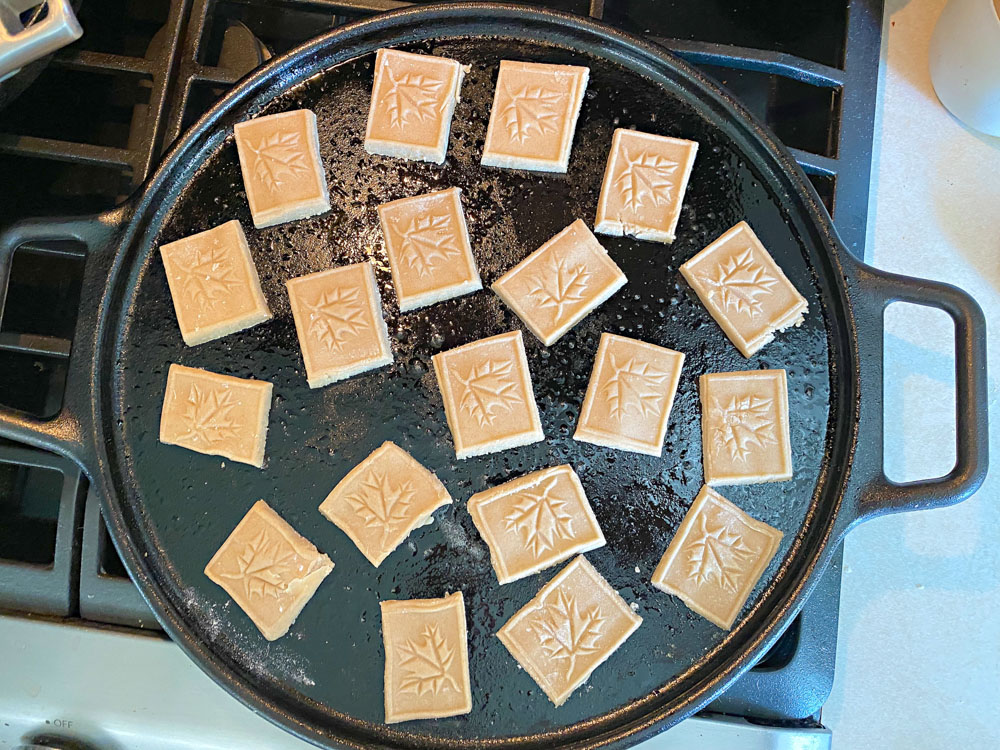
I like that I purchased a smaller roller because I could work in smaller portions to get them on the pan quicker. It was almost not quick enough and I probably should have chilled the dough again before baking. I rolled out just enough for one pan at a time.
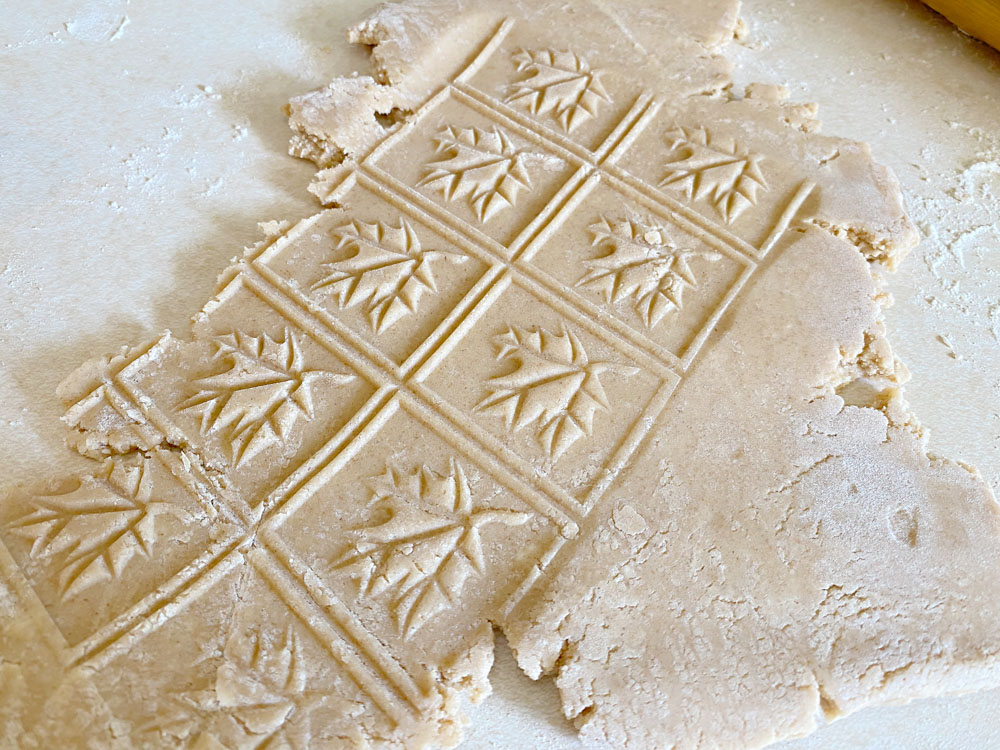
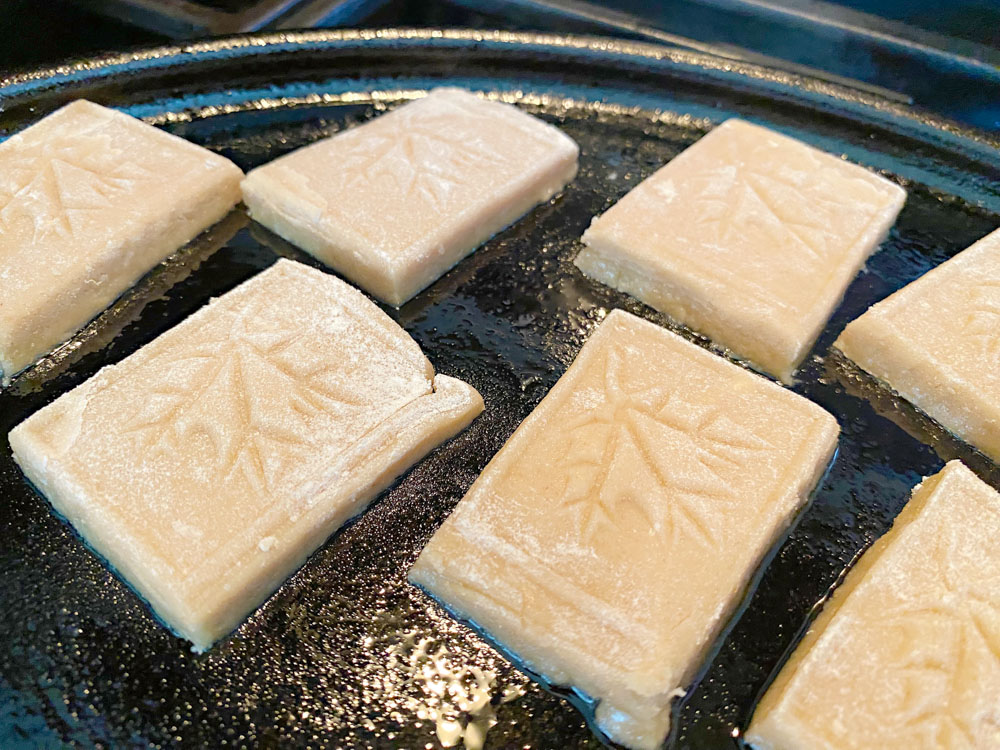
I used a knife to cut between the lines.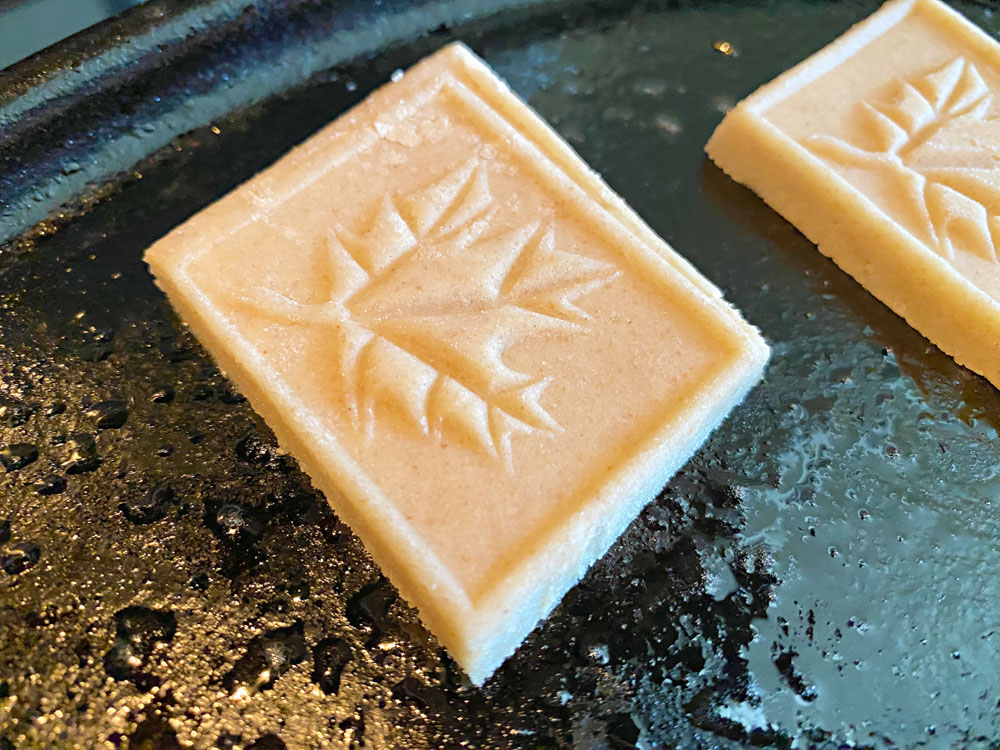 I baked them on my cast iron baking pan that I love to use and sprayed it with a cooking spray so they would not stick. They may have come out better using a parchment paper lined cookie sheet. I may try that next time.
 Ready for the oven.
Next batch.
 Ready to bake again.
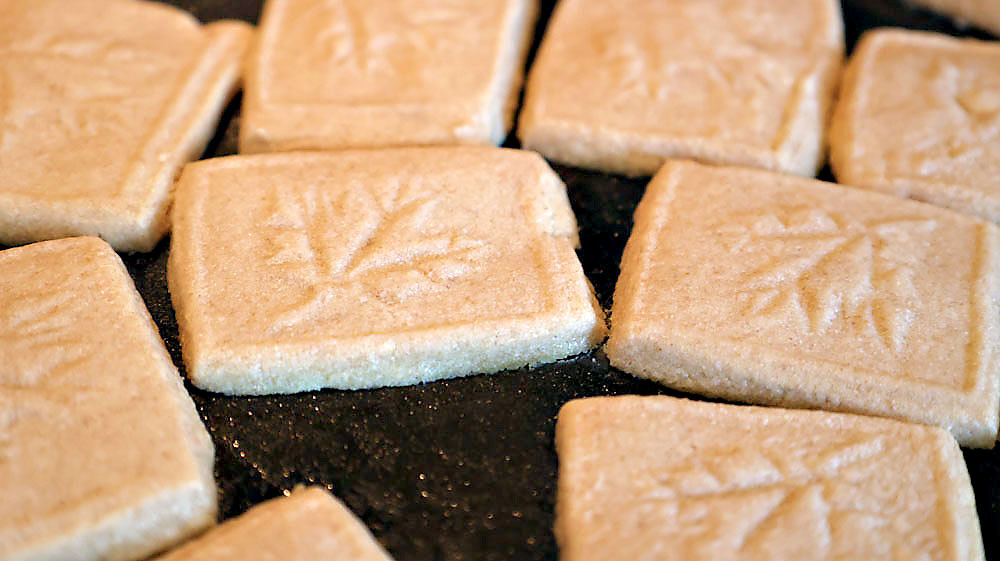 At first they were still soft, but as they cooled they hardened.
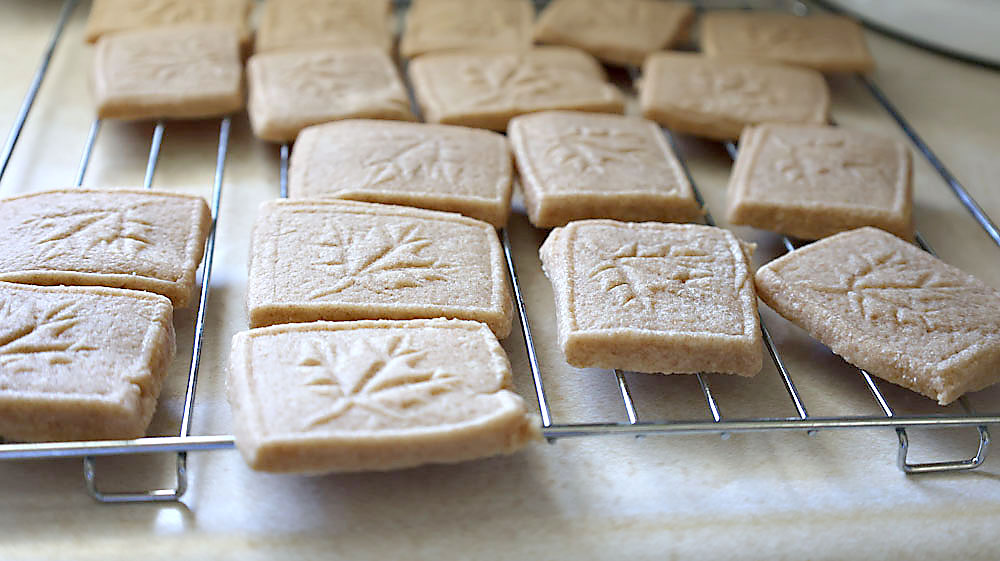
On the cooling rack.
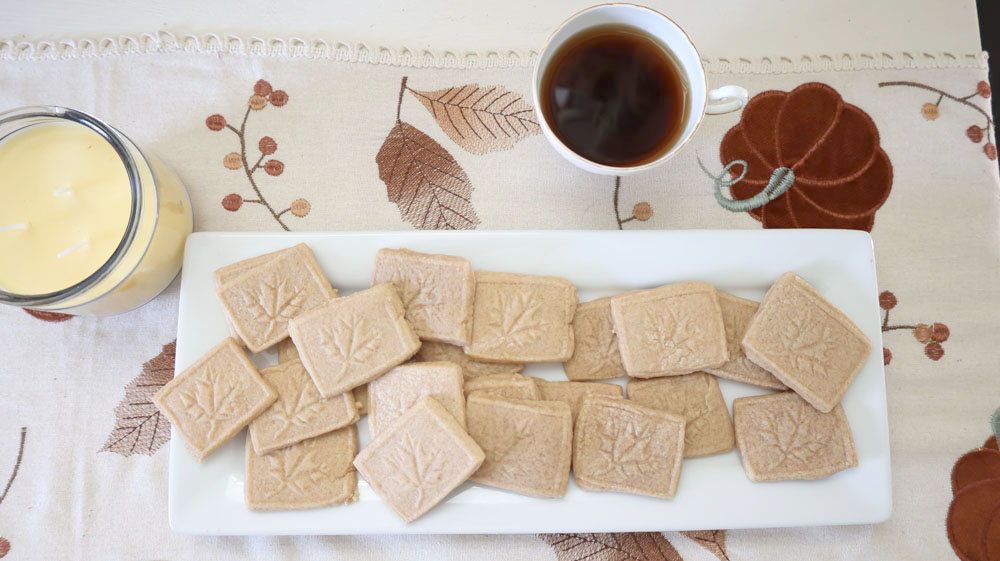
 When they were all done, I put them on a nice plate and got my tea ready. Oh they were so good! I like small and simple when it comes to sweets.
Look! I made myself a little bit of joy!