My Corner Online
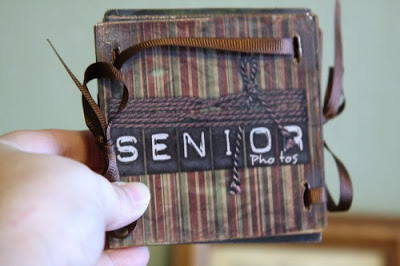
Chipboard Hybrid Book
First posted 12/5/2009.
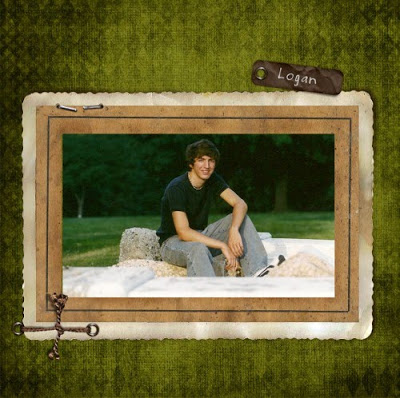
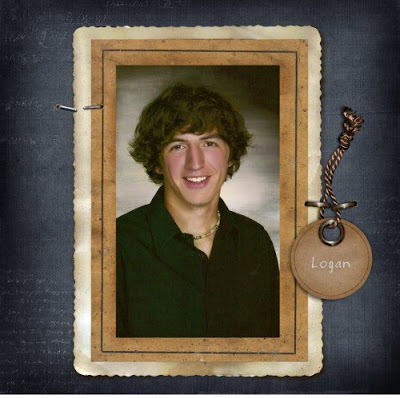
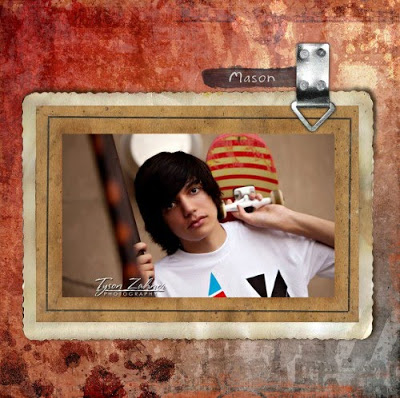
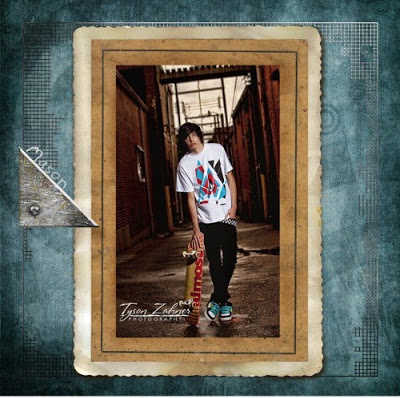
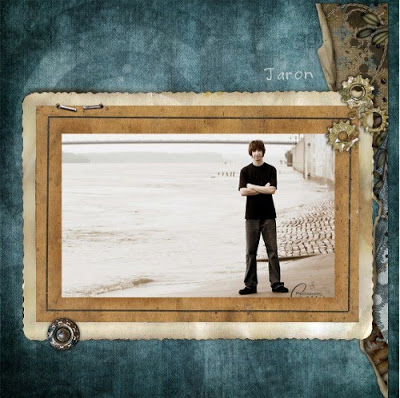
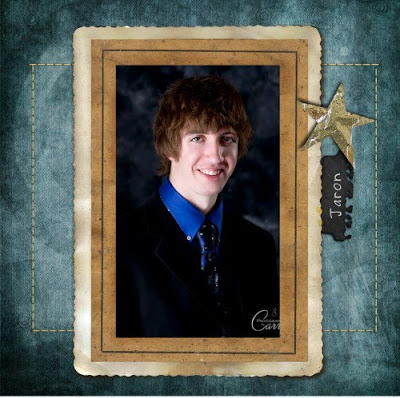
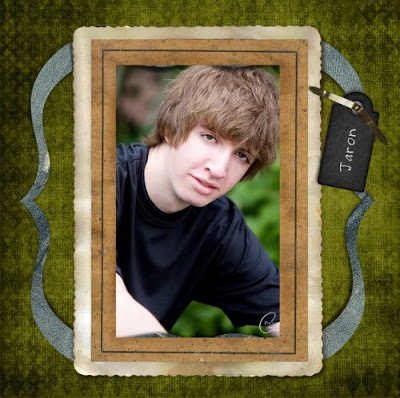
I am SO excited to share with you my first chipboard hybrid book! I love how it turned out! Since I am redoing my living room and took down the senior photos of the boys on the walls, I wanted to make something to set on the shelf so that I could keep their senior photos somewhere in the living room.
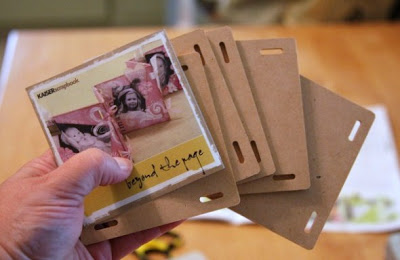
I used a square open chipboard album. With 6 boards double-sided, there are 12 fun-filled possibilities to create!
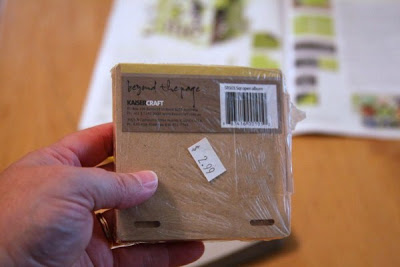
Can you believe that it only cost $3? You can see I started on this project back in October and am just now finishing it.
This is my very first hybrid board project and I must say that it is a lesson in patience! They are actually VERY easy to make, but VERY time consuming. My book took me two weeks to actually make, but that is because I had a bit of a trial and error which I will explain below so you can learn from my mistakes. In reality, one of these books will take a week to make, but most of that time is waiting time. Each step is quick to do, but then you have to wait 24 hours before proceeding to the next step.
I want to share with you now how to make this awesome little book!
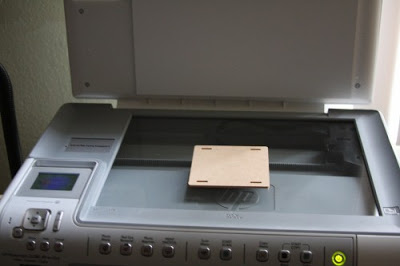
First, scan one of the board pieces at 300 ppi. It is important to use 300 ppi to obtain the consistent sizing for printing purposes as this scan will be used as a template. Bring it into Photoshop Elements (or your program) and extract it. I actually used this extracted .psd file to continue on in making all of my pages (as seen at the bottom of this post). I used it to check that nothing important was placed where the holes were placed, but I did not cut out the mini-layouts by grouping them with this template. The exactness would cause too many problems later when punching the holes. Rather, I used it as a guide for size and placement of items.
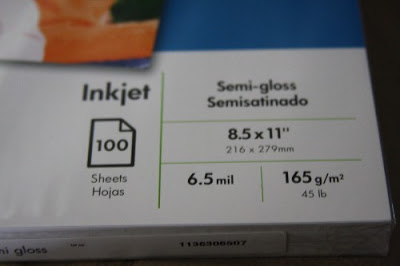
Next, I printed out the mini layouts. I had to make a run to the store to choose paper for purchase. I knew since my printer was an HP that I wanted HP brand papers for the project. I knew that the high quality paper that I used to print my layouts with was too think, so I looked for paper that was made for photos, but much thinner. I choose the 45 lb weight paper. It was a little expensive, but since it has 100 sheets, it was worth the cost. If I only use this paper for hybrid projects, it will go a very long way.
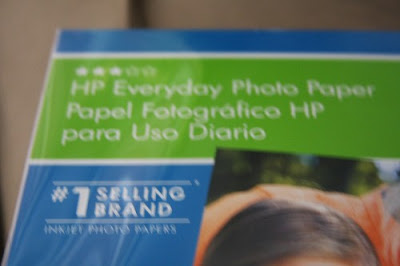
I purchased the HP Everyday Photo Paper. I feel it was a good choice.
The important part after printing is to wait 24 hours, at least, for the ink to dry! This is the first lesson in patience! When dry, cut out the images.
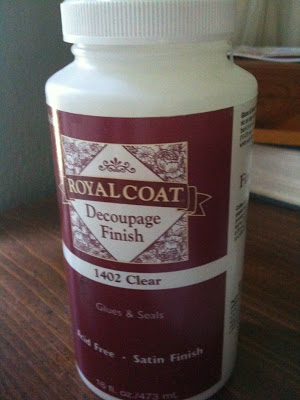
In comes the second lesson in patience! I used the Plaid brand decoupage finish to glue my mini layouts onto the boards because it is what I had on hand. Most people I believe use Modge Podge. It is important to use a VERY small amount. An even small mound of the glue on the board will cause the paper to have a buckle in it.
Apply the glue to the board with a very small paint brush. Carefully lay the paper on the board (pulling it up and replacing it can be done, but the results are not as good). Use your thumb to smooth the paper and squeeze out any bubbles that may have been caused by the glue. Sometimes this causes the glue to come out the edges, so be careful that when you get it on your fingers, you do not touch the photo surface.
Lay the board upside down so that the weight of the board is on the paper. If needed, place something small over the board (I did not need to though). After a few moments, pick up the board and use your thumb once again to smooth out an bubbles that might be causing buckles. Lay it back down (upside down) for a little longer.
I was able, after a little time, to pick up the board and do the other side of the board.
However, it is important to once again let the board dry for at least 24 hours! Patience, I tell ya, patience! Do not rush anything or the board will be messed up.
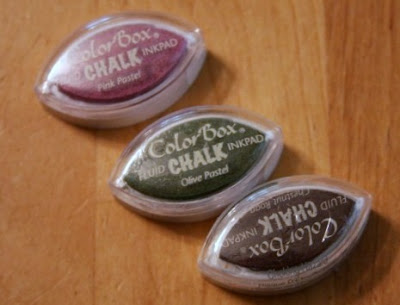
Next, I used my scissors and the back end of the small paint brush to poke the holes through the paper of the book. It was a little tedious, but with a bit of work and patience, they holes were successfully punched. The next step is to chalk the edges and around the holes. The chalk was new to me and fun. The chalk can be found at local hobby stores in ready-made stamping pads in a variety of colors.
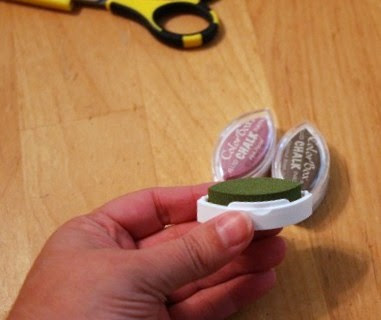
I used the brown pad on my book. It is easy to just rub the pad along the edges of the book, as well as around the holes. After I was finished I found that rubbing my fingers on the chalk around the holes made a nice grungy look to parts of the book pages.
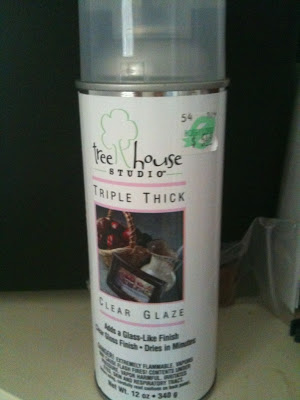
This next step is where I mess up and had to re-do two of my book pages. I tried to just the decoupage glue as a sealer over the book, but it merely smeared the chalk all over the pages and interacted funny with the paper discoloring the whole thing! I learned that it is best to use spray sealers. I understand that Plaid has a nice spray sealer that many hybrid users utilize, and that it is available at Wal-mart, but my local hobby store did not have that brand. Instead, I read the labels carefully and found only one that indicated use on paper, so I purchased it and held my breath!
It worked out beautifully! However, as indicated on the can, I sprayed one side of the boards, waited 24 hours before touching, and then sprayed the other side of the boards and waited another 24 hours before touching! Oh my! Are you seeing why it takes so long to make these books? So quick to spray, just a minute, but then 24 hours before the next step!
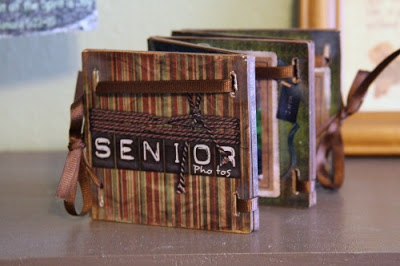
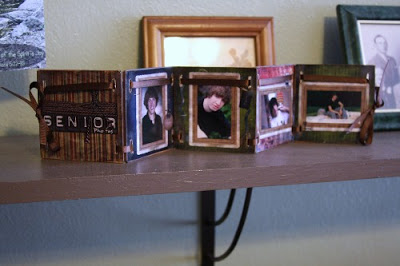
For my books, I used a ribbon to weave between them to make an accordion. Here is how it looks on my shelf in a compact version. Someone can easily pick it up, look at it, and plop it back down.
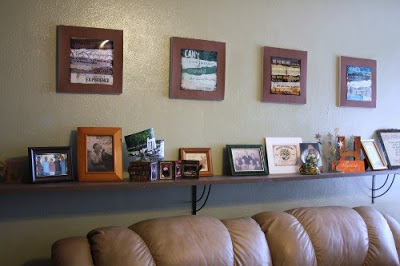
Here is the book on my shelf over my couch.
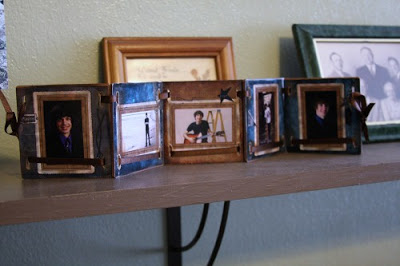
Here is one side of the book as seen spread out more accordion style.
Here is the other side of the book. (silly camera focused on the shelf and not the book, but you can get the idea)
The below pages are as I made them in PSE.