1. Introduction to Hybrid Bible Journaling
(page in draft format)
What is Hybrid Bible Journaling?
Hybrid Bible Journaling (we use the acronym HBJ ) is merely using two methods, digital and tactile, together. The only requirement for it to be an HBJ is that it contain both digital and tactile techniques.
A term often used is "mixed media" which is a term to help one understand that art journaling uses a wide range of "mediums" mixed together. The term "hybrid" as used in the digital scrapbooking world is to mix digital and tactile.
You can do it! Hybrid Bible Journaling is for everyone who feels they are not as talented in hands-on journaling and needs the little extra help from printing digitally. You do not need digital skills other than to print what others create that you download or to print text. If you have digital skills, then certainly create for yourself and print.
How can graphics be considered journaling?
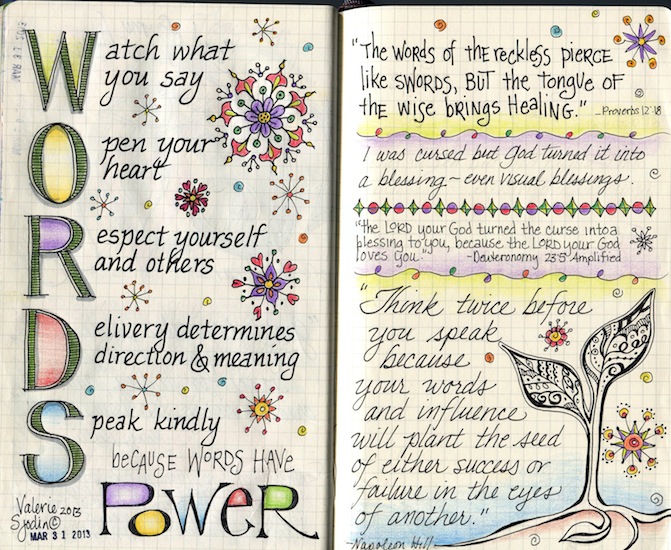
I've always underlined in my Bible and written in the margins, but I've never drawn or doodled. The drawing and doodles are a form of "journaling" and that is a hard concept for some. How can doodles and graphics be considered "journaling?"
We most often think of note taking as journaling. We jot notes down to help us remember something in which we have gained an understanding. Art can be uitilized to help us remember a concept or understanding just as writing text. Graphics and writings are both utilized giving interpretation, to conceptualize, to clarify, to explain, and to visualize. Both text and graphics enable us to connect to God’s Word with meaning, understanding, awareness, and maybe a new way of looking at it to gain comprehension. Much in the same way that the doodles conceptualize and interpret, word story analogies compare two things to bring clarification and explanation.
What Bible do I use?
You can use a journaling Bible available for purchase in the store. However, you can use any medium you choose and the ideas are endless. Below are some ideas.
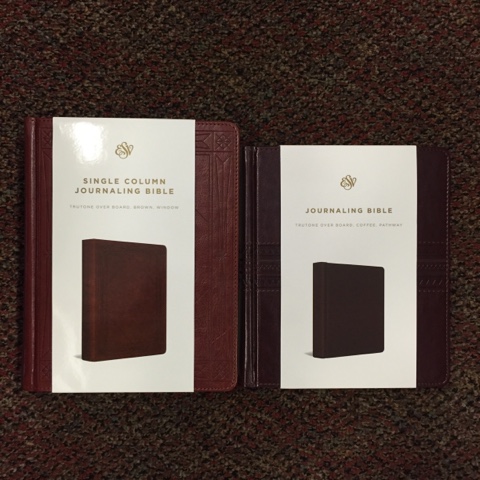
When I shopped for my journaling Bible at the local store, I found two basic sizes. It is a matter of personal preference. If you will be traveling with it, size may matter. As the above photo shows, there were two sizes of journaling Bibles. The smaller one has two columns and the larger one has single columns. Both are 7.5 type which is extremely small and hard to get used to. My bad eyes is what made me choose to start Digital Bible Journaling to begin with. So either way, the font is difficult to read. The images online that are shared are zoomed in and make the Bibles look so much larger than they really are. It is rather deceiving.
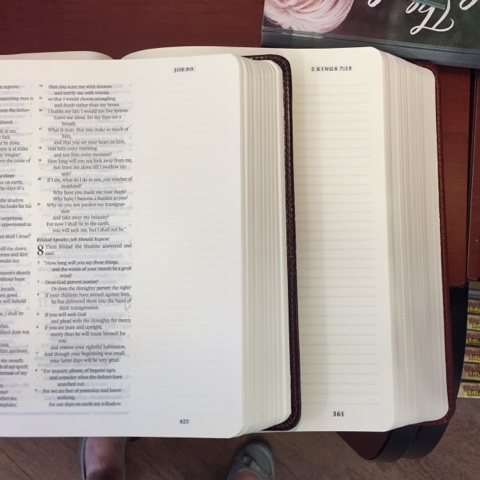
I compared the margins. Both margins are 2 inches wide. One margin's length is about 1/4 of an inch longer, so they are really not that much different in size, although it feels very much so. For me, a single column meant spreading out the verses more so I could highlight more verses.
The standard margin strips in the tutorials on this page will fit either of these Bibles.
As Bible journaling continues to grow in popularity, publishers are coming out with more and more options. There is no right or wrong or best to purchase. Just shop around and choose what fits your needs. In addition to style, there are various versions of the Bible (i.e. ESV, NIV, etc.).
Click here for a blog article by Crossways of the 4 varieties offered.
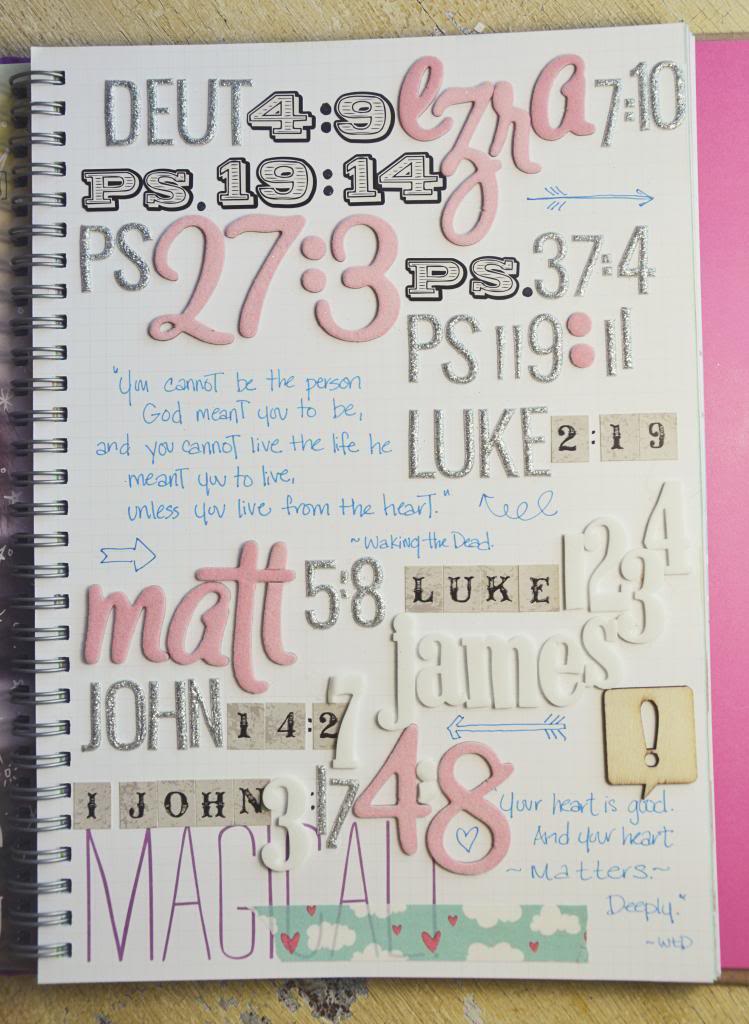
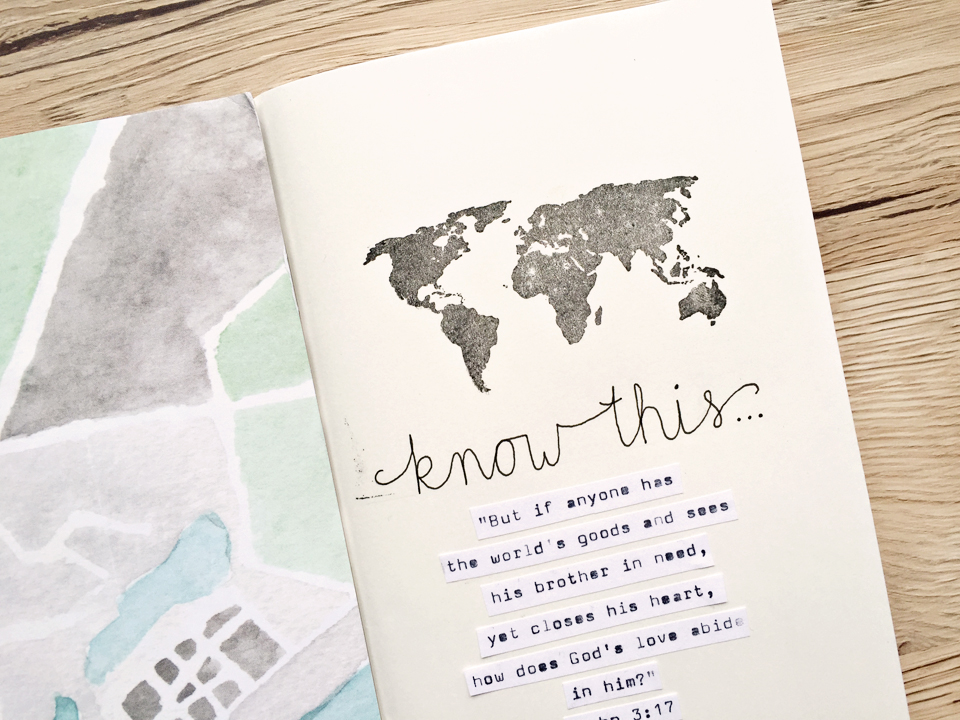
Many people find it difficult to even underline in a Bible, so doodling in the margins is even more difficult. Hybrid Bible Journaling allows for many options of mediums.
(image source and image source)
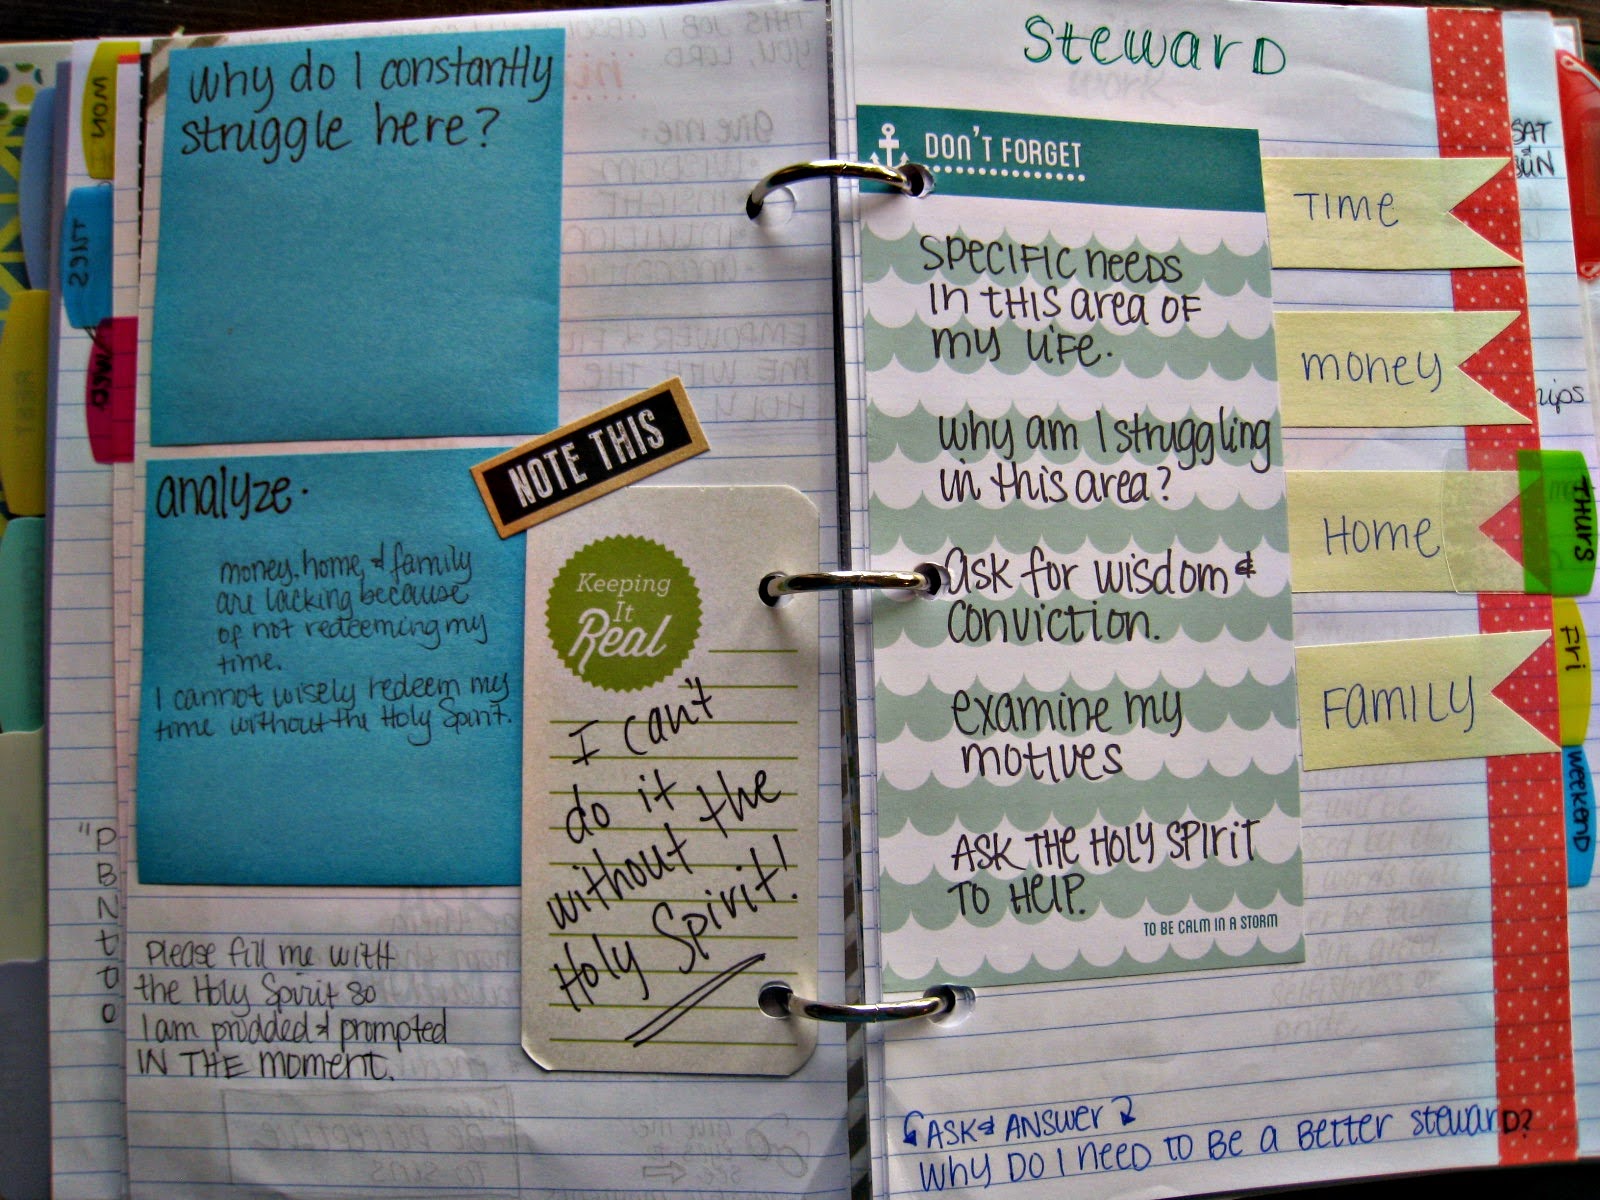
Use a three ring binder and regular lined notebook paper. The Stone Soup for Five website uses it as a prayer journal. Consider the use of page protectors to slip bulky items into the notebook.
Use any notebook. This image uses a smash book. They are rather inexpensive and can be purchased at hobby stores or even on Amazon. Smash books became a popular trend in 2013 as you can read about Smash Books on this page.
Midori Travelers Notebooks have become popular in 2015. These notebooks are can be customized. I found this Youtube video to be helpful to see how the notebooks are put together with an elastic band. Here is a link to the books available on Amazon. Also try researching for "bullet journaling." In addition, there is a trend towards documenting faith in calendar format and these notebooks can be customized to include calendar pages.
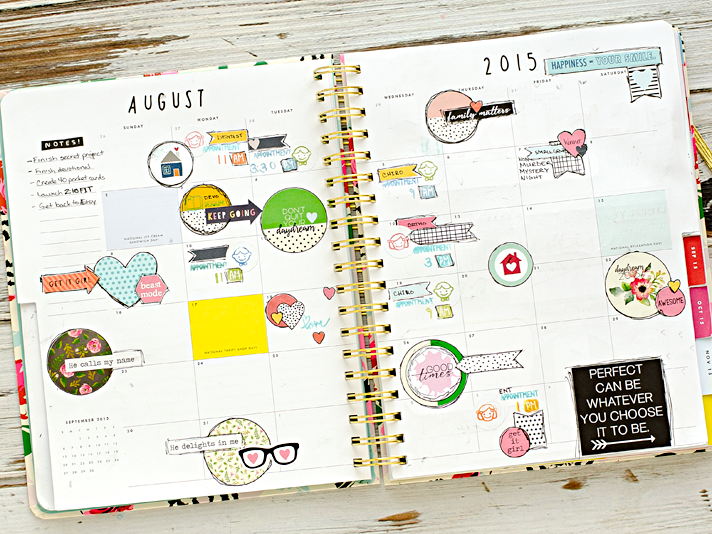
Incorporating Bible journaling into a day planner calendar is a popular choice to be able to organize your daily life while keeping God in your every day. Look for the "loose leaf" because additional pages can be added to customize the planner with blank pages. These day planners have been around for a long time and can be found in almost any office store or even department stores. Here are Happy Planners online also (amazon link).
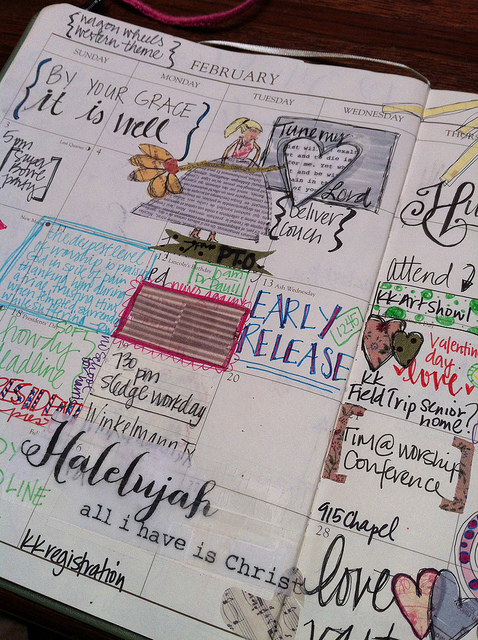
Actually, any calendar would work.
Moleskine journals are another popular choice. Here is a link to them on Amazon.
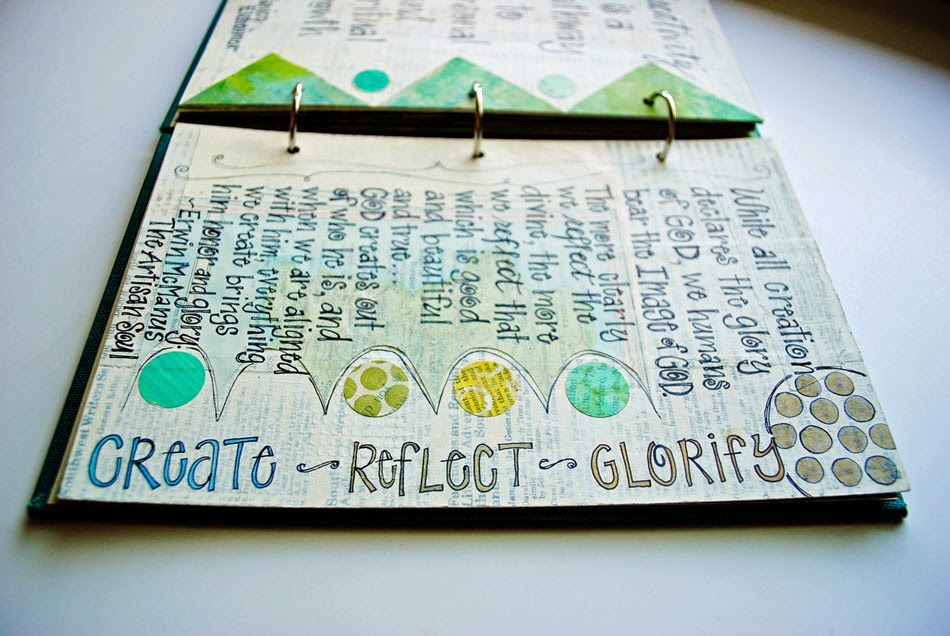
A popular "art journaling" technique is to use what is called "altered books." What this means is to simply take an old book and to repurpose it. If you search online, you will easily be able to find many tutorials on different methods of creating altered books.
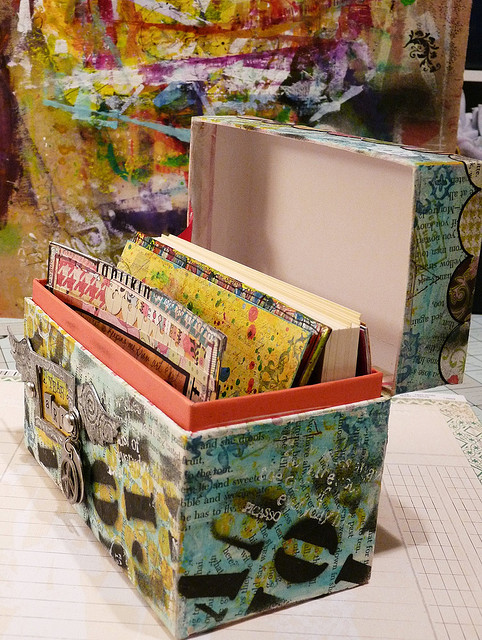
Use index cards and store them in a creative box.
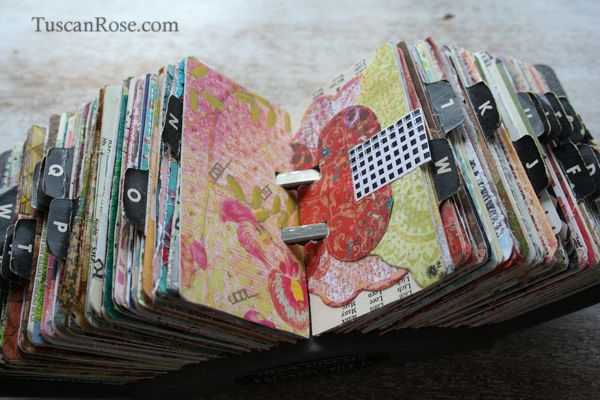
Use a rolodex to store cards. An idea would be to alphabatize by theme word of each Bible verse. See on Amazon the wide variety of rolodex.
Use your imagination! Anything goes. Be creative and think up something unique.
What other supplies do I need?
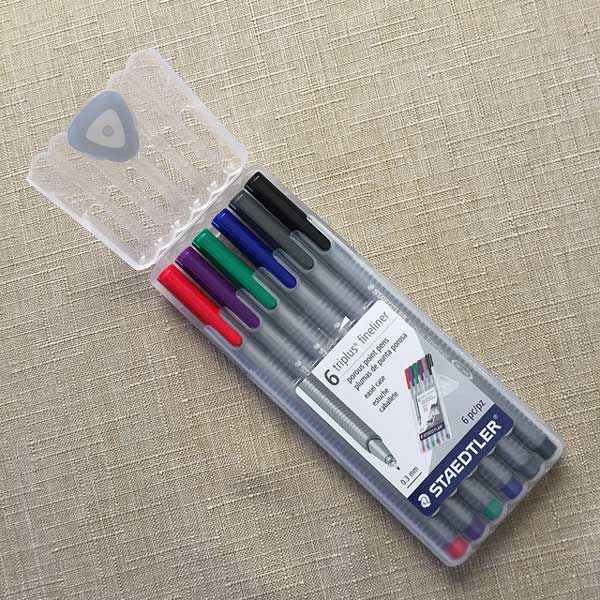
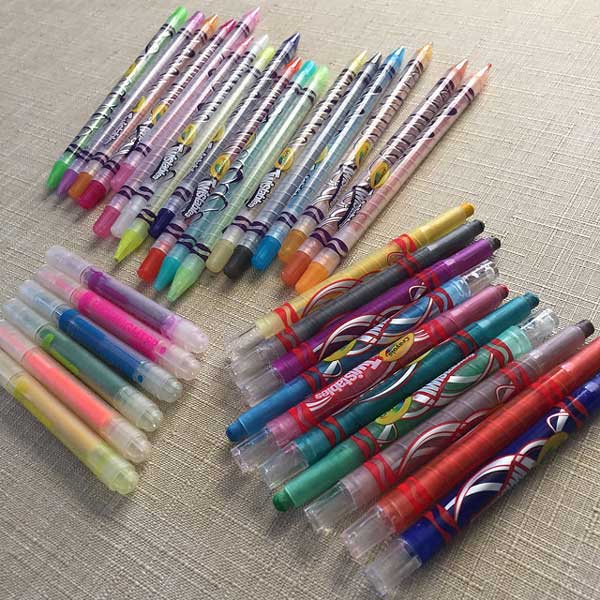
A set of no bleed pens that do show through to the opposite side of the journaling Bible's thin paper is essential. I found my set at Walmart. There are a lot of varieties and recommendations of brands of pens, but the key is that they be porous so they do not bleed. I can imagine as this hobby grows, more and more brands will be offered.
Even Sharpie offers a no bleed version of pens, which I may buy some day to add to my stash (see on Amazon). Just look for the symbol with the circle/slash/"no bleed" text. Search for "no bleed pens" on Amazon to find a wide assortment.
For me, the key would be to collect a wide variety of colors.
These pens give the fullest readability to text and are great for outlining. They make the deepest firm colors.

I have found this bottle of matte medium to be essential. I am all about minimalism these days and this bottle of liquid can be used for many purposes. It is used similarly to gesso. Two important aspects of whatever brand you buy, whether medium or gesso, is that it be "matte," rather than "glossy," and "clear" or "transparent," rather than "white." I have been happy using this product, so I am going to stick with it.
Be sure to get a small paint brush to apply the matte medium.
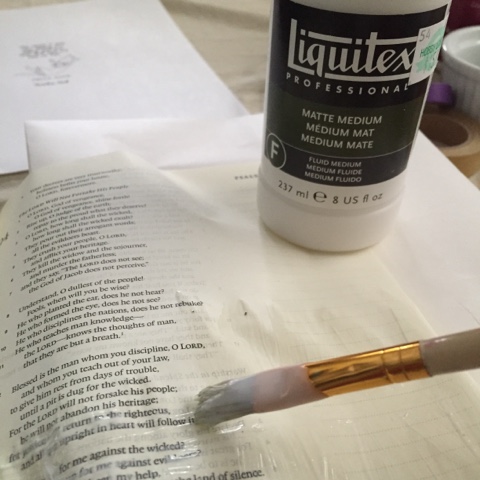
The matte medium is used to prepare the pages before you do any artwork on the pages. This is not always necessary and many people do not prep their pages. However, if you use watercolor, it would be important to prep the pages to prevent bleeding through to the other side of the page.
I use the matte medium as glue to glue down my printed text and stickers. There is no need to use another glue, although I have seen many other options available. You can try any glue, even spray glues, but I prefer "less is more" for portabilitity.
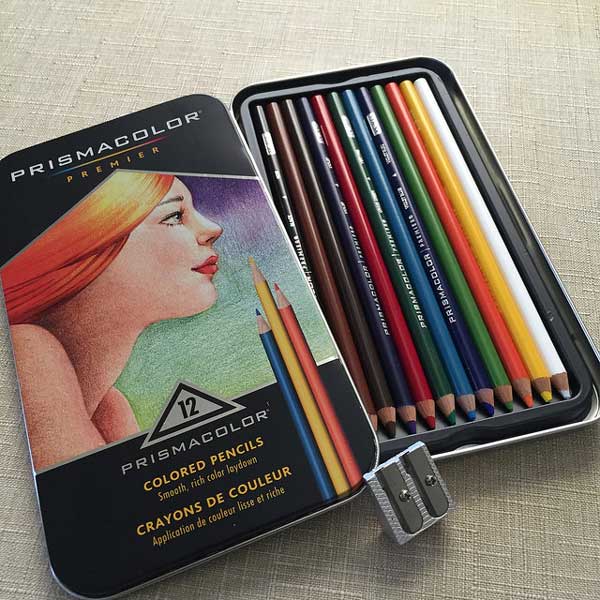
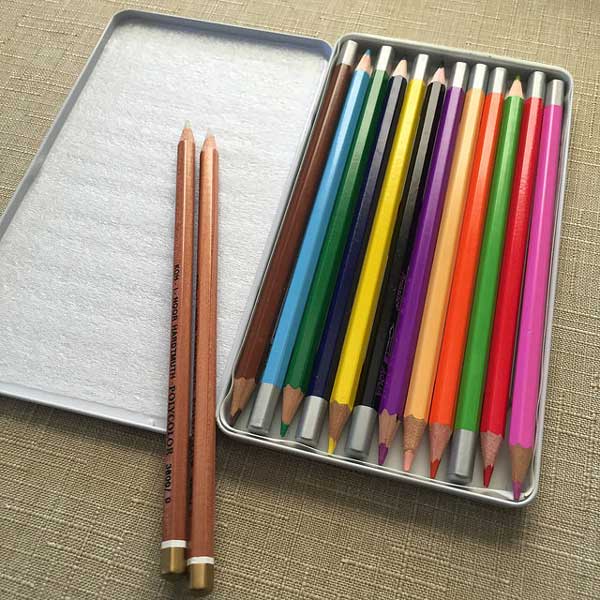
It is often read that the Prismacolor brand colored pencils are the best and as I play, I am tending to agree. They do give a much brighter, bolder color than the crayola pencil brand seen in the image below. If you have the funds, I would invest in the larger kit of these pencils so you have a wider variety of colors available to you. It will be on my wish list for a few years and I will probably get the larger kit eventually. Hopefully someone will gift it to me.
The crayola twistables are great! They come in pencil (top of photo, longer) and crayon (right of photo, shorter). I like the variety of colors for an inexpensive price, but honestly I rarely use the pencils as I grab the Prismacolor ones above first. However, the crayons are awesome! I actually will go for the crayons before I will anything else, including the pencils. I recommend getting the twistable crayons as they are inexpensive and a great place to start if you are low on funds. On the left side of the photo are some highlighters I already had at home for a number of years. I use these quite often too. So I recommend getting some "no bleed" highlighters also.
It is necessary to find something to put between your pages to protect the pages underneath, as well as the edge of your book, as you work. As you press down, indentations can be made onto pages underneath. When working working close to the edge of the page, it is easy to mess up the edges and pages below. I found this plastic placemat for a few dollars and cut it up. The smaller one actually fits in my pencil bag that makes it portable and the larger one fits in my box (see below) as well. Companies are coming out with other products for purchase, so look for your options, but this works well and is easy to find.

Washi tape is not really a necessity, but it is close to it! I use it to adhere my Digital Bible Journaling pages and I used it to adhere my tabs. However, they are great to hold down anything or to just use as pretty filler in spaces. They can be used for adding "tip-ins."
These are watercolor pencils and blending pencils. If you are not a natural artist, I would recommend putting this on your "grow into" list. The people who share amazing artwork online will tell you they use these, but their skill level for art is already high. If you already have great art skills, then certainly explore this option.
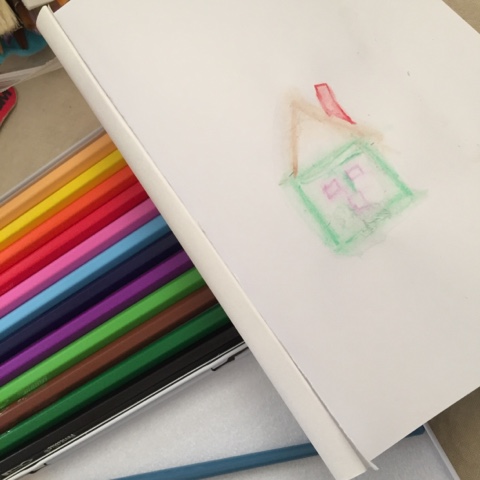
This is my first play with the water color pencils and as you can see, I was not too successful. I was better with my second attempt as I read and learned more how to use the pencils.
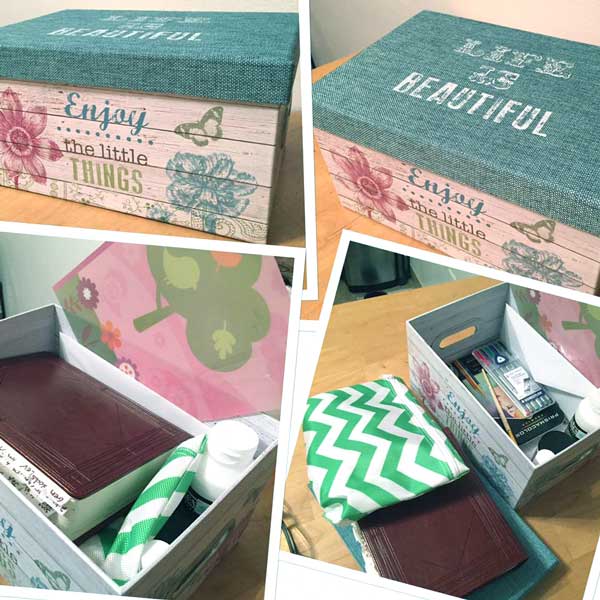
I bought a fun box to keep my journaling Bible and supplies in so I can carry it about my house or even if I travel. There are a lot of people who create small spaces in their home called "war rooms," so I consider this my portable "war box." Maybe yours would be a bag rather than a box. I just found it easier to leave things in the box to find them while I work. The lid is a great place to dump out pencils and crayons.
I am also considering a bag, such as the one I use for my iPad, to carry a minimal amount of supplies and the journaling Bible with me to Bible studies.
To print text or digital stickers, you will want to consider what type of paper or vellum to print on. Thinner papers are important so that as you add more and more to your book, it will not be too thick. However, how white a paper is also important because printers do not print white, but merely allow the color of the paper to be the white.
A craft heat tool is not essential, but certainly handy unless you enjoy lessons on patience. See varieties on Amazon. They are great for blowing dry the gesso or matte medium or watercolor. Sometimes they are referred to as embossing guns. Yes, I have used my hair blow dryer, but the large size is not convenient.
Acrylic paint is another option and the small bottles can be purchased inexpensively. I have a whole toolbox full of them. I have not explored this tool yet.