SET ONE
Lesson 1 - Clipping Masks (pdf) (link to comment)
I have decided to start Course 2 off with the Clipping Mask tutorial because the skills learn are so vital in many of the other tutorials that follow. If you have not yet learned how to use a clipping mask, it will open up whole new worlds for you!
In Course 1 you learned how vital the use of the Control J command was so important in cutting papers.
In this lesson, you will learn two other methods to cut papers and photos into shapes using a “clipping mask.” What is great about using a mask rather than the Control J method is that it is editable, rather than permanent.
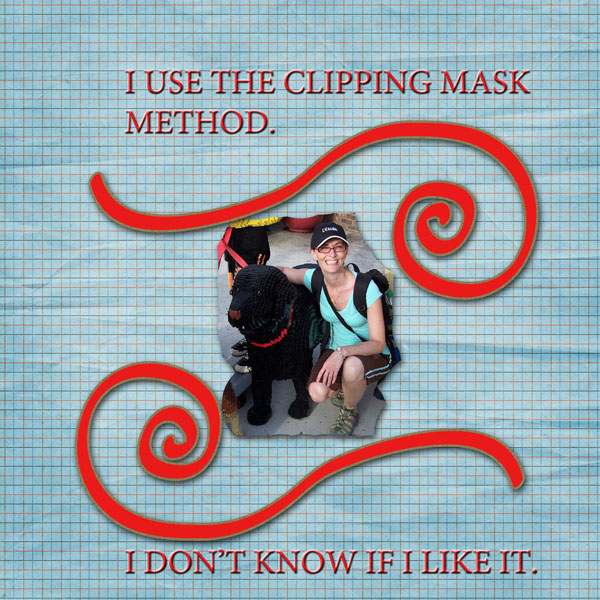
- Learn how to clip a shape and a paper/element together using the Control G method. I use the Control G method almost as much as I do the Control J command. The Control G method is not a true clipping mask, but the terminology is often used as such in the digital scrapbooking world, so I have included it as such in this tutorial.
- Learn how to make a true clipping mask. Actually, this is the method to “fake” a mask in Photoshop Elements that works similarly to the full version of Photoshop. This tutorial is the basics for using a mask and can be difficult to learn, but I would suggest that you work with it a long time until you understand how it works.
NOTE: Fake masks are no longer necessary with the newer versions of Photoshop Elements as they have a mask icon, but you can still learn some new skills that can be utilized in other ways.
When you are done reading the tutorial, watching the video, and practicing the techniques, choose one or both of the layout ideas below to create a layout utilizing these skills.
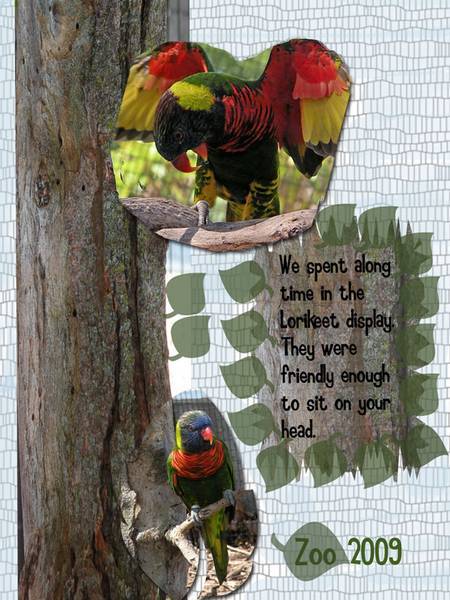
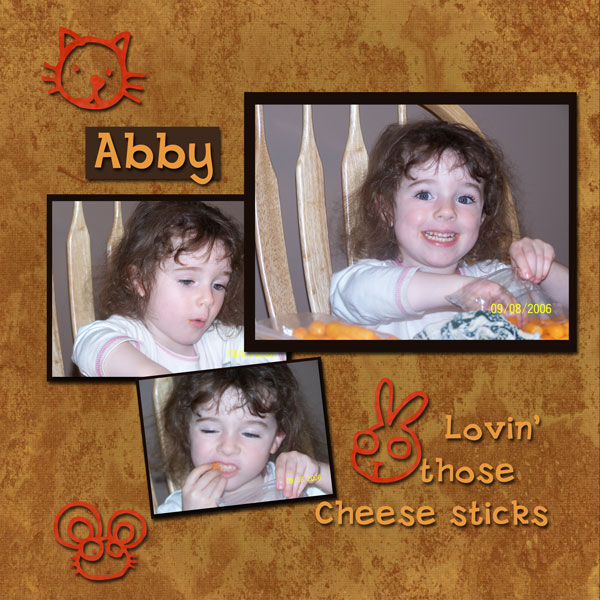
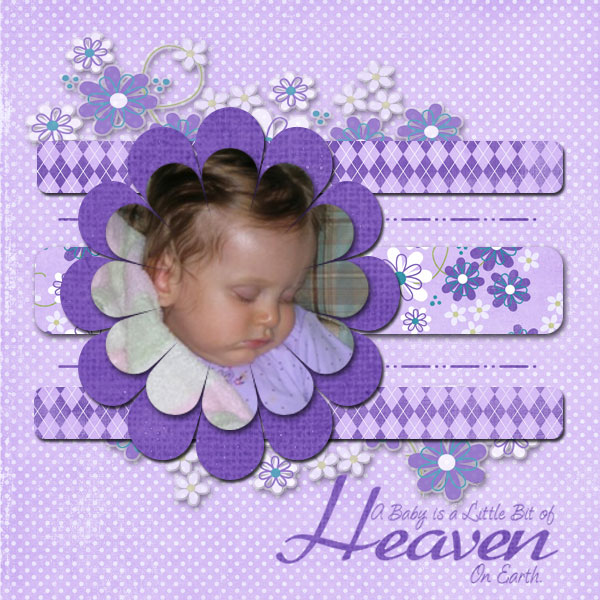
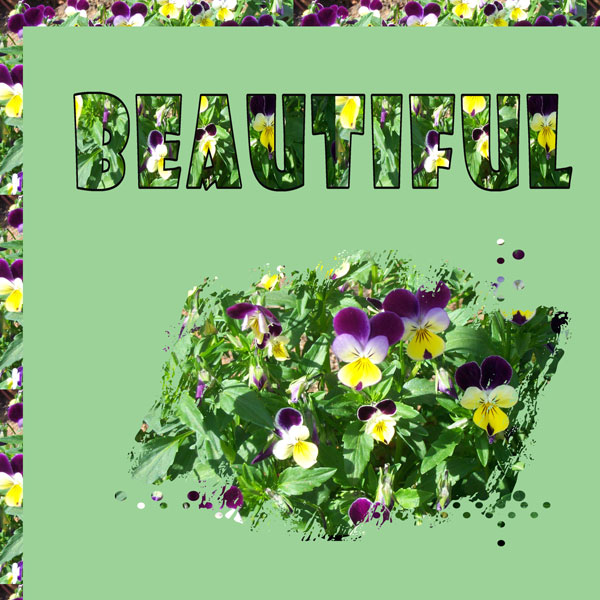
1. Use the shape tool to make any shape. Clip your photo to the shape layer using the Control G method. Build the rest of your layout around your photo, upload to the gallery, and come back to the thread to share.
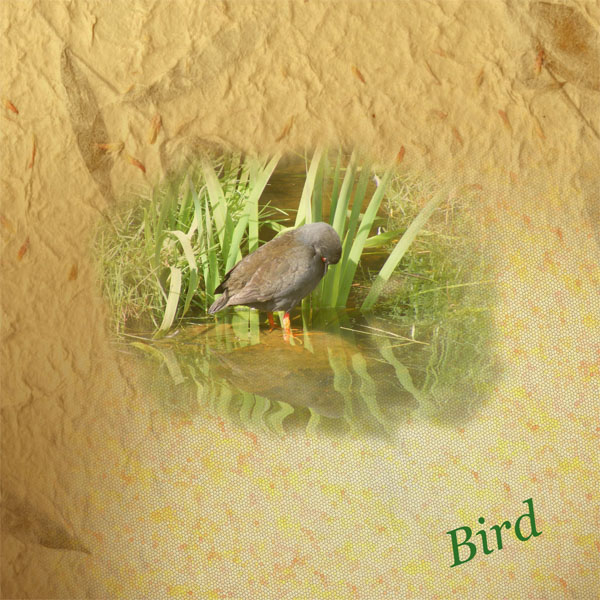
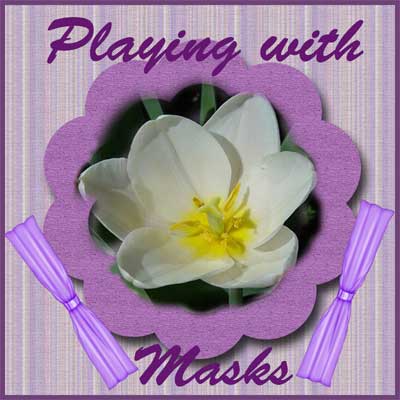
2. Use the “fake” clipping mask method to blend a photo as is shown with the bird in the tutorial. Finish your layout, upload to the gallery, and come back to the thread to share.
I look forward to seeing your layouts!

To create a true mask in Photoshop Elements, you may download Grant’s Tools. They are free and can be found here. Grant’s Tools are a “.atn” file and, therefore, follow my plug-in tutorials for actions in order to install them in your version of Photoshop Elements.
In addition, Photoshop Elements 9 has been improved to include masks!
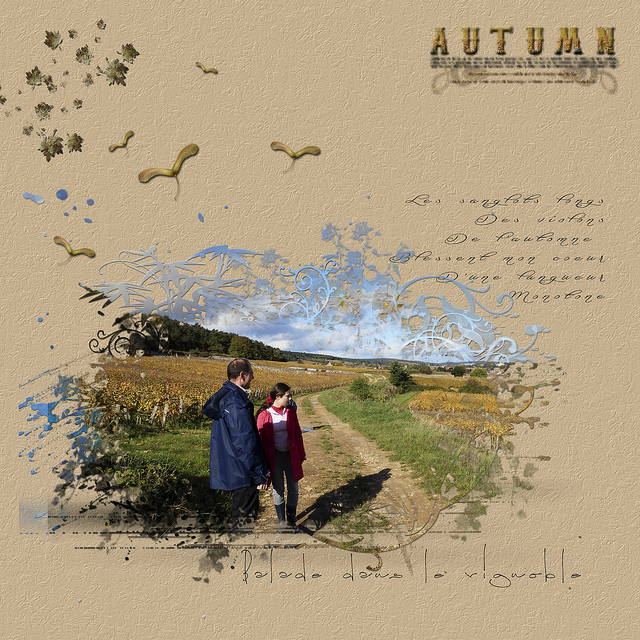
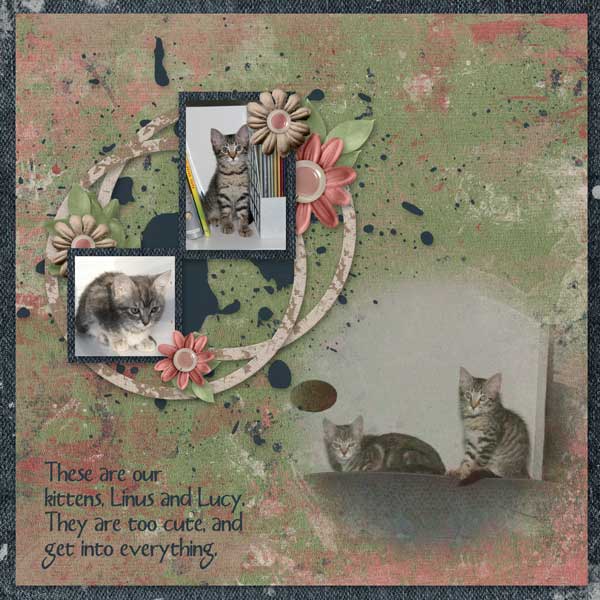
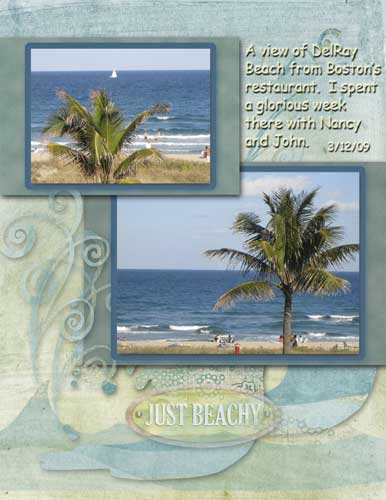
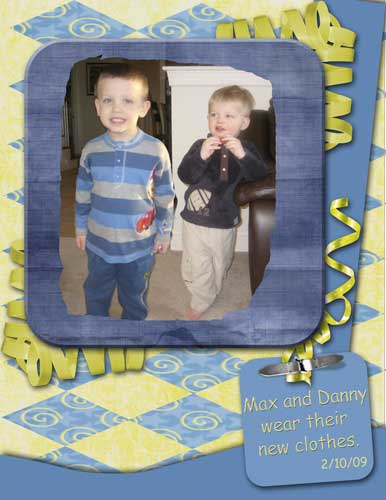
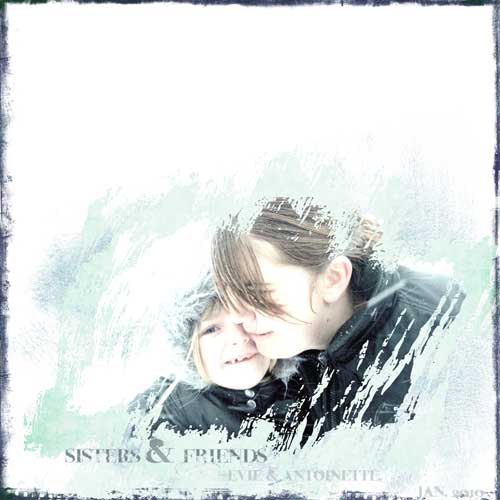
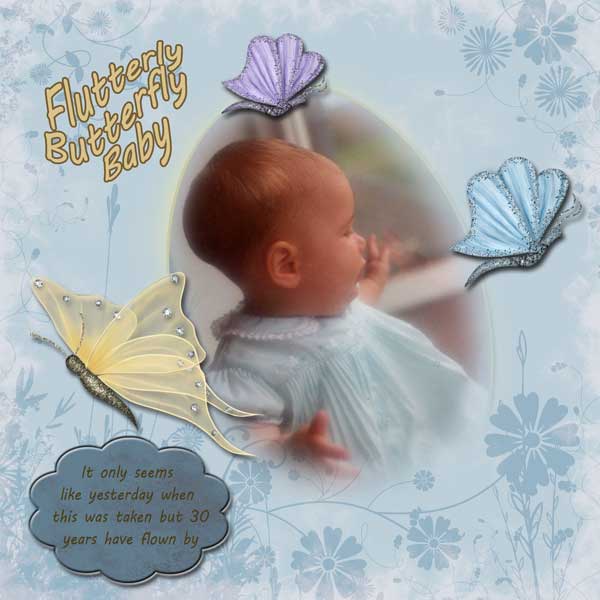
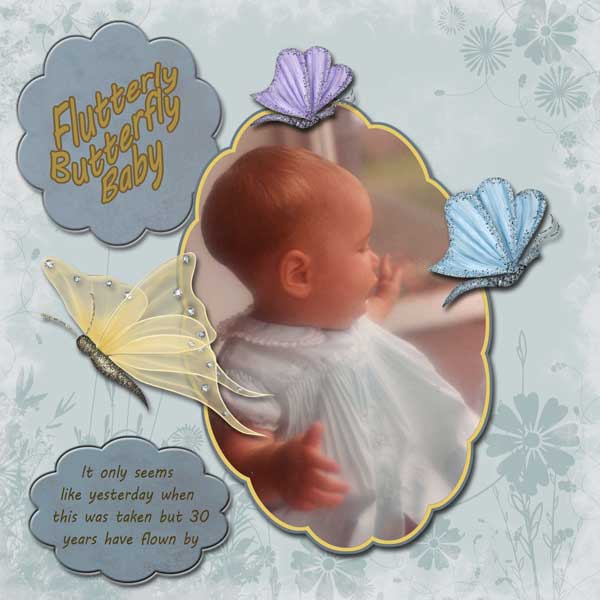
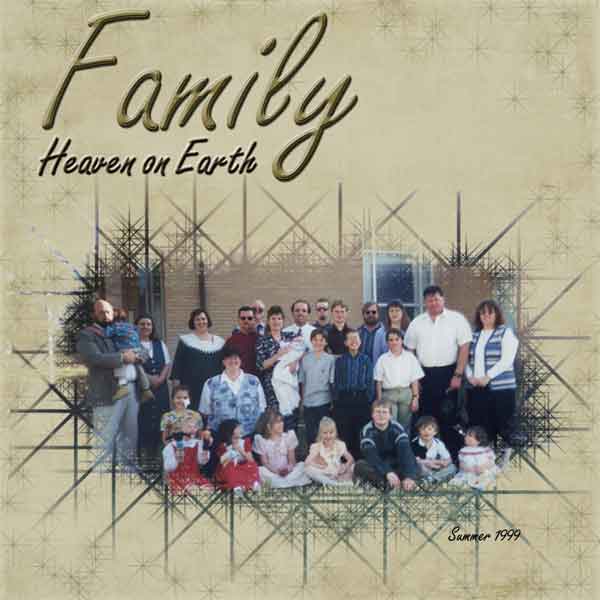
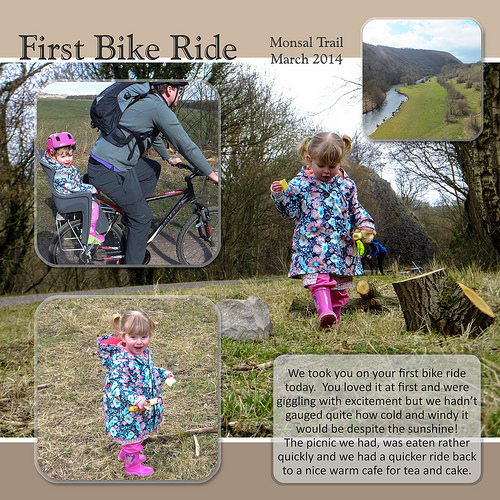
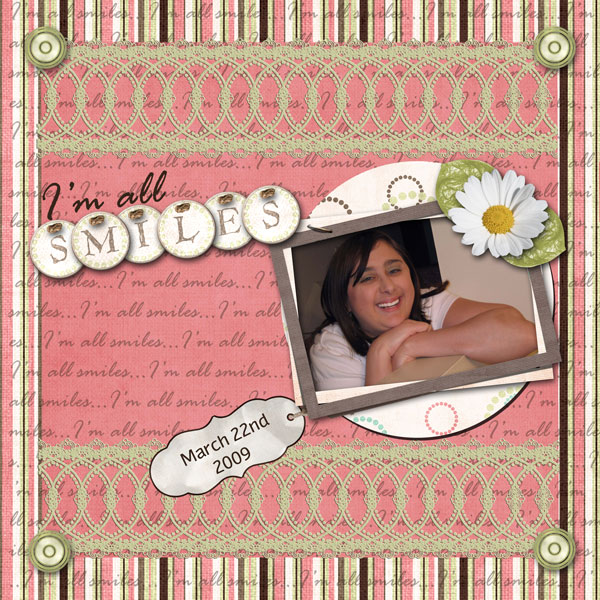
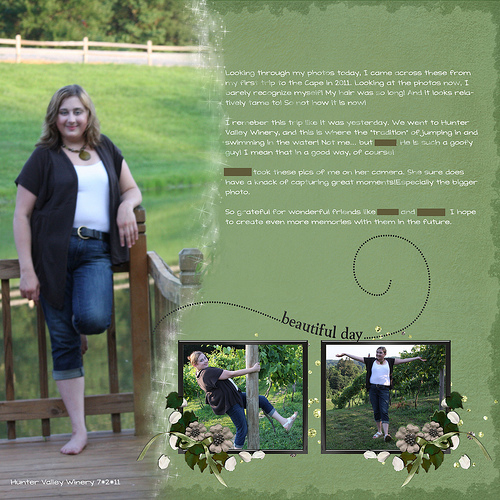
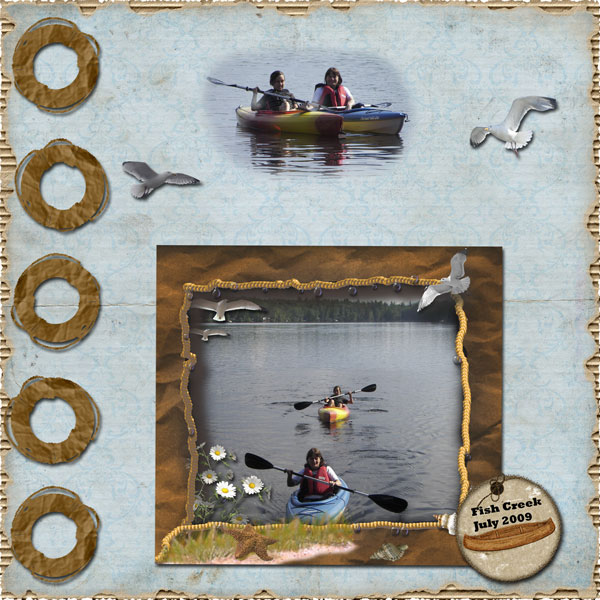
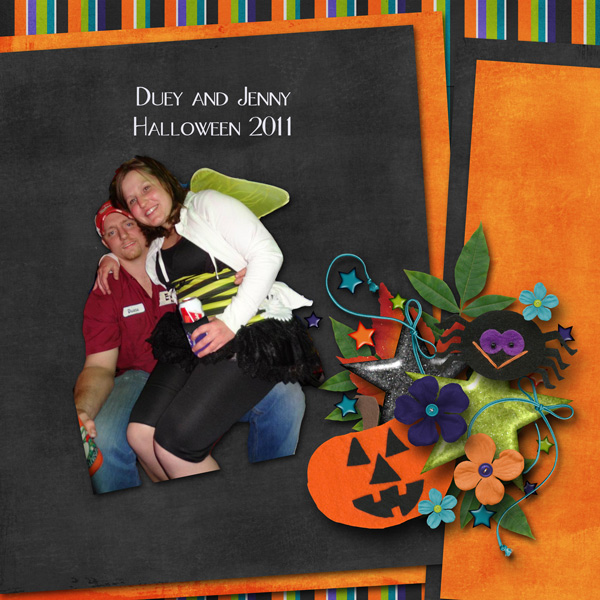
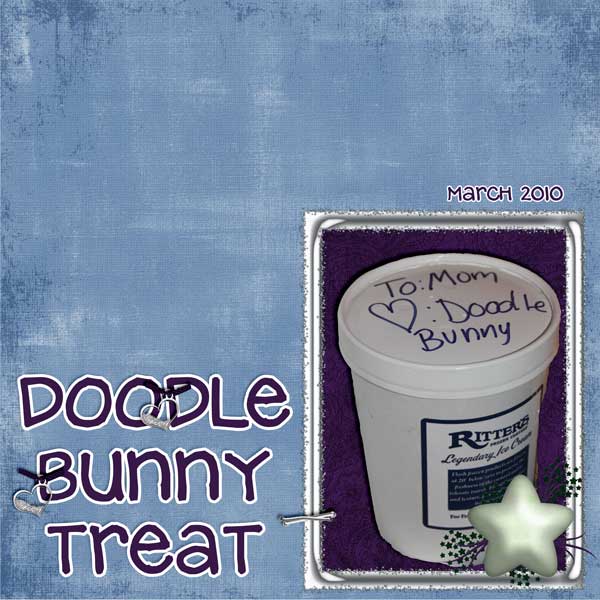
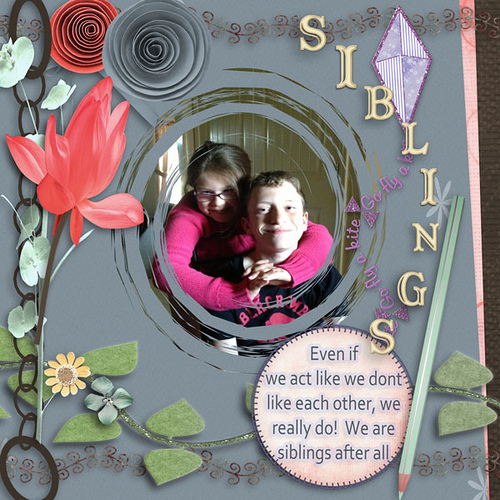
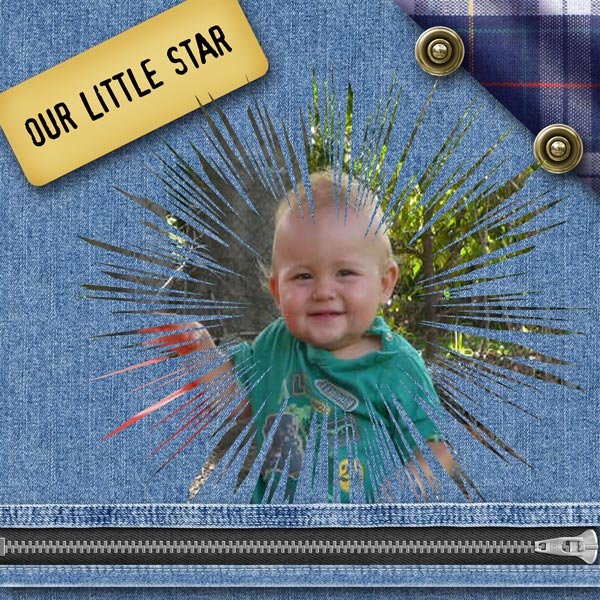
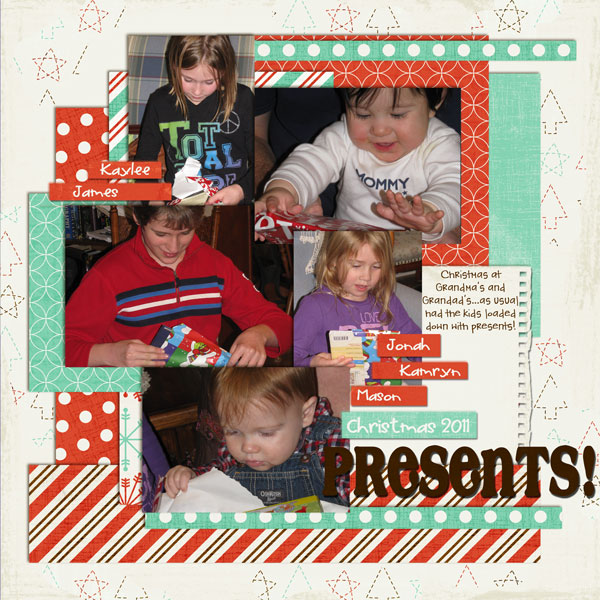
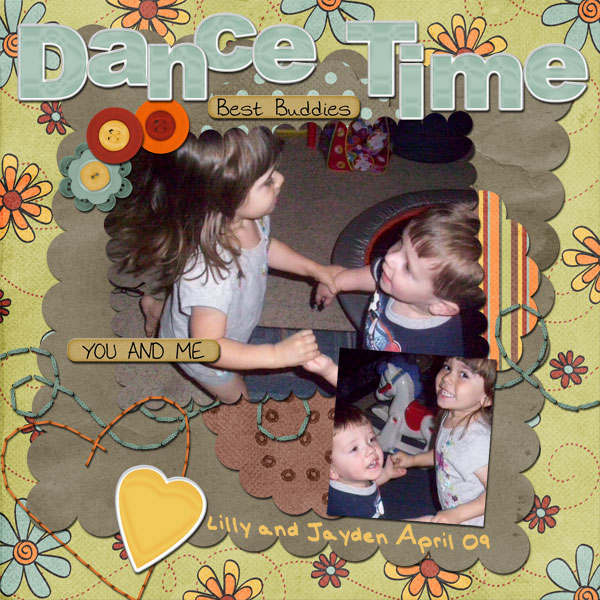
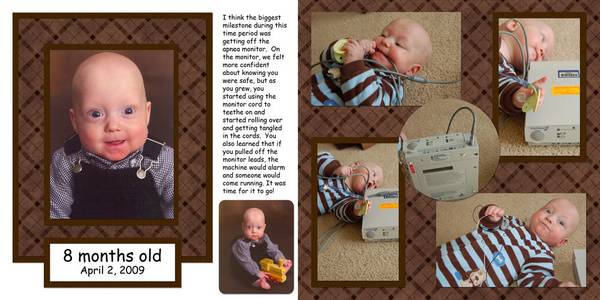
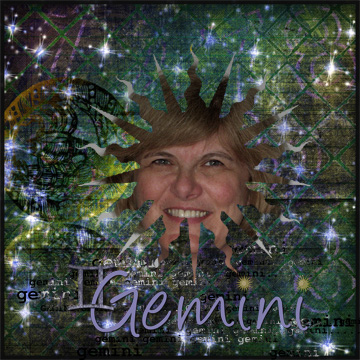
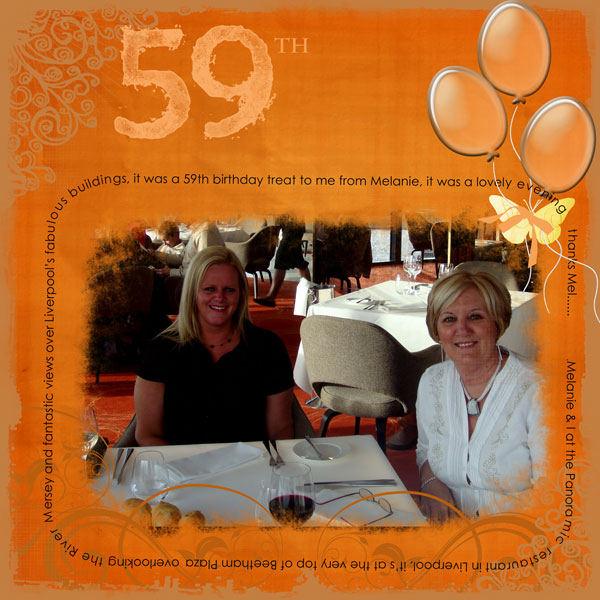
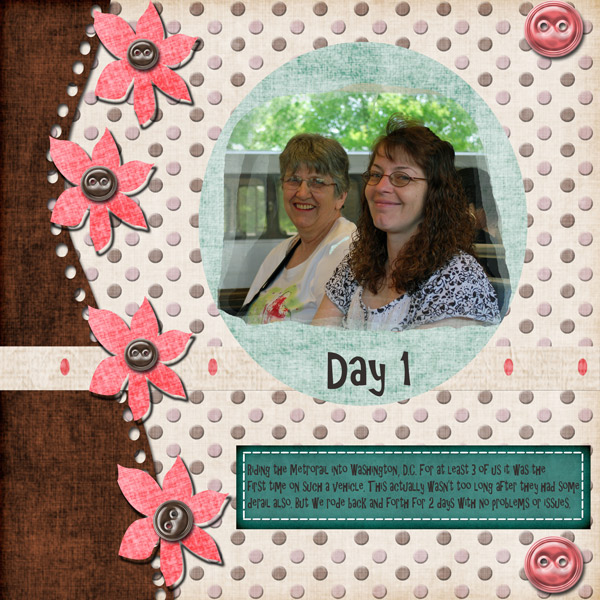
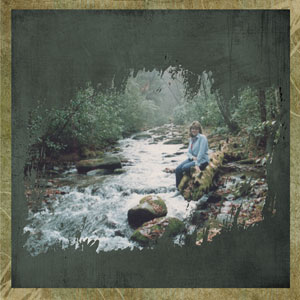
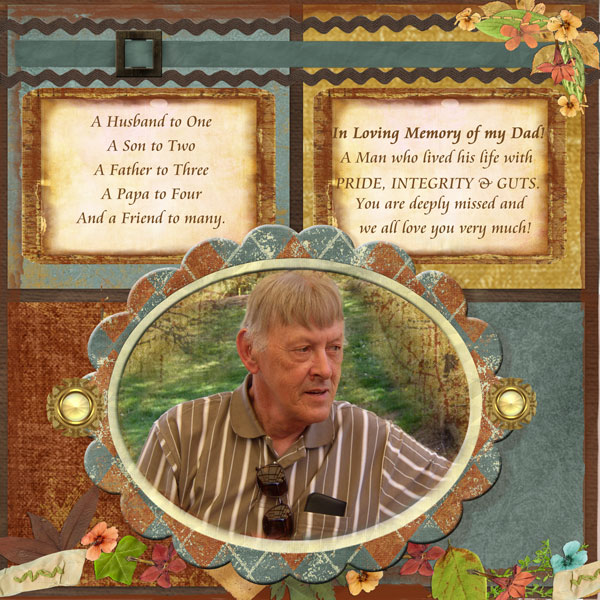
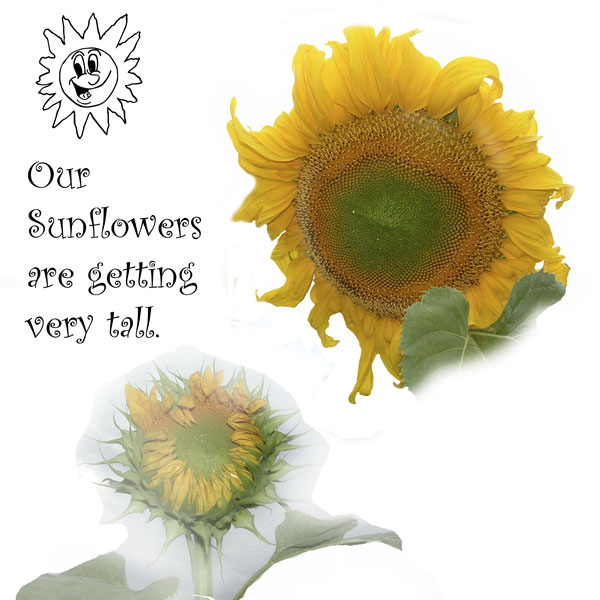
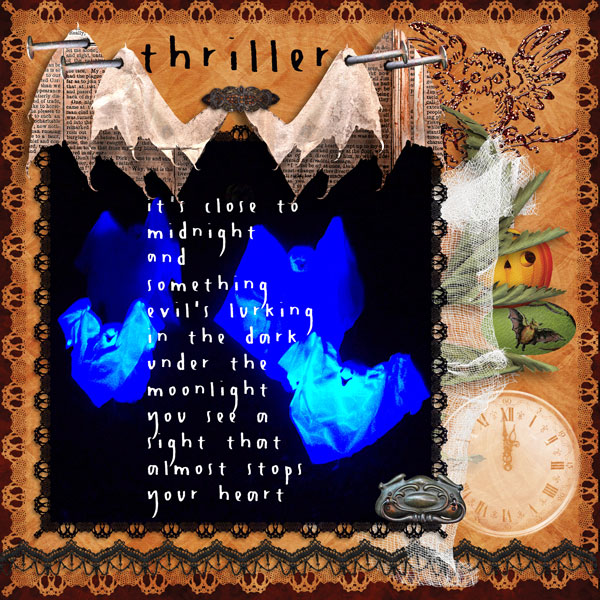
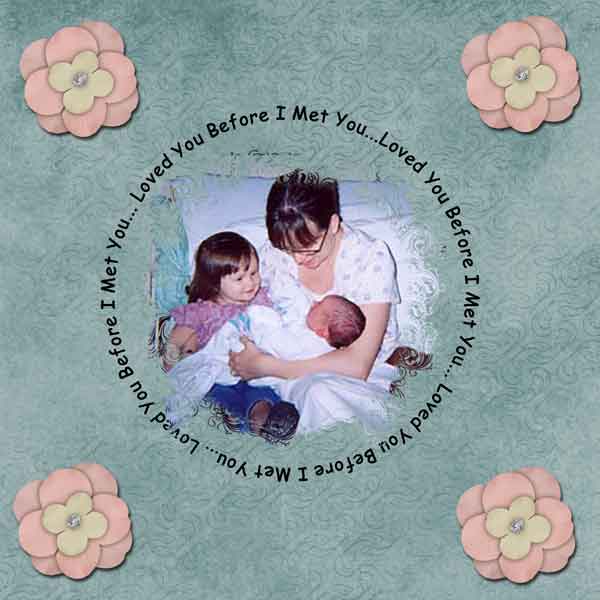
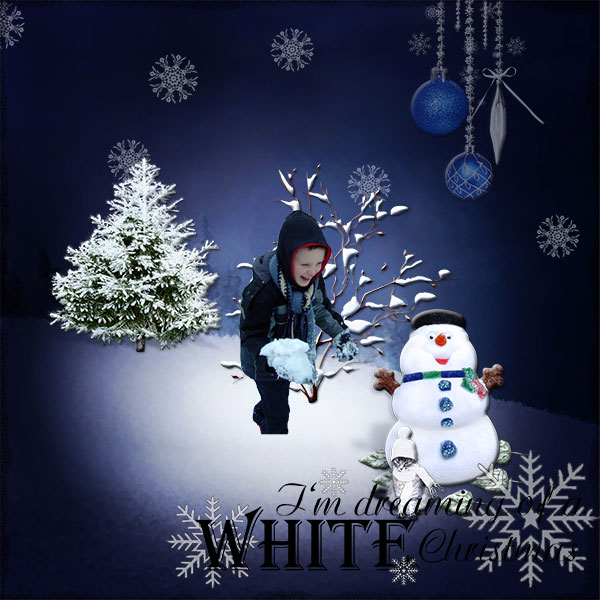
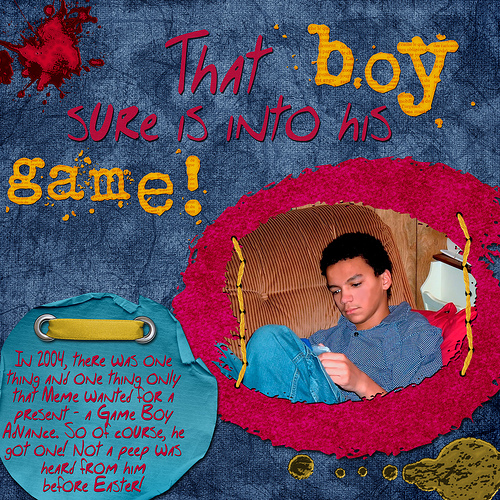
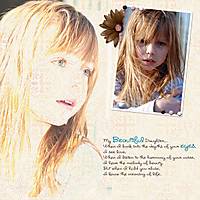
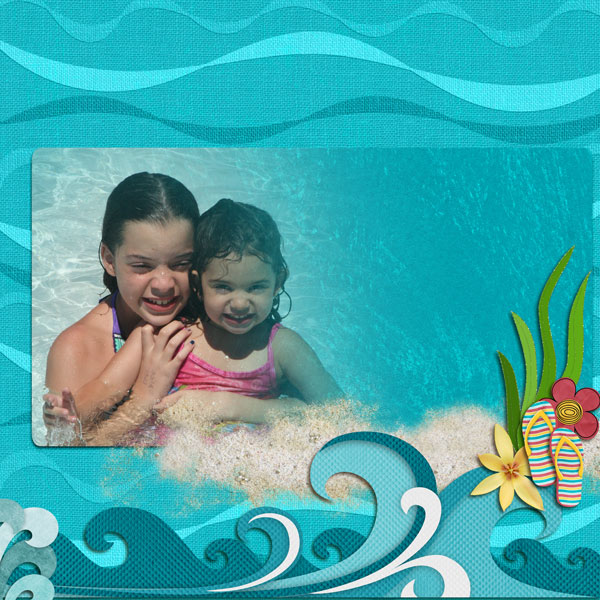
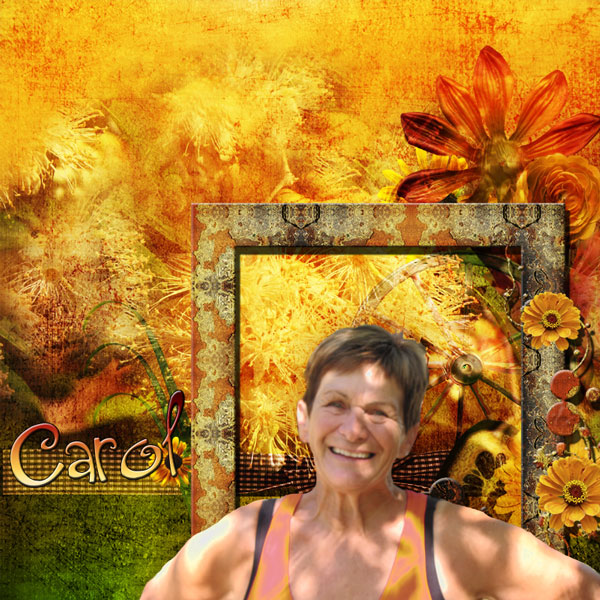
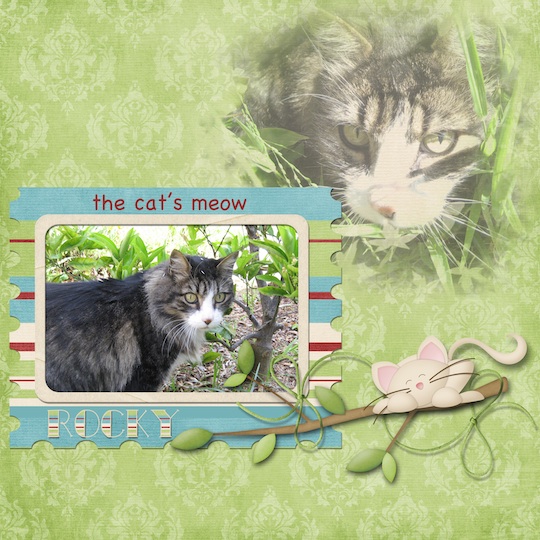
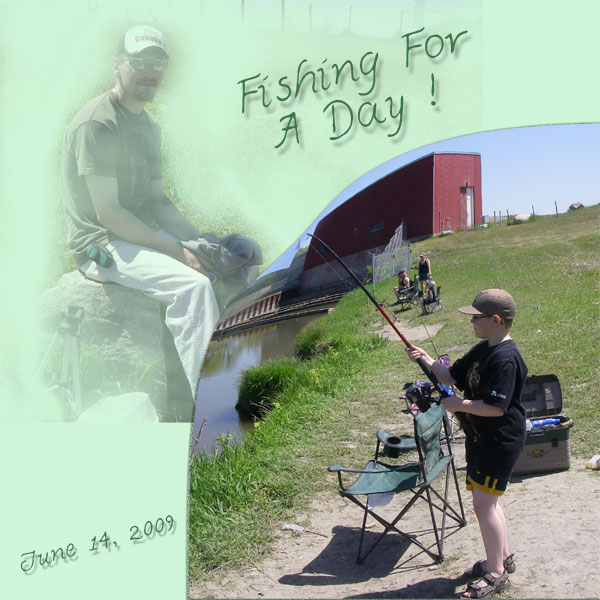
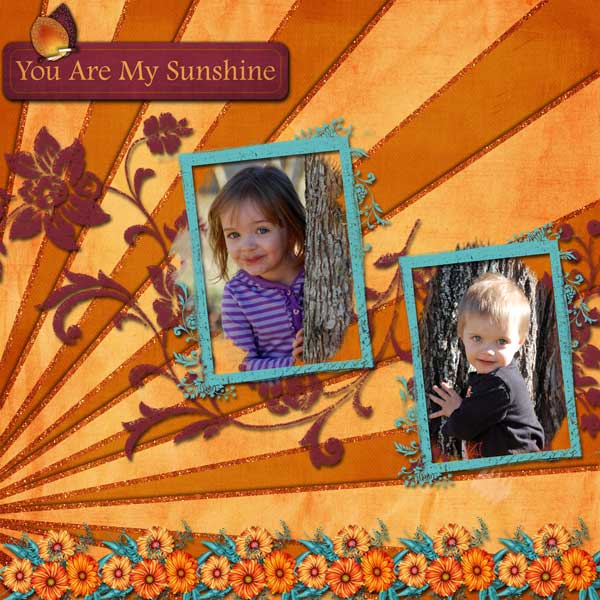
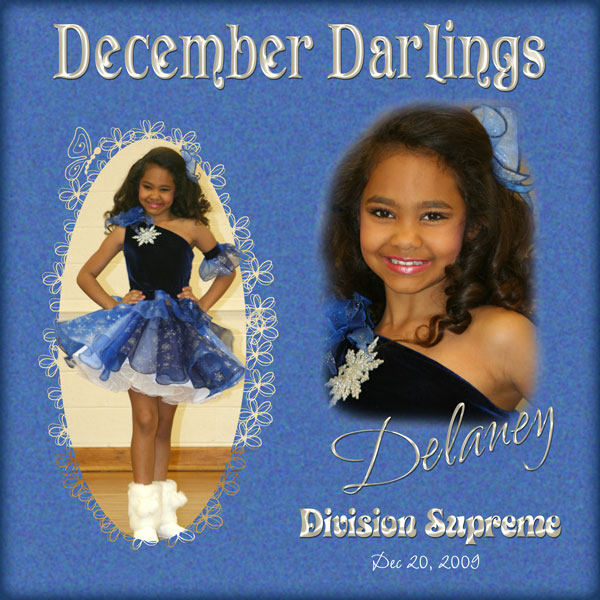
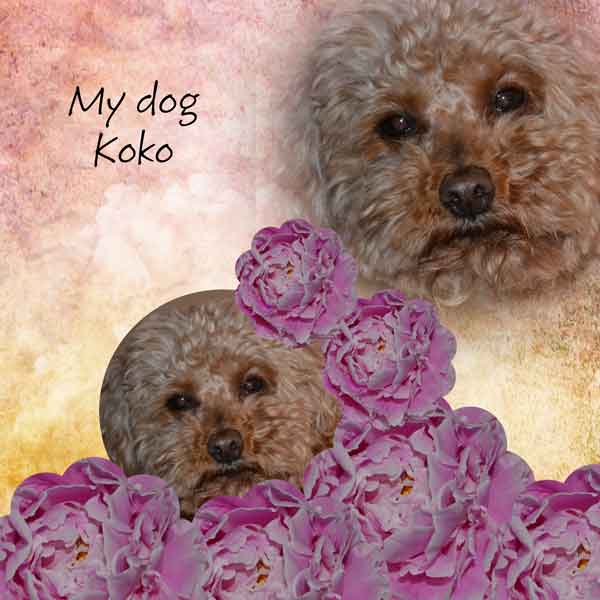
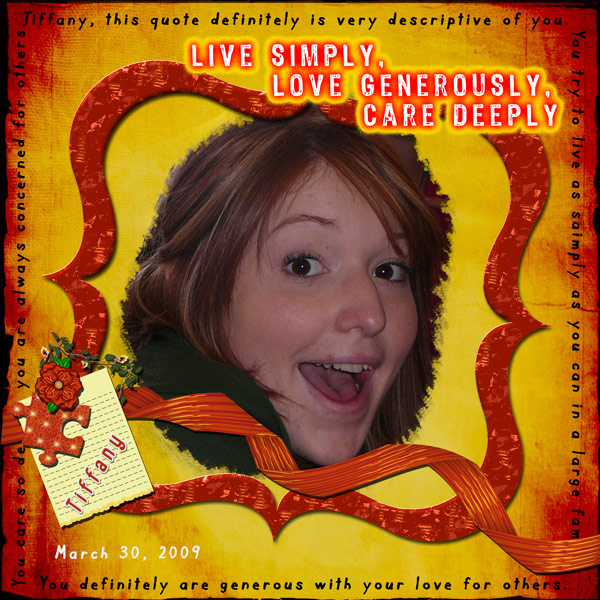
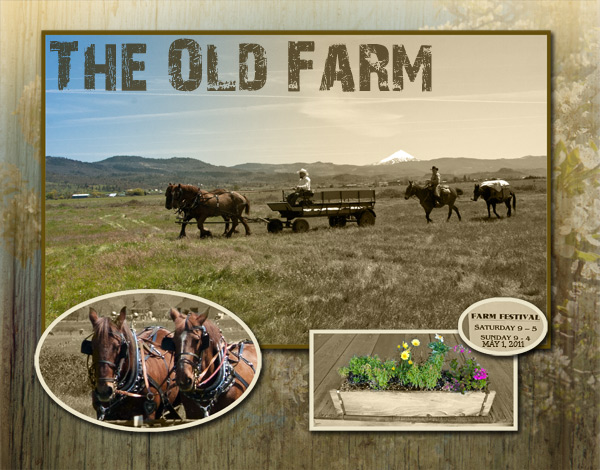
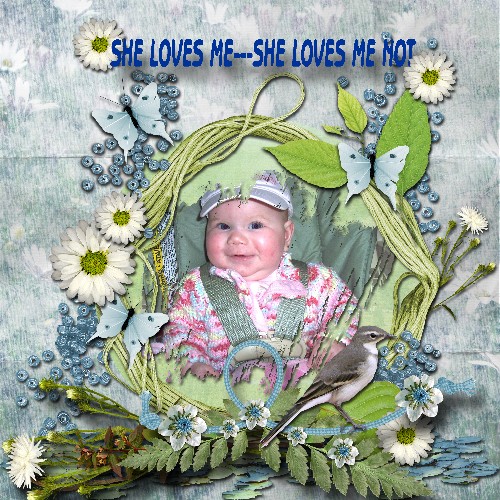
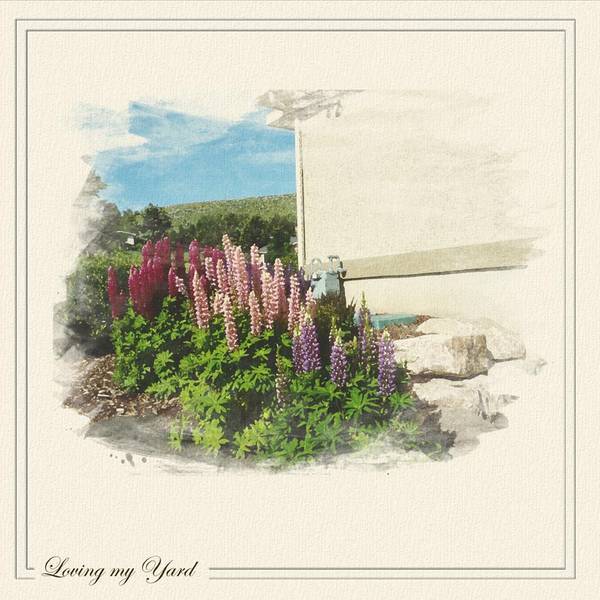
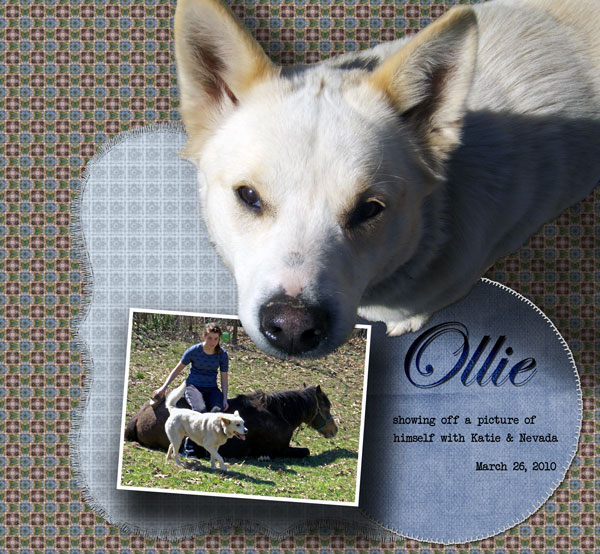
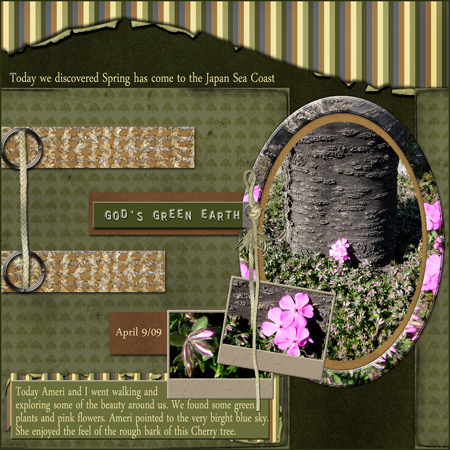
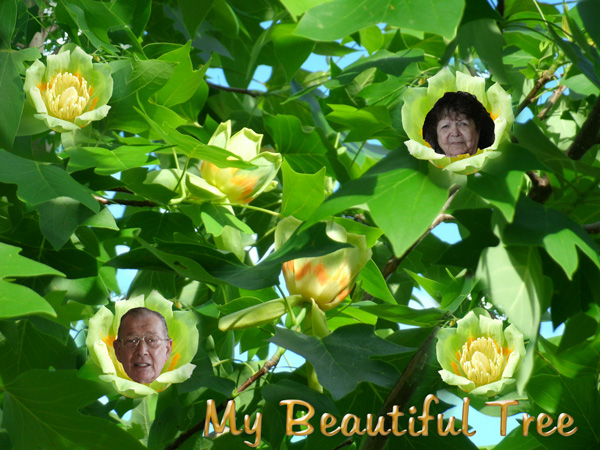
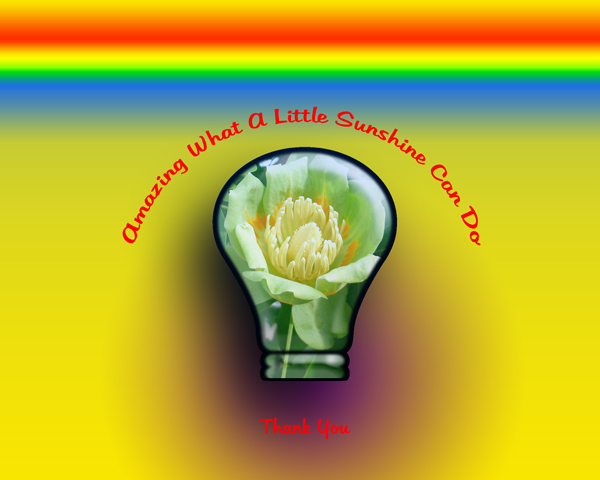
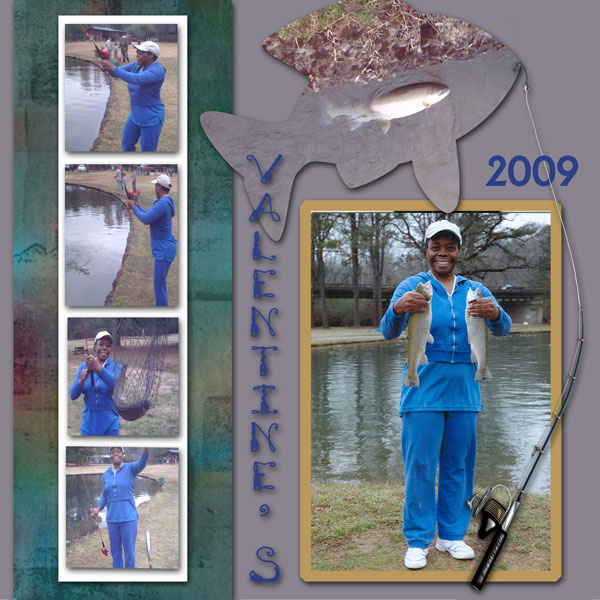
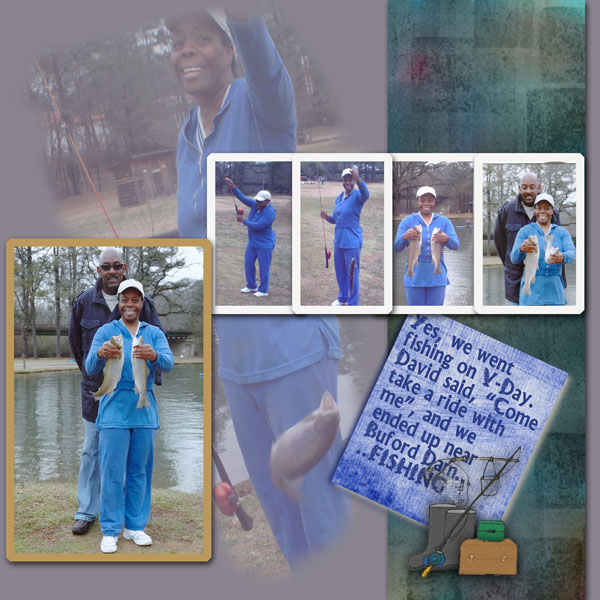
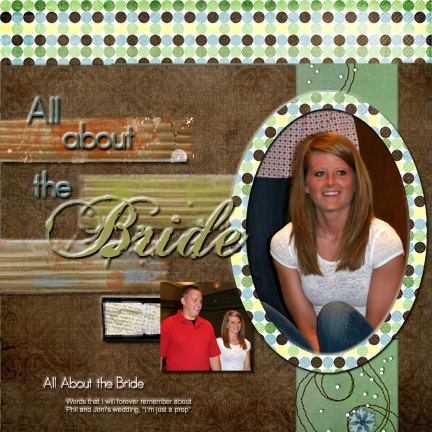
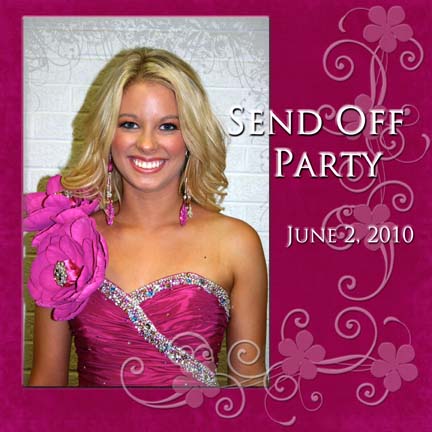
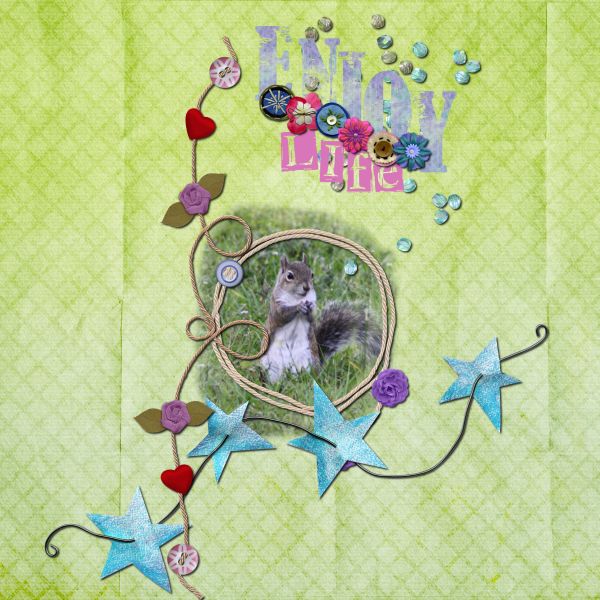
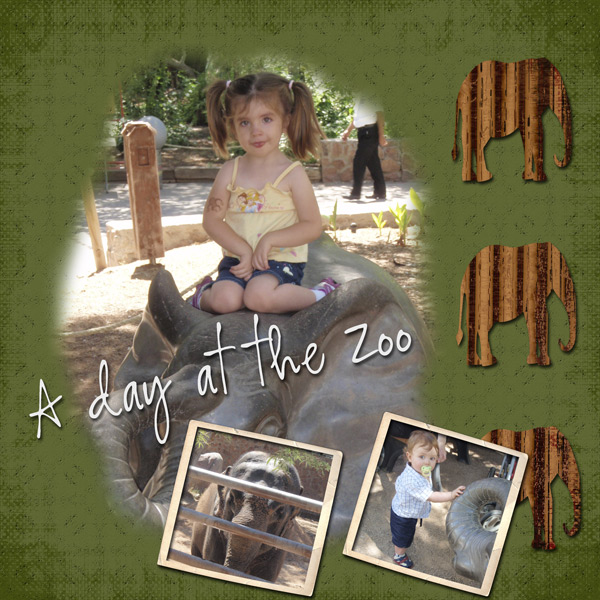
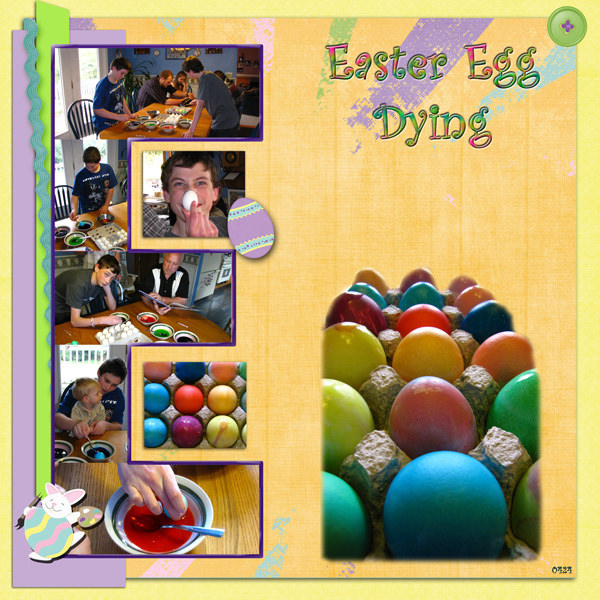
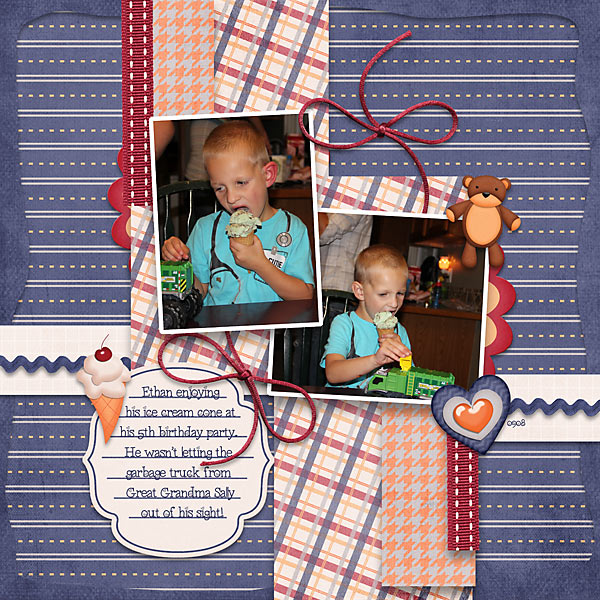
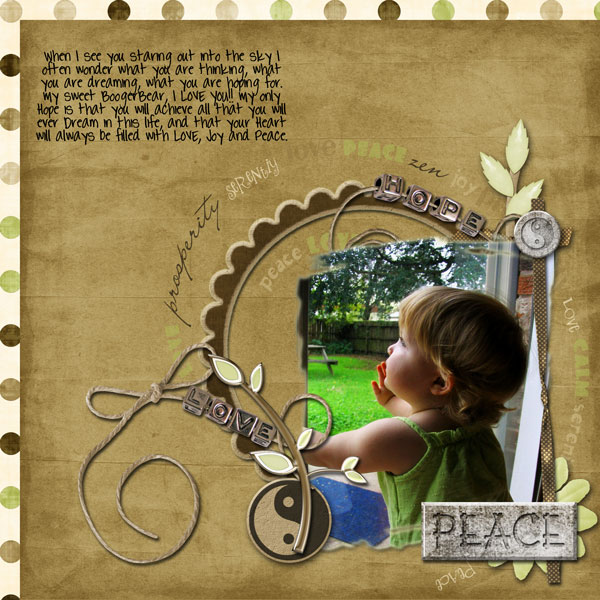
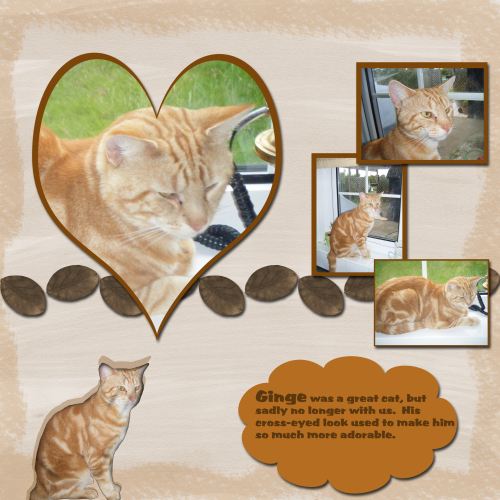
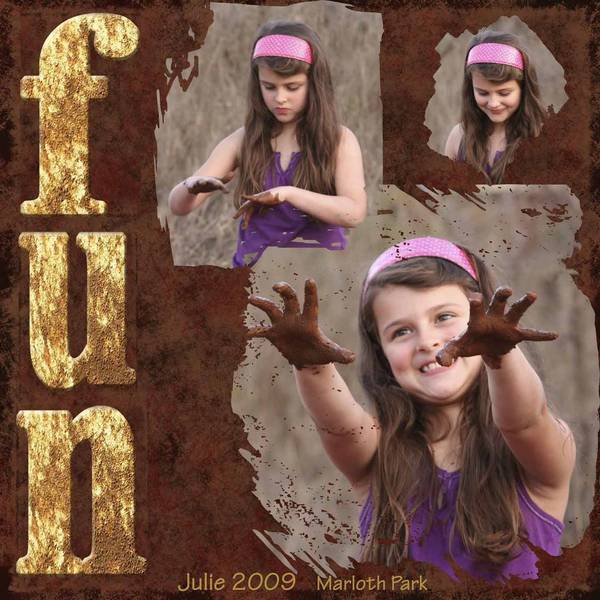
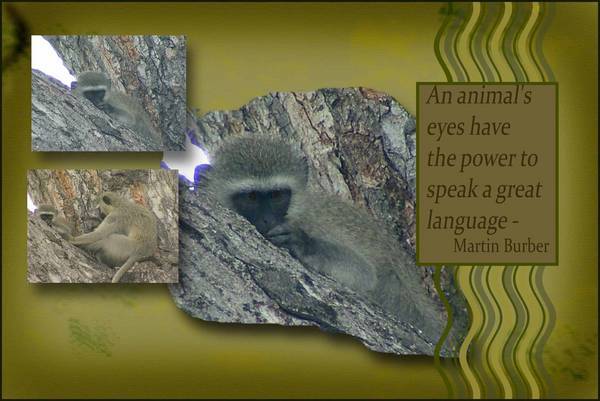
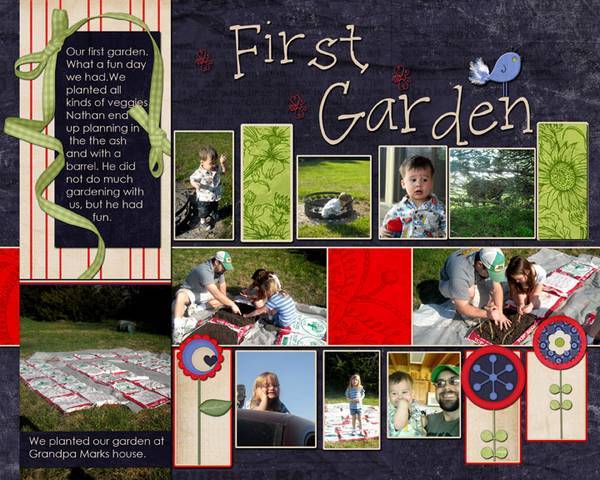
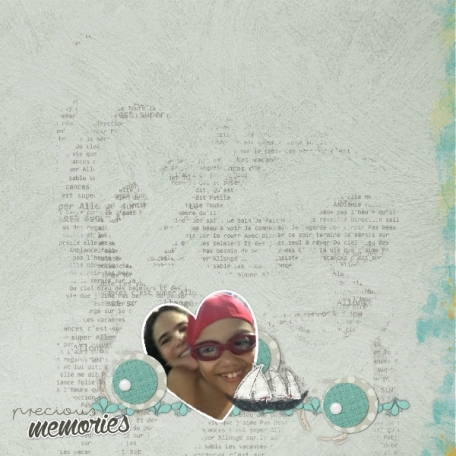
Here are your digital scrapbooking layouts!