SET TWO
Lesson 22 - Punch Shapes Tutorial (link to comment)
(pdf this is only supplemental, please watch video for lesson)
Oh, the possibilities with this tutorial are numerous! Let your creative imagination go! You can make a shape out of anything and then punch holes into your papers with that shape to allow the papers below to show through. What a simple way to make a little impact with the theme fitting for your layout.
Goodness, I wrote the written tutorial so long ago! I see it is missing a step in that you need to obtain a selection after making the shape.
PLEASE NOTE, this lesson is to punch a shape into a paper to allow the paper below to show through. This layout assignment is not to just use the cookie cutter and put a shape on a layout. You will be using the cookie cutter to make a shape, but then use that shape to make a selection, and then use the erasure tool to punch out the shape on a paper, ribbon, etc.
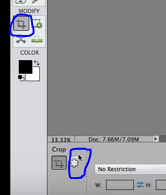
In later versions of PSE, the cookie cutter tool can be found as a subtool under the crop tool as circled above.
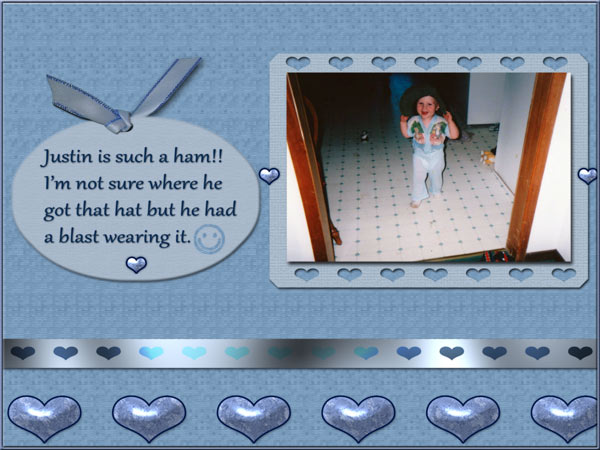
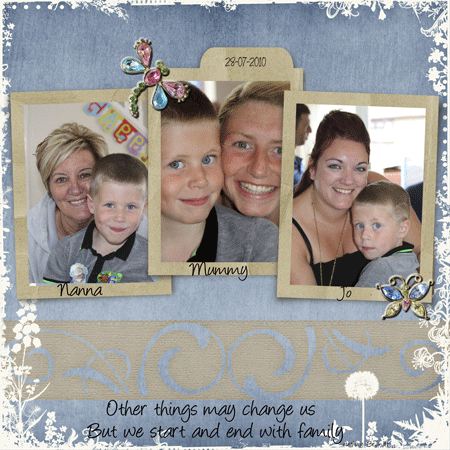
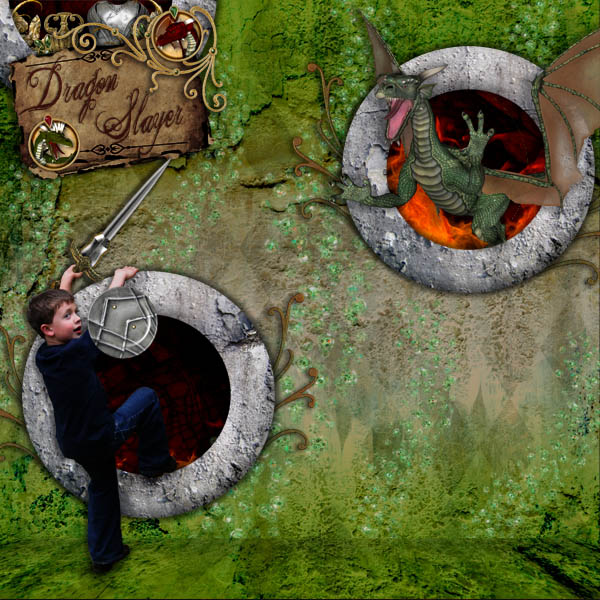
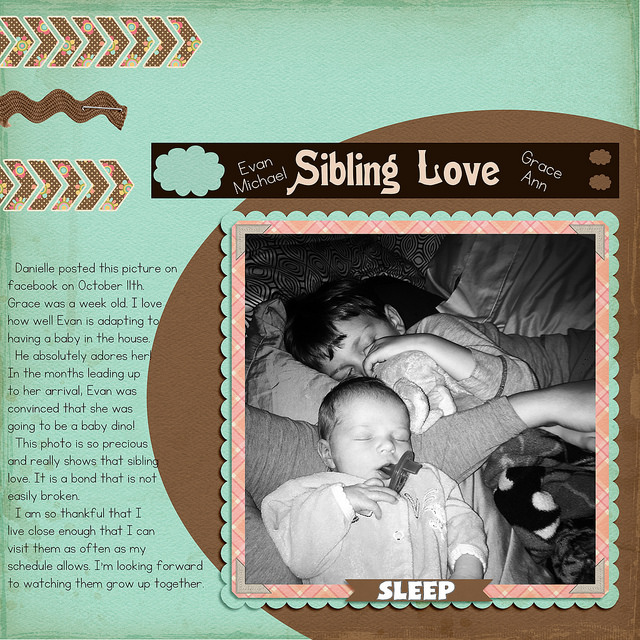
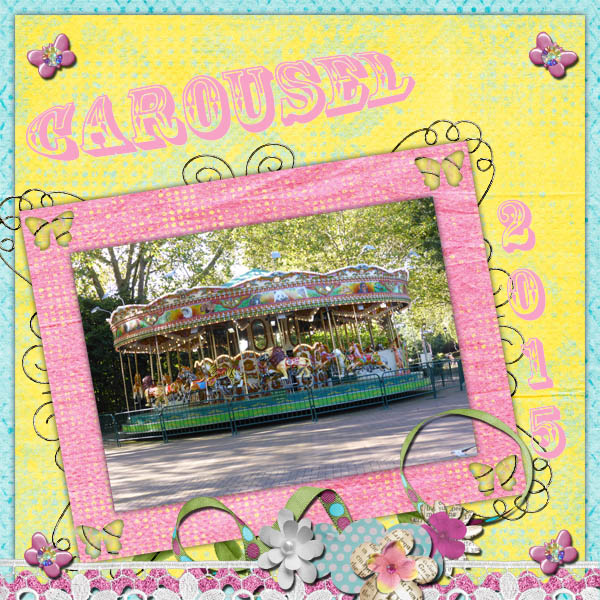
Here are your digital scrapbooking layouts!
PLEASE NOTE. Not all samples below were done correctly. Some were just done doing the cookie cutter tool. That is NOT the lesson. Please watch the video. Many students have done this lesson wrong. You should be able to see a different paper below where you have punched out a shape on the top paper.
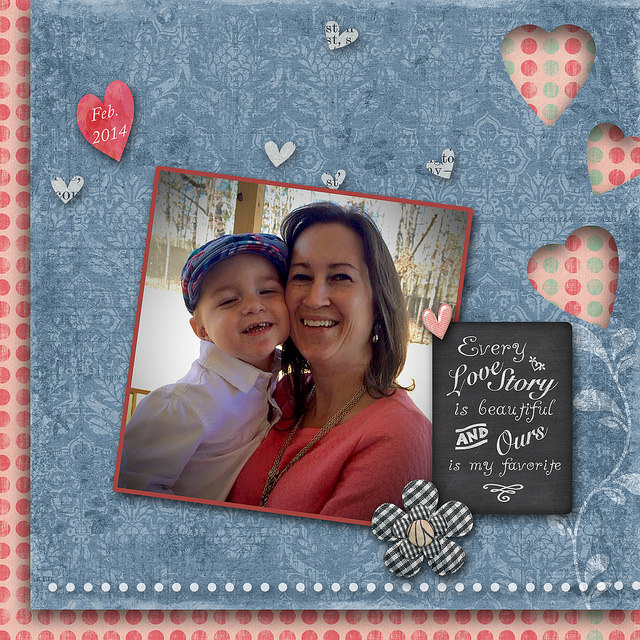
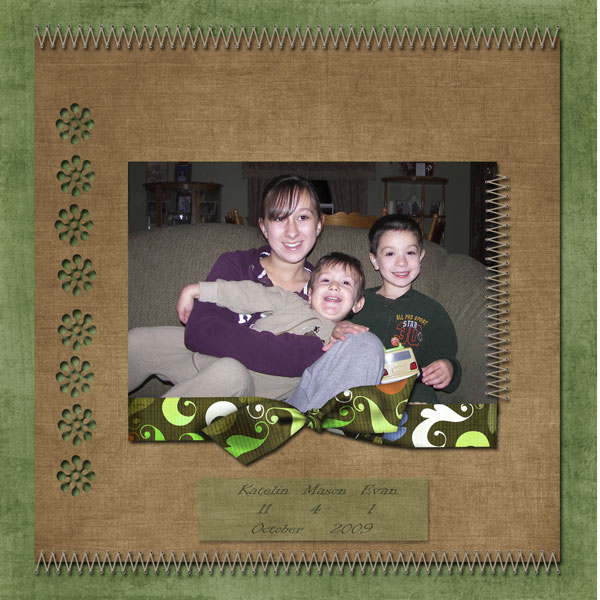
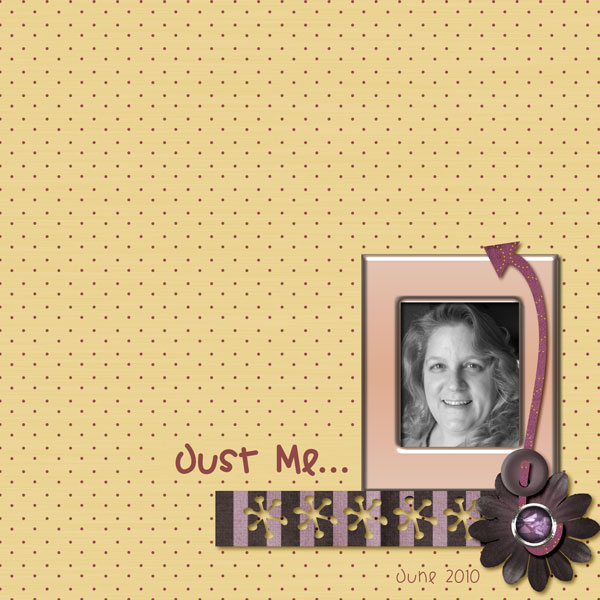
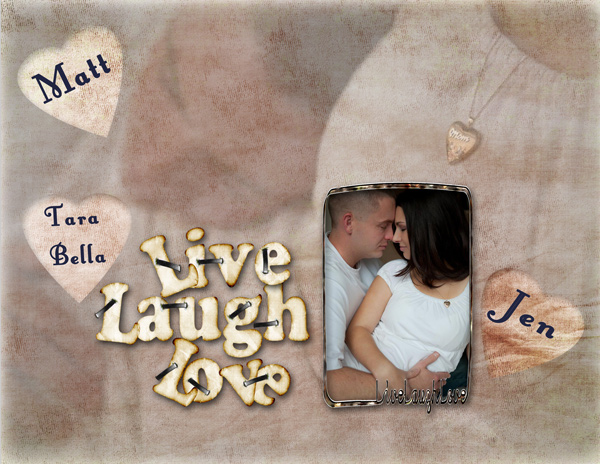
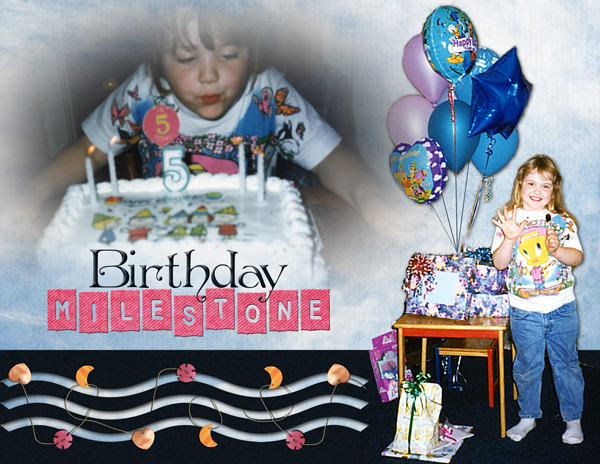
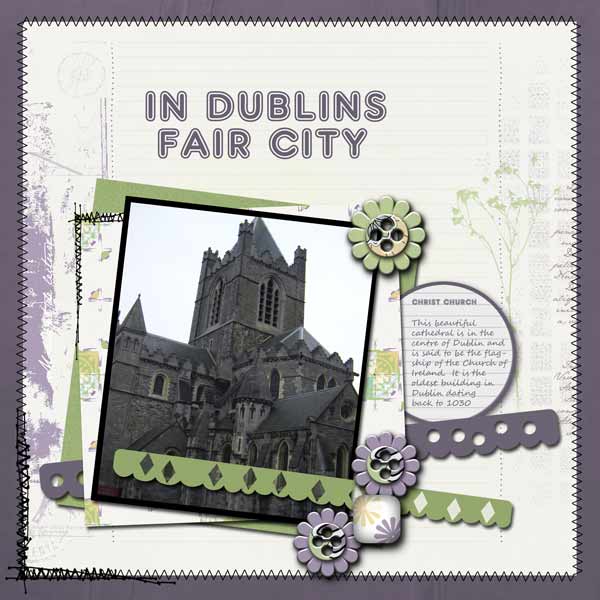
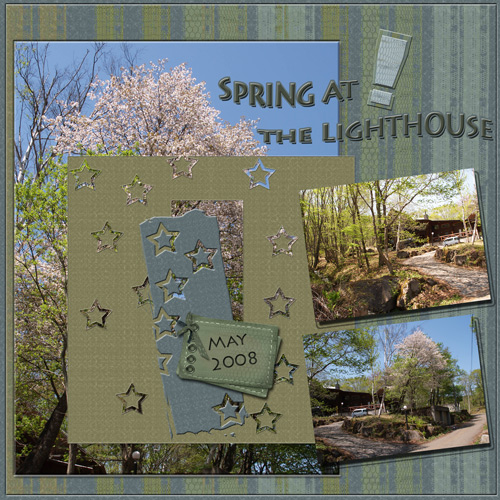
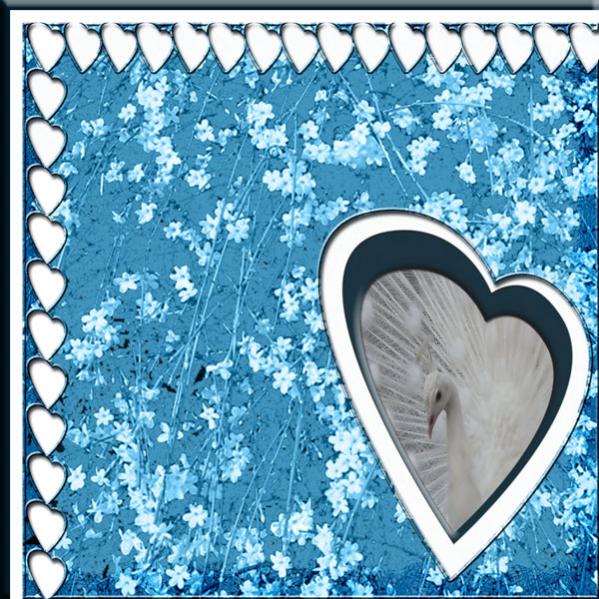
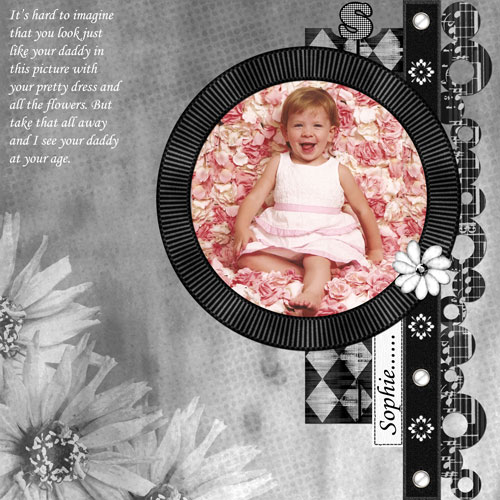
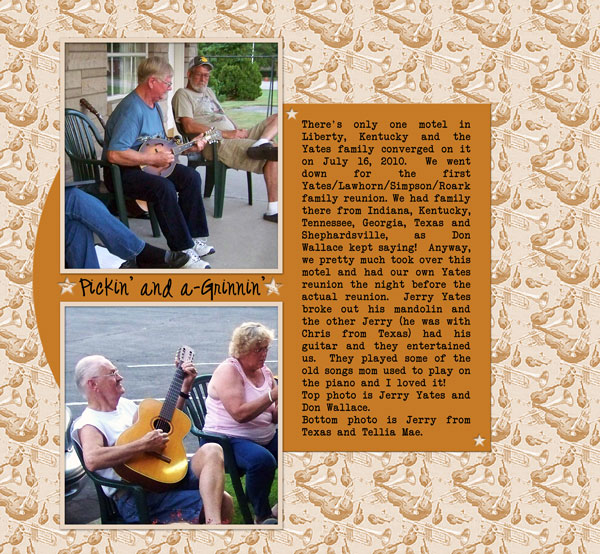
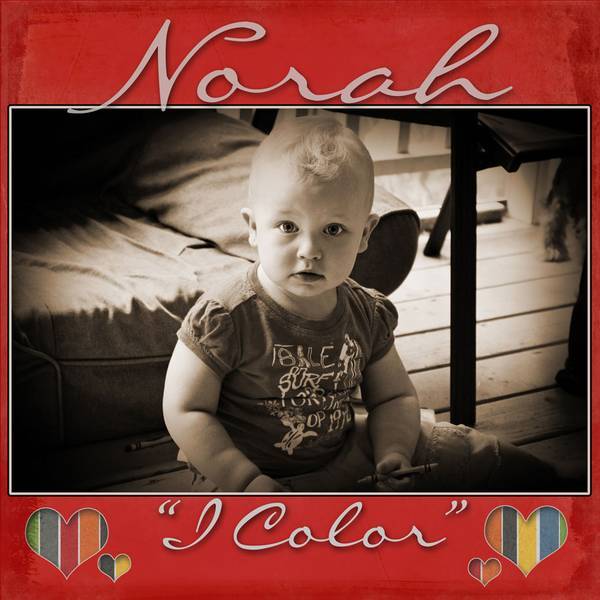
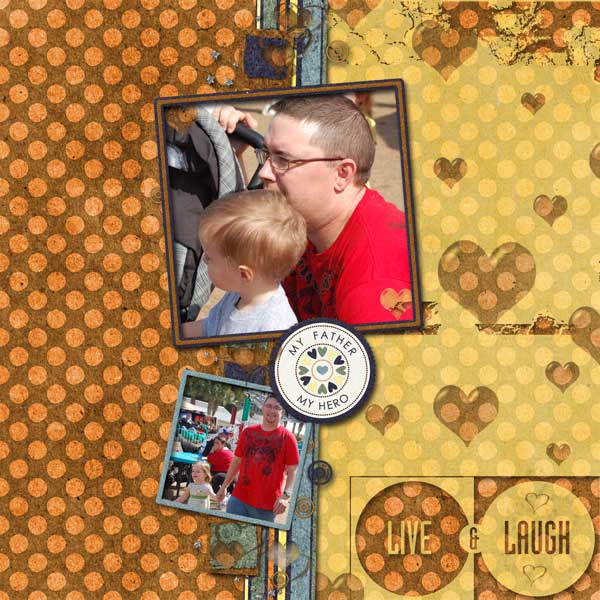
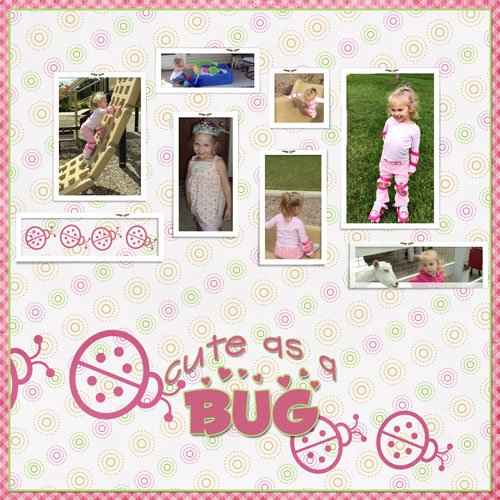
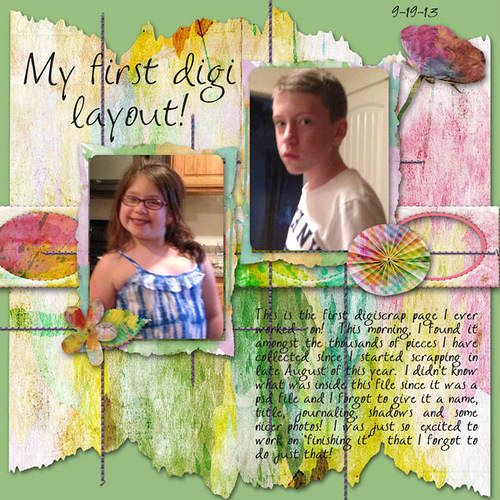
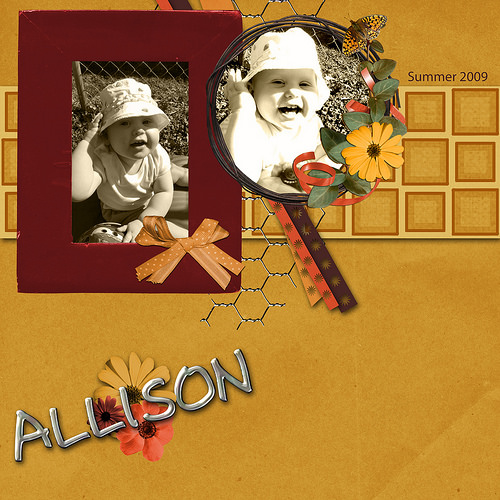
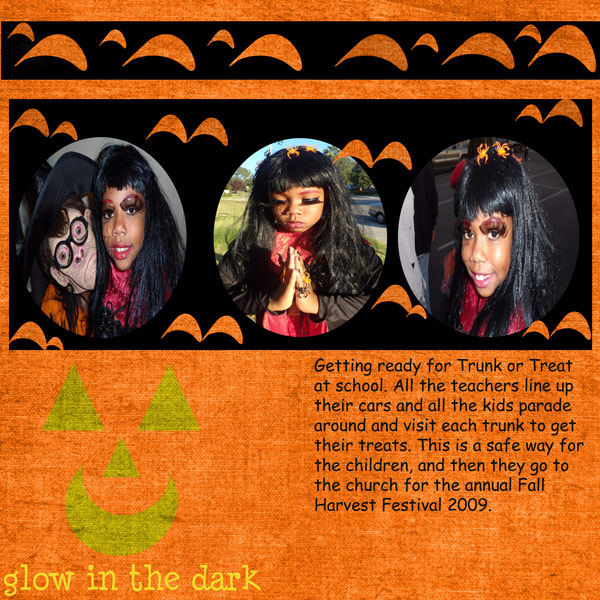
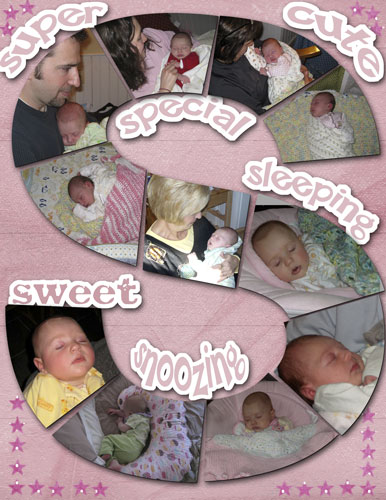
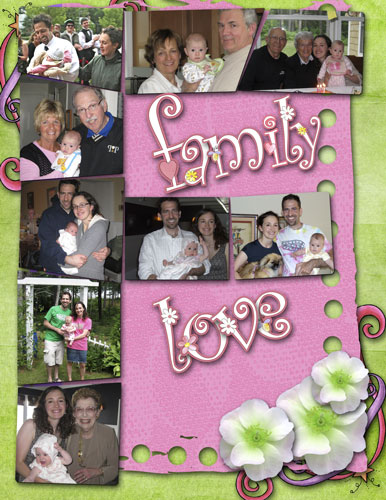
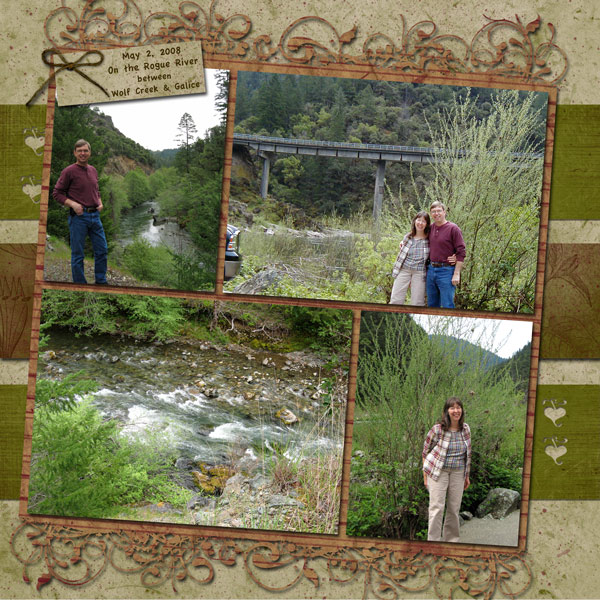
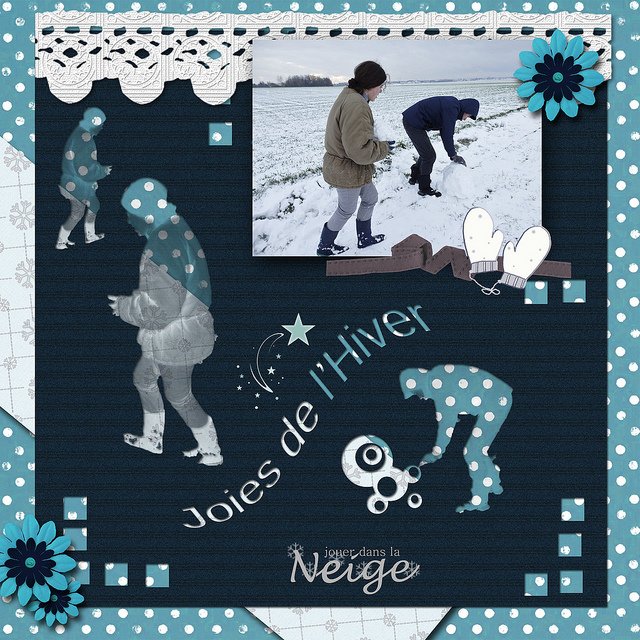
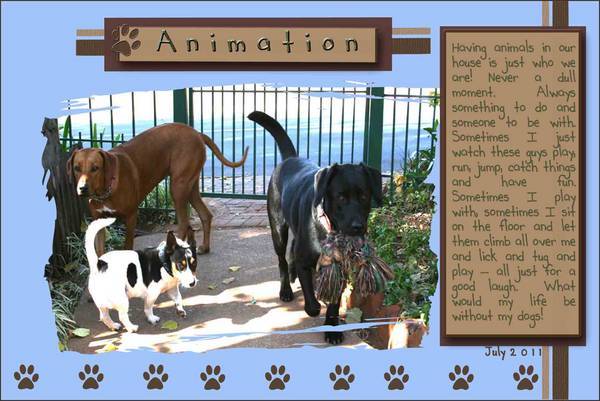
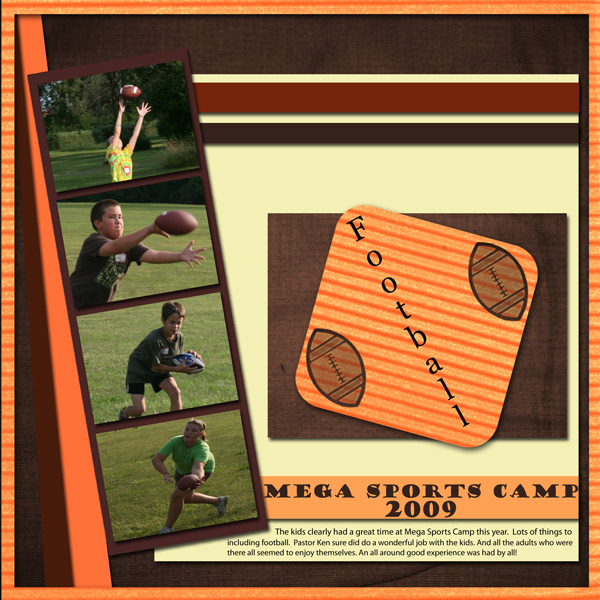
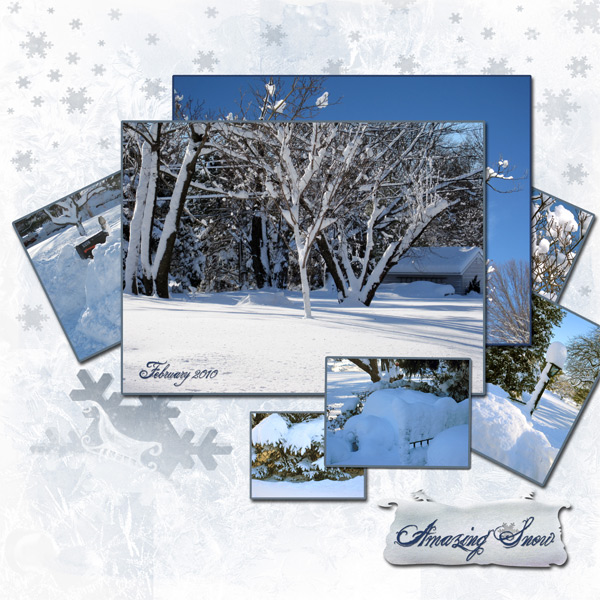
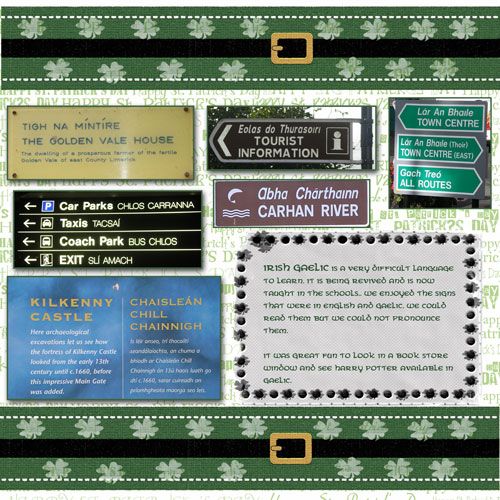
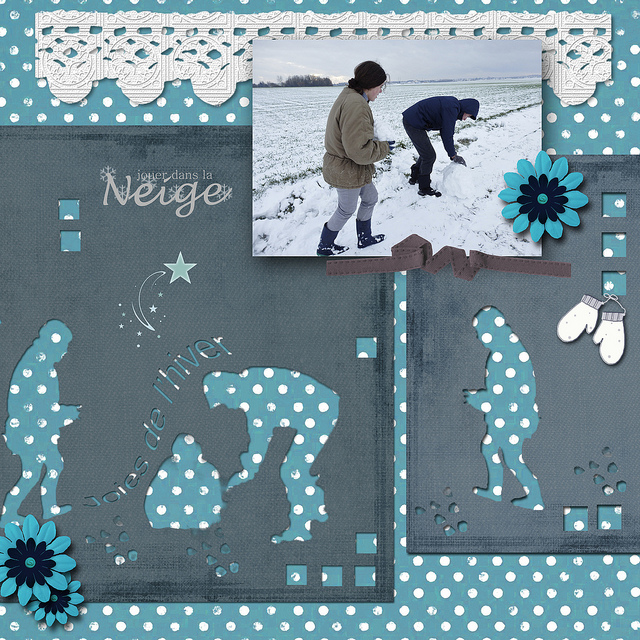
This is an excellent example.
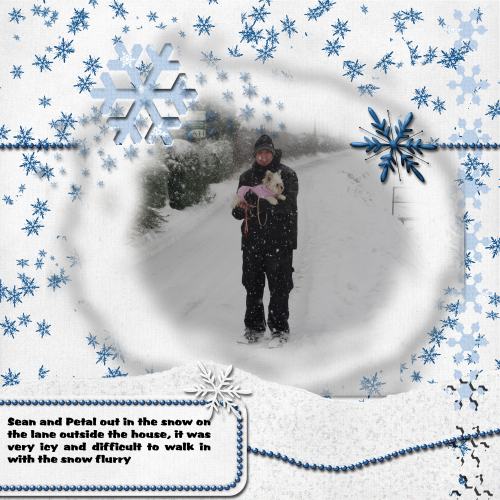
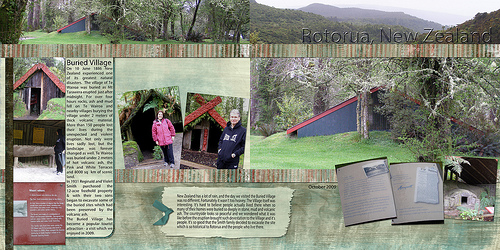
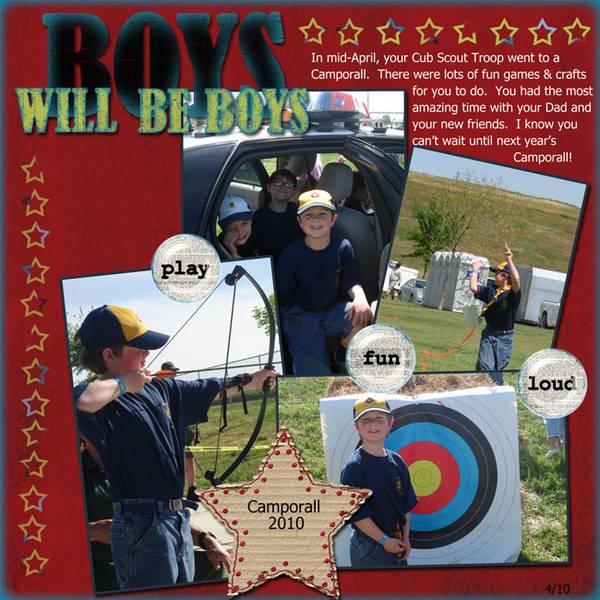
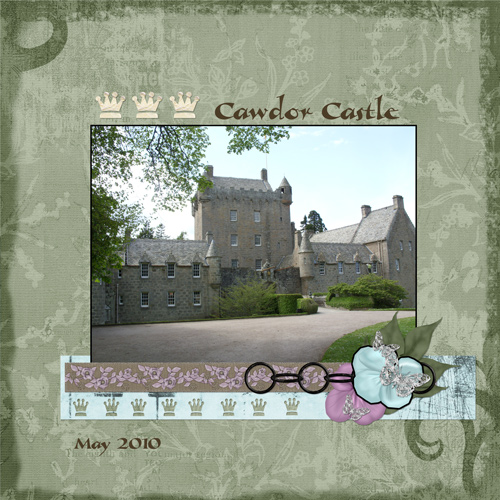
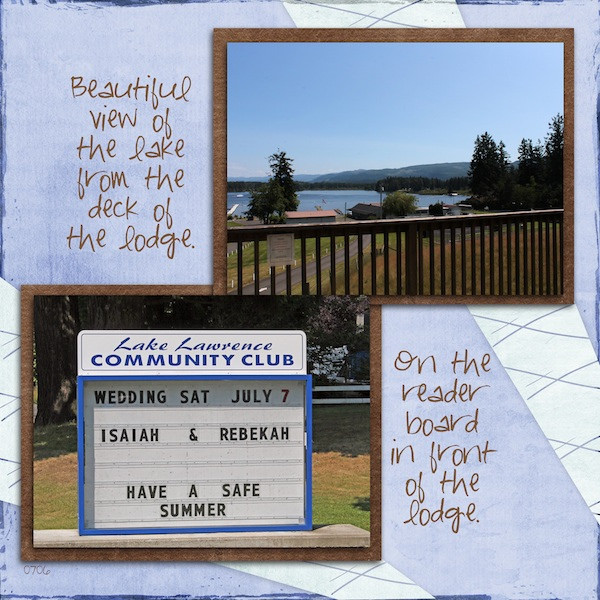
This is an excellent example.
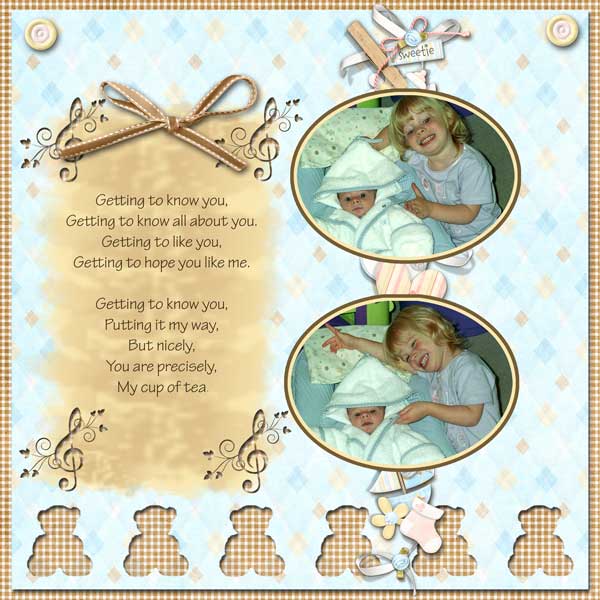
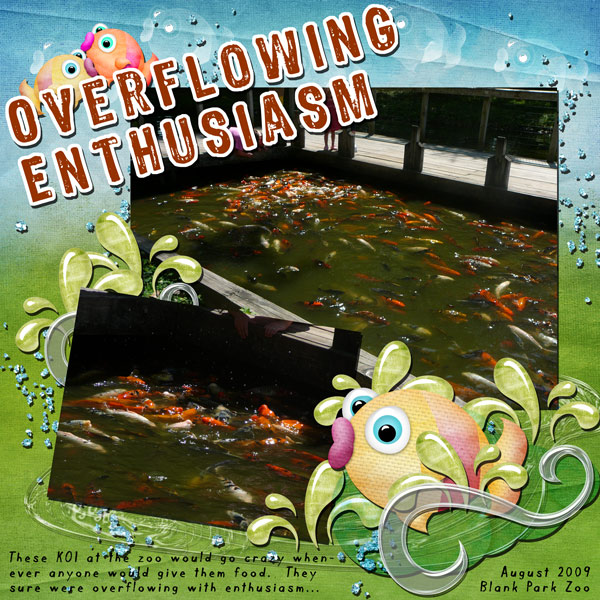
Love the little bears showing the paper below.
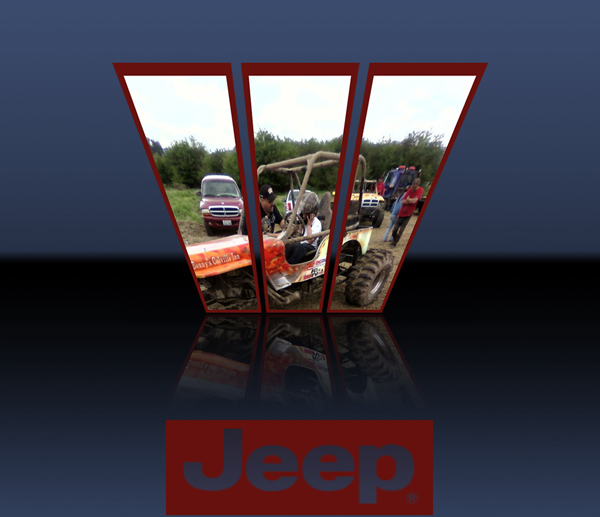
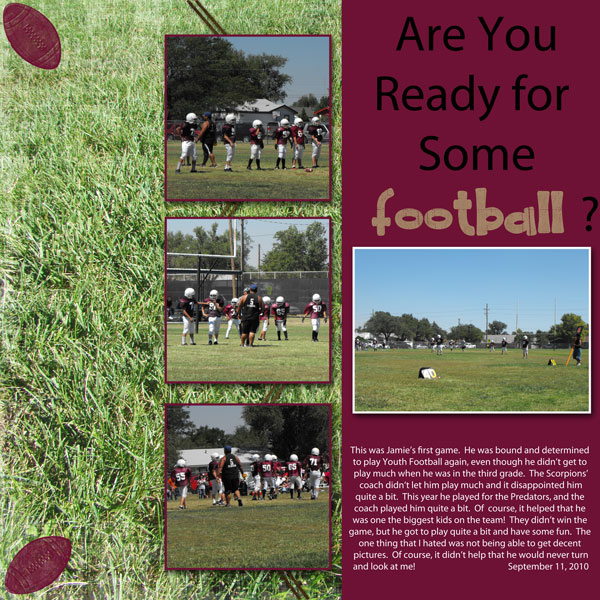
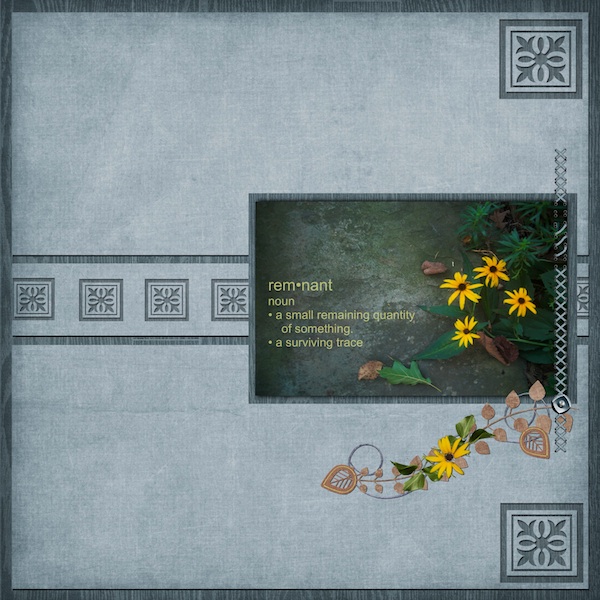
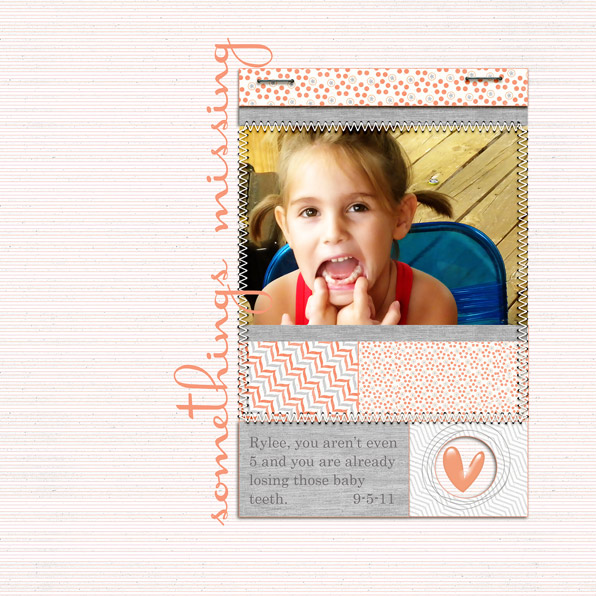
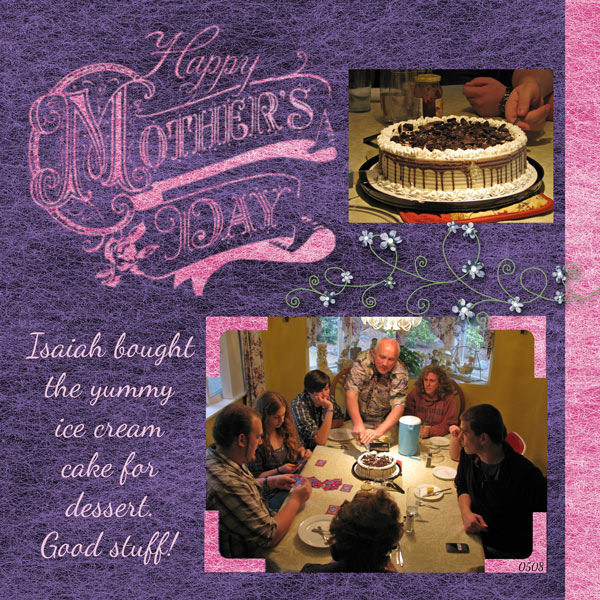
This is an excellent example.
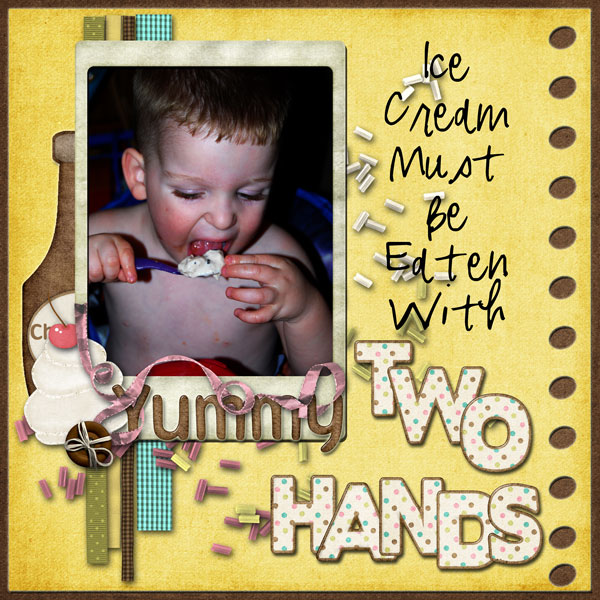
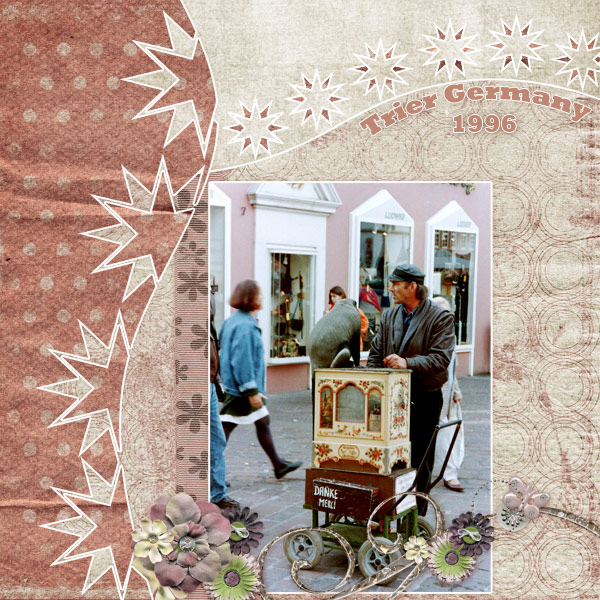
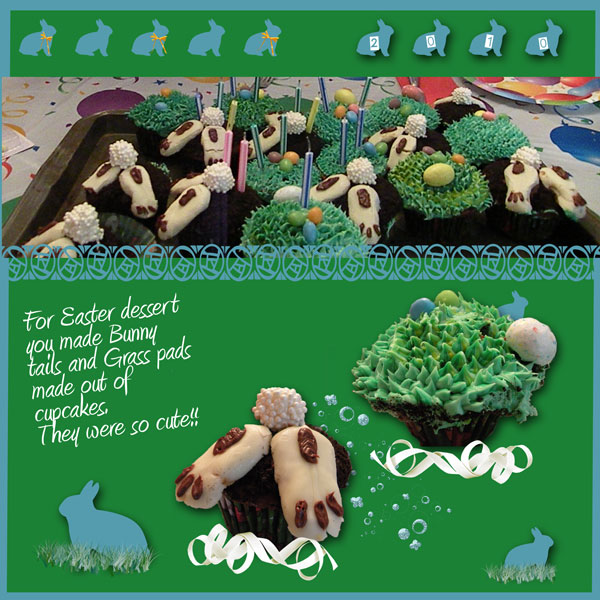
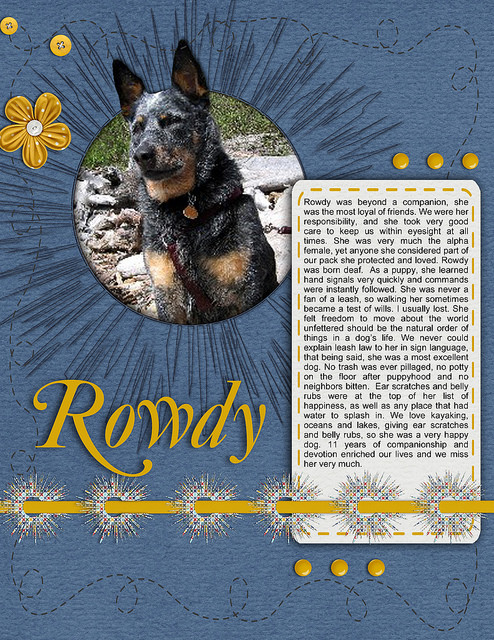
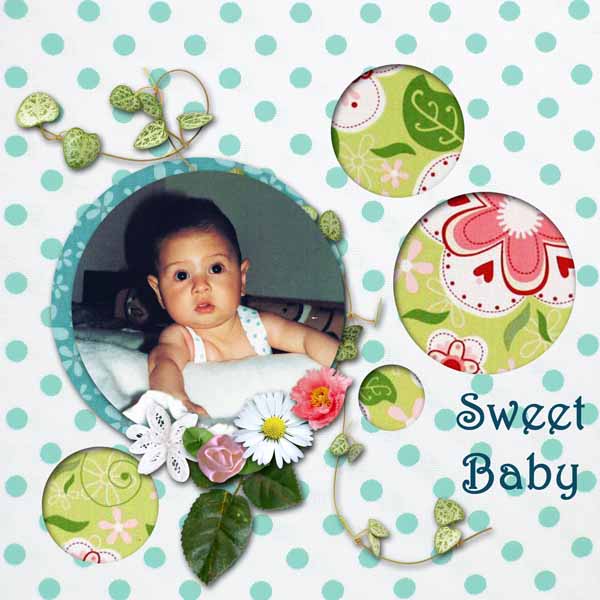
Love the creativity of the shape.